
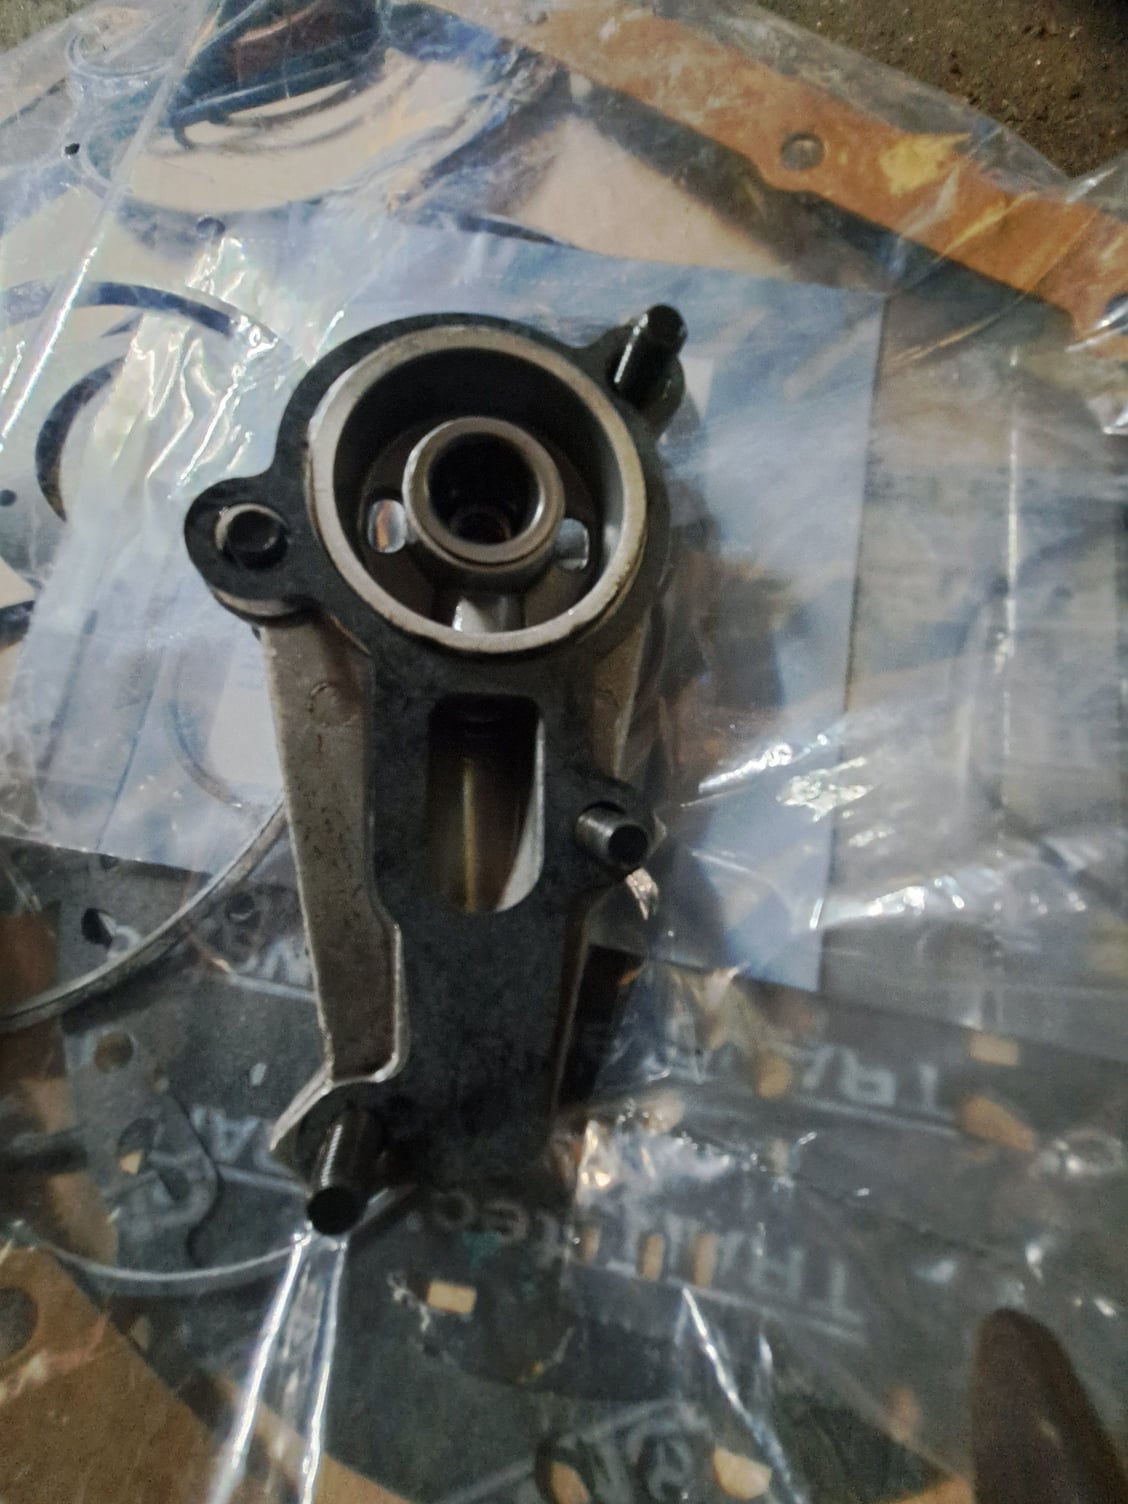
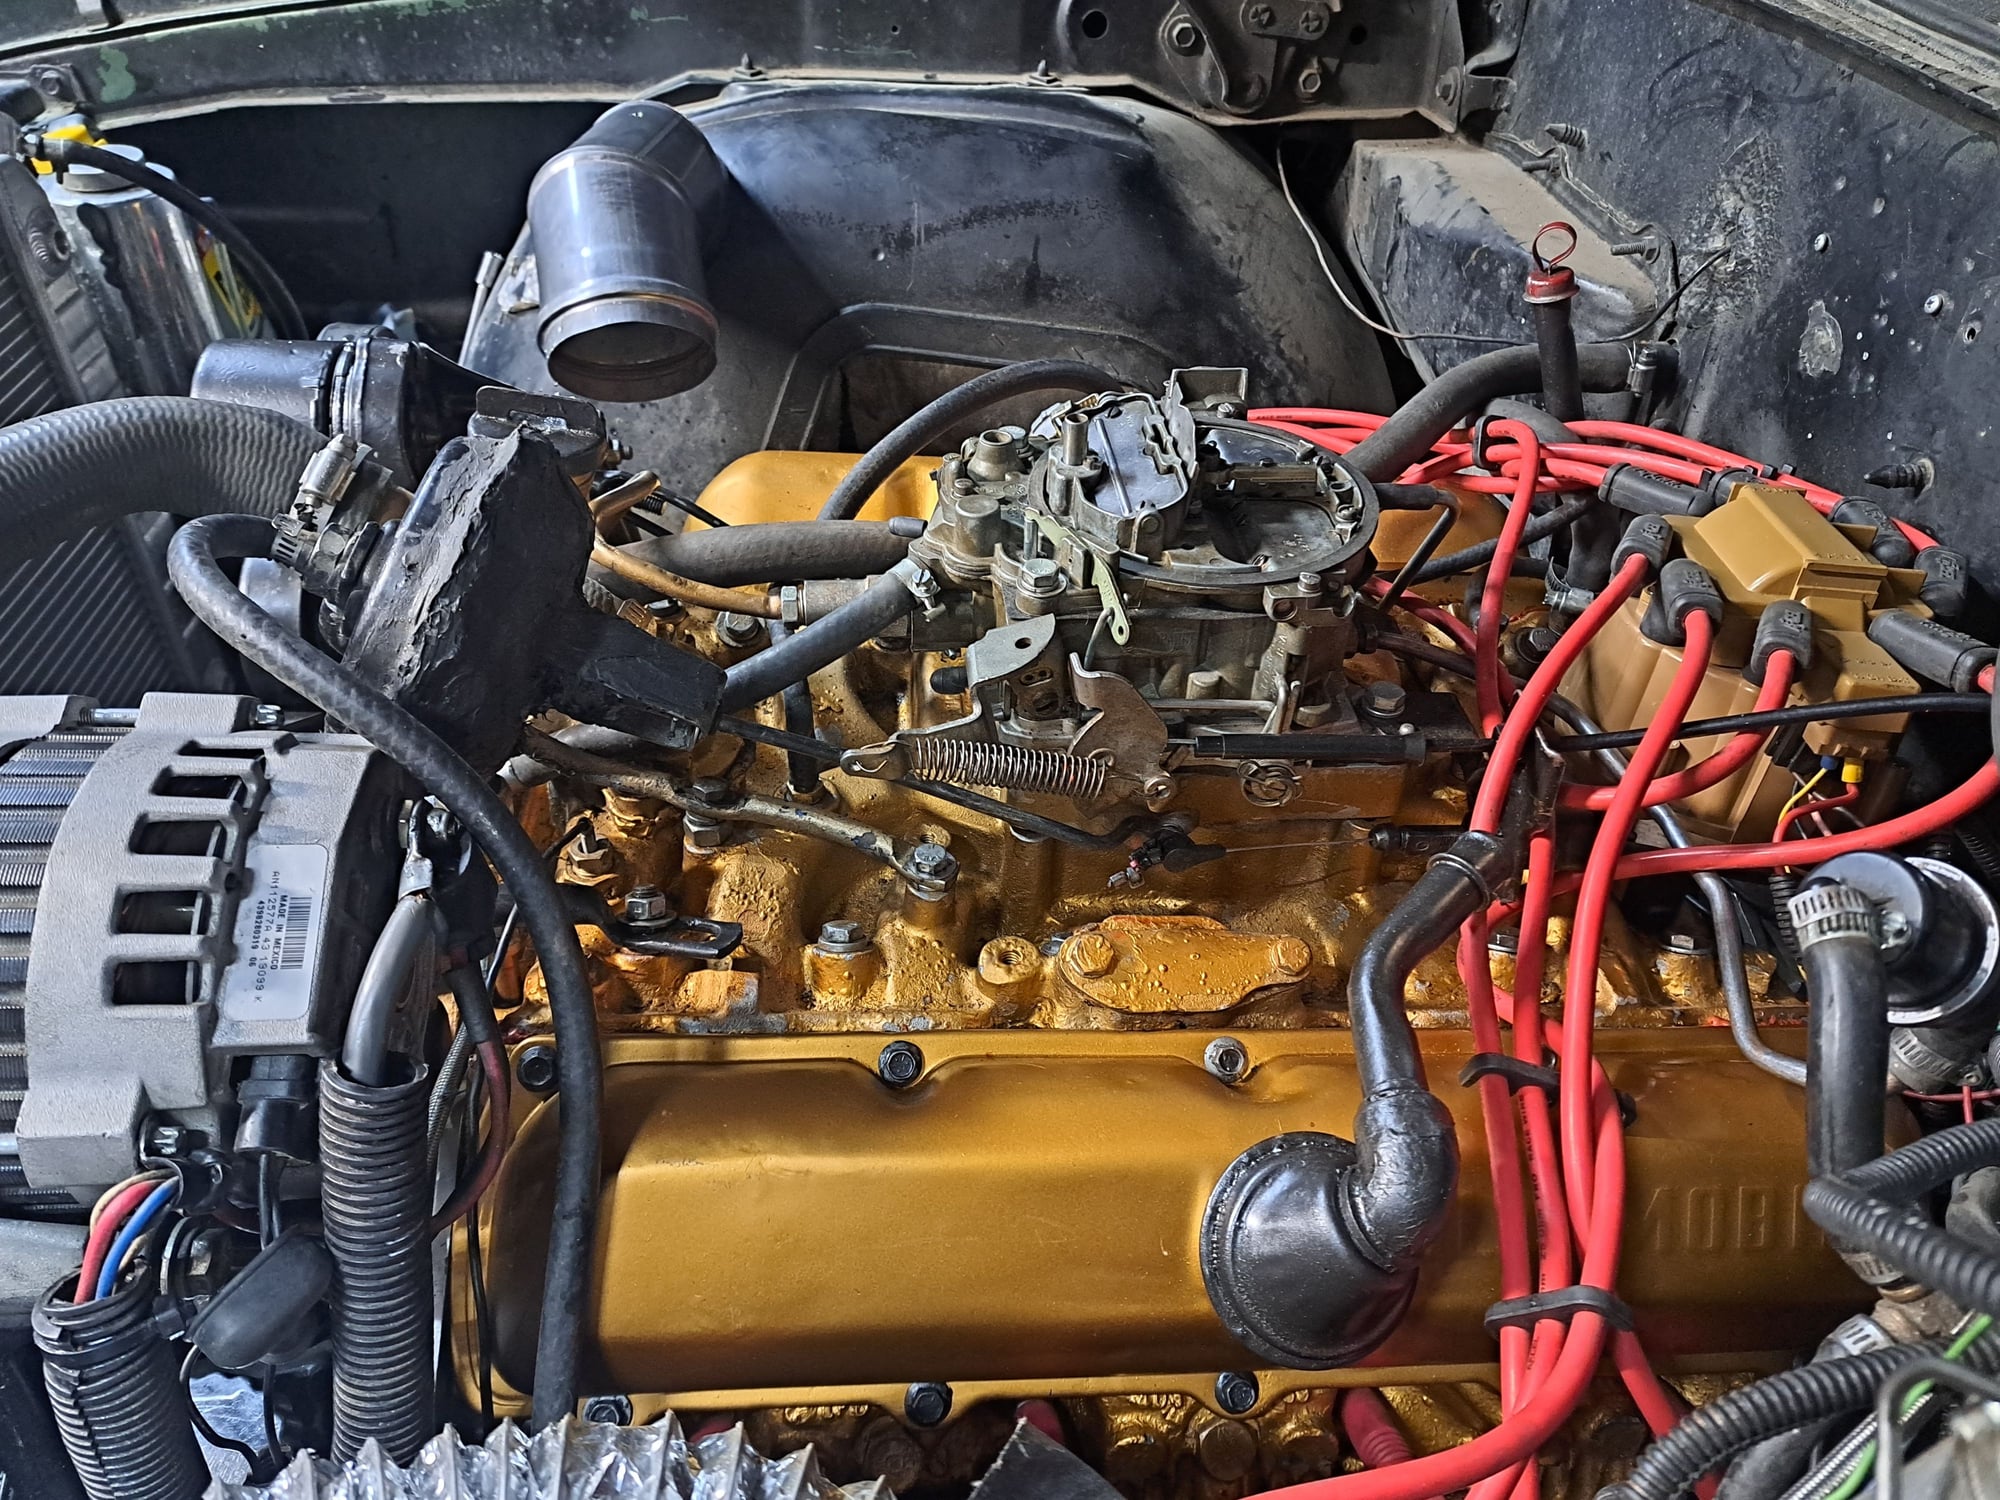
New standard rod and main bearings in place and everything torqued. New standard volume oil pump with stiffer pink spring and new pickup installed. Timing set put back in and torqued, cam was degreed. Timing cover, oil pan and balancer installed. Touched up VHT Gold Metallic paint on lower end. Cleaned up the intake rails, it will stay off till the motor is in car for clearance. Next will be the 2004R upgrades.
My 1970 Oldsmobile Cutlass S
- Thread starter Olds 307 and 403
- Start date
You are using an out of date browser. It may not display this or other websites correctly.
You should upgrade or use an alternative browser.
You should upgrade or use an alternative browser.
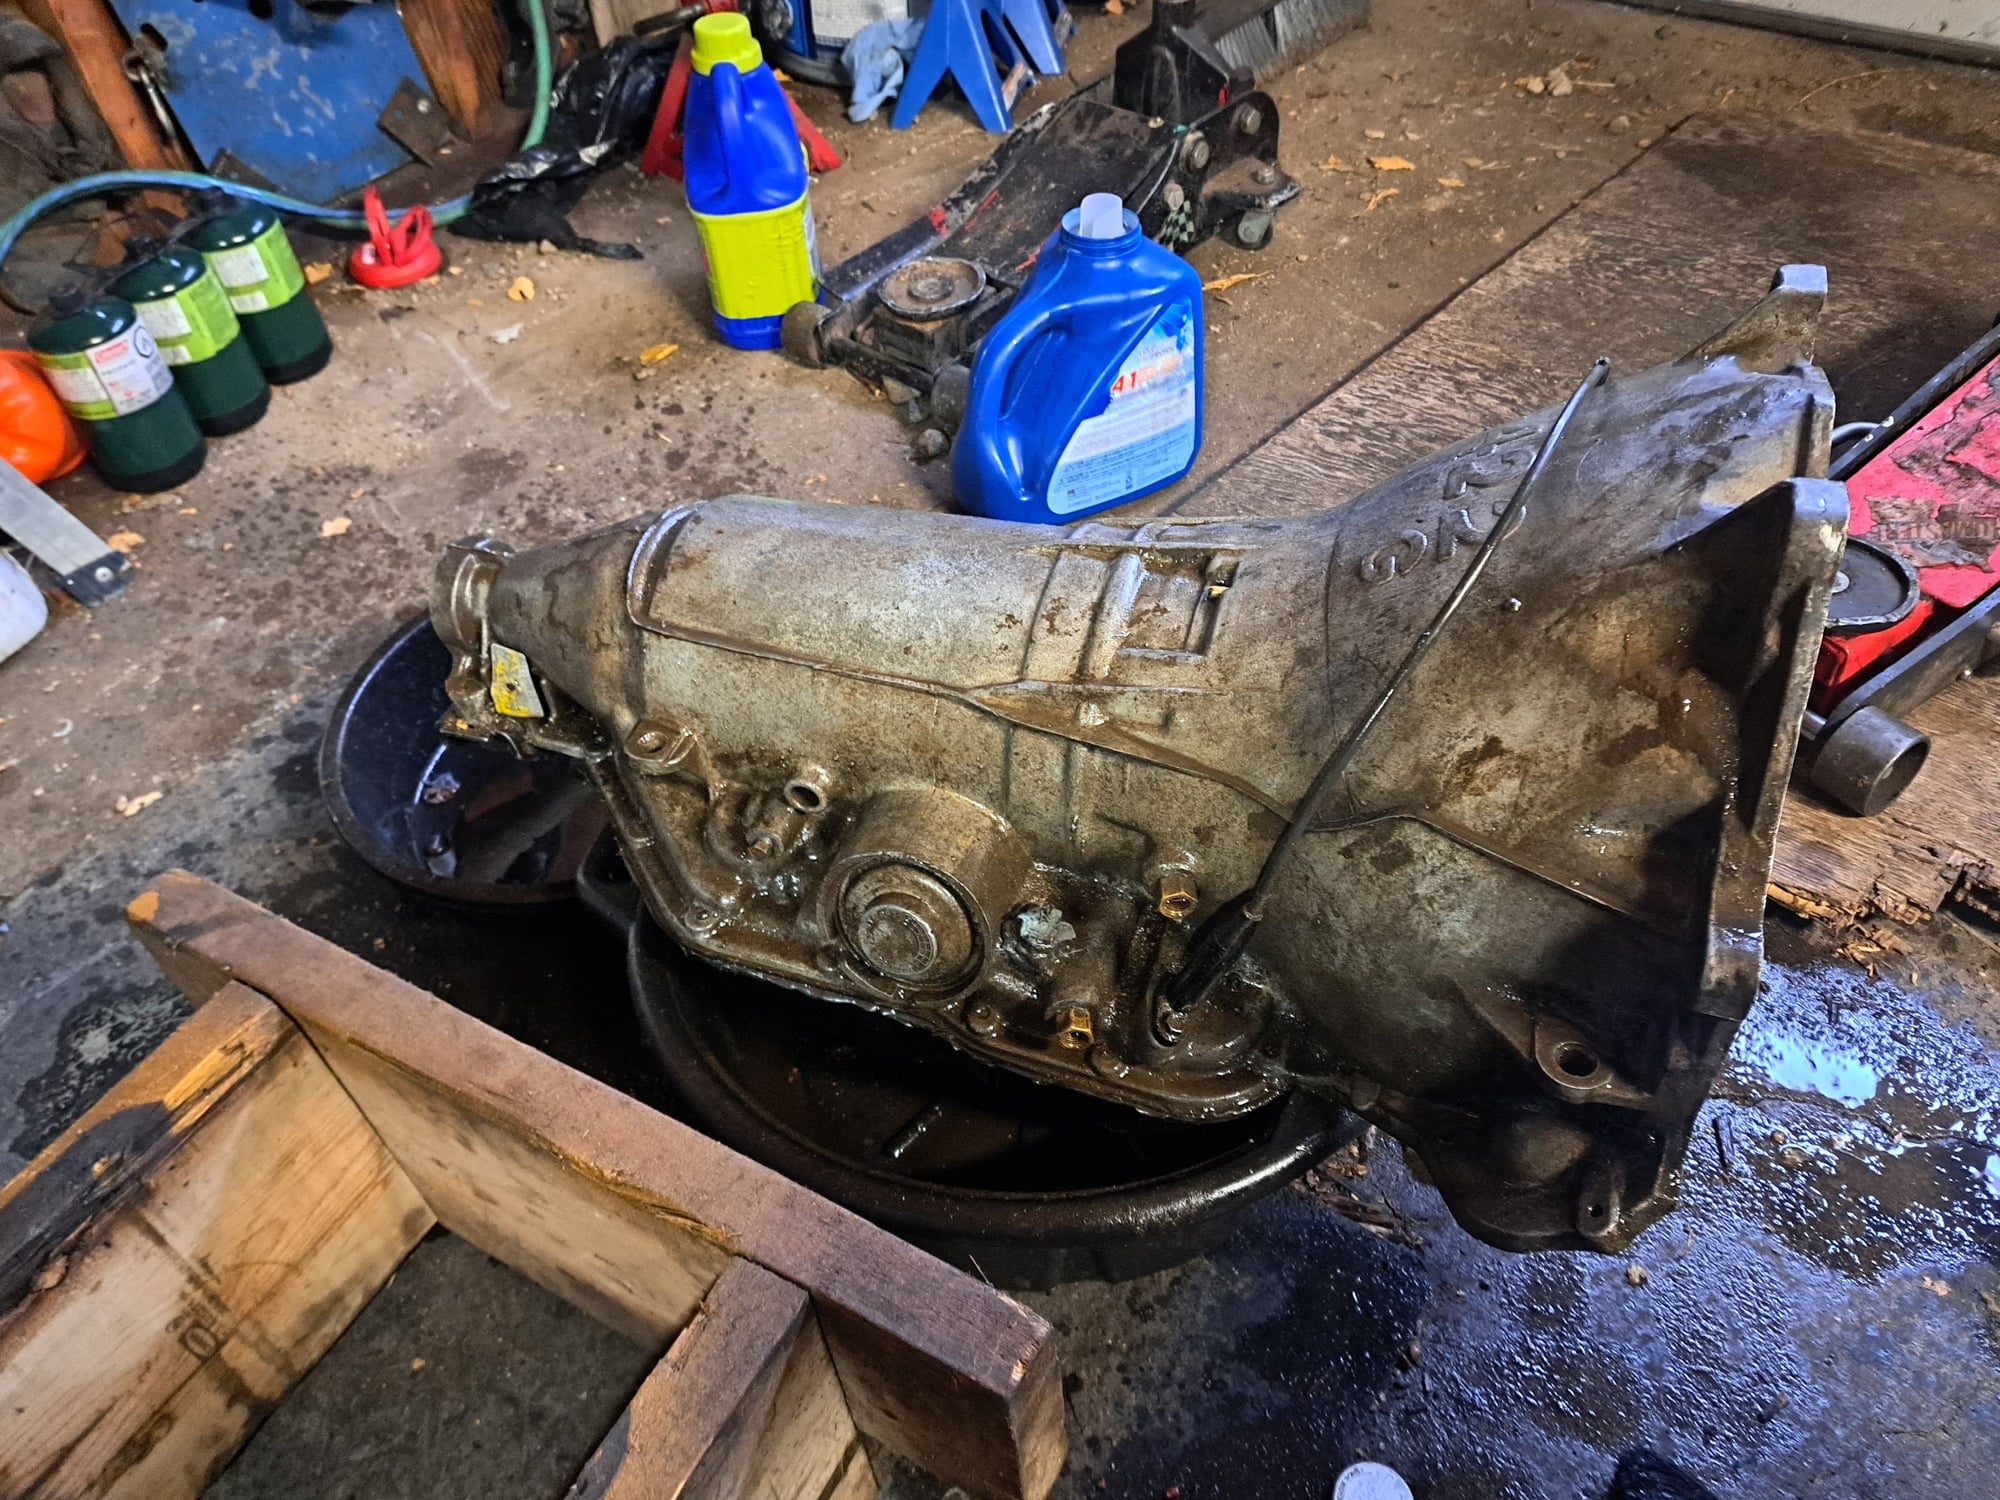
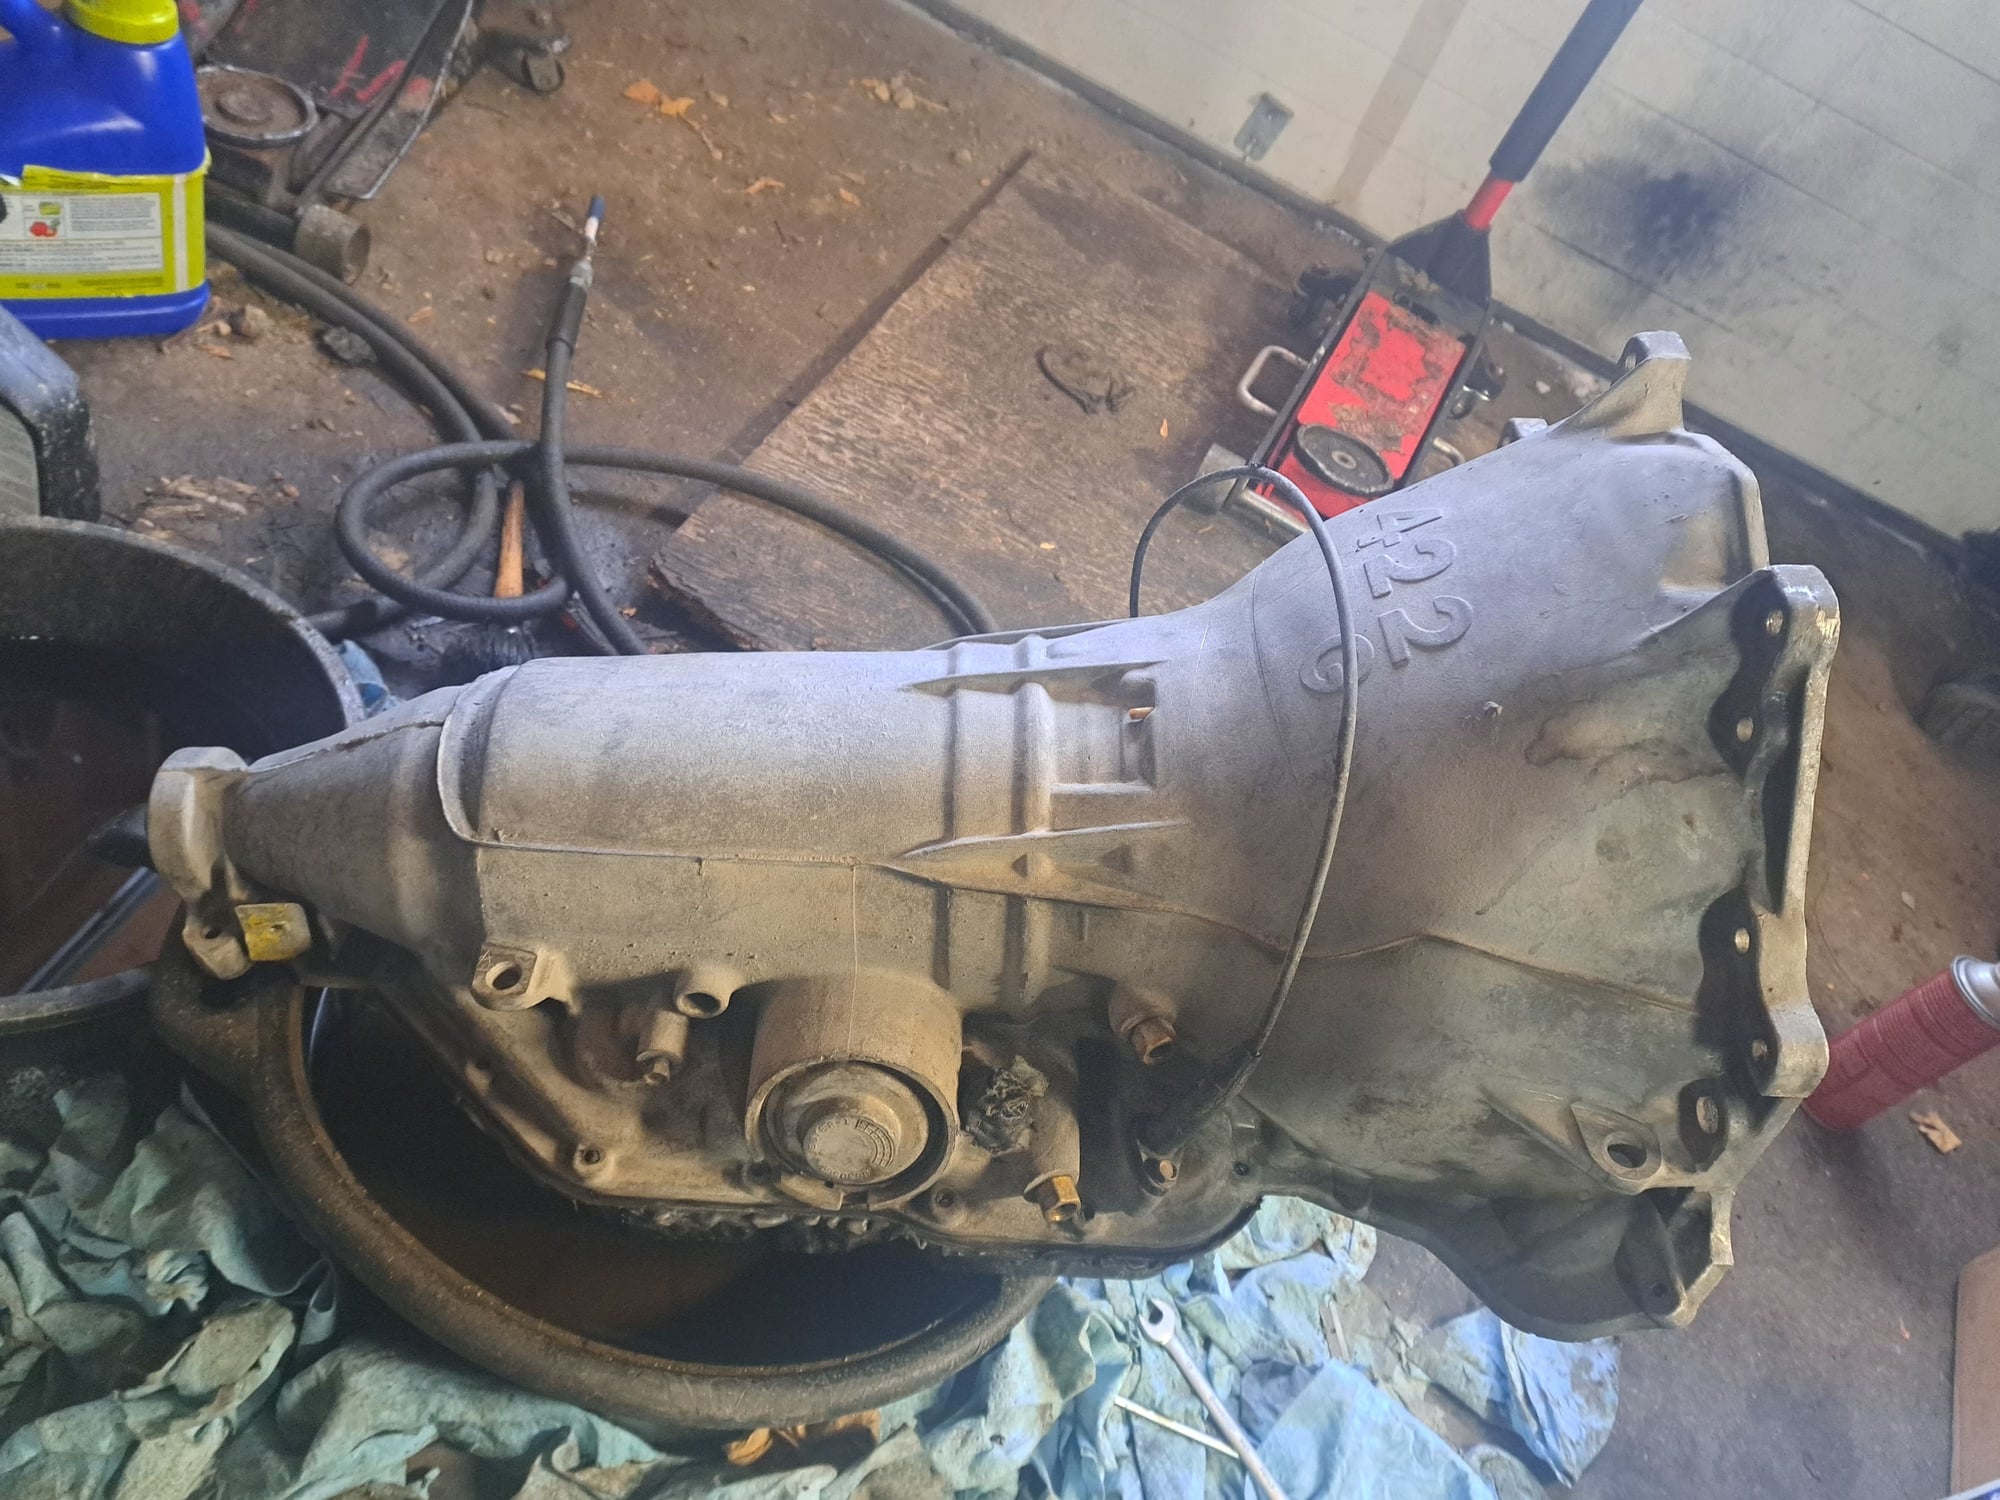
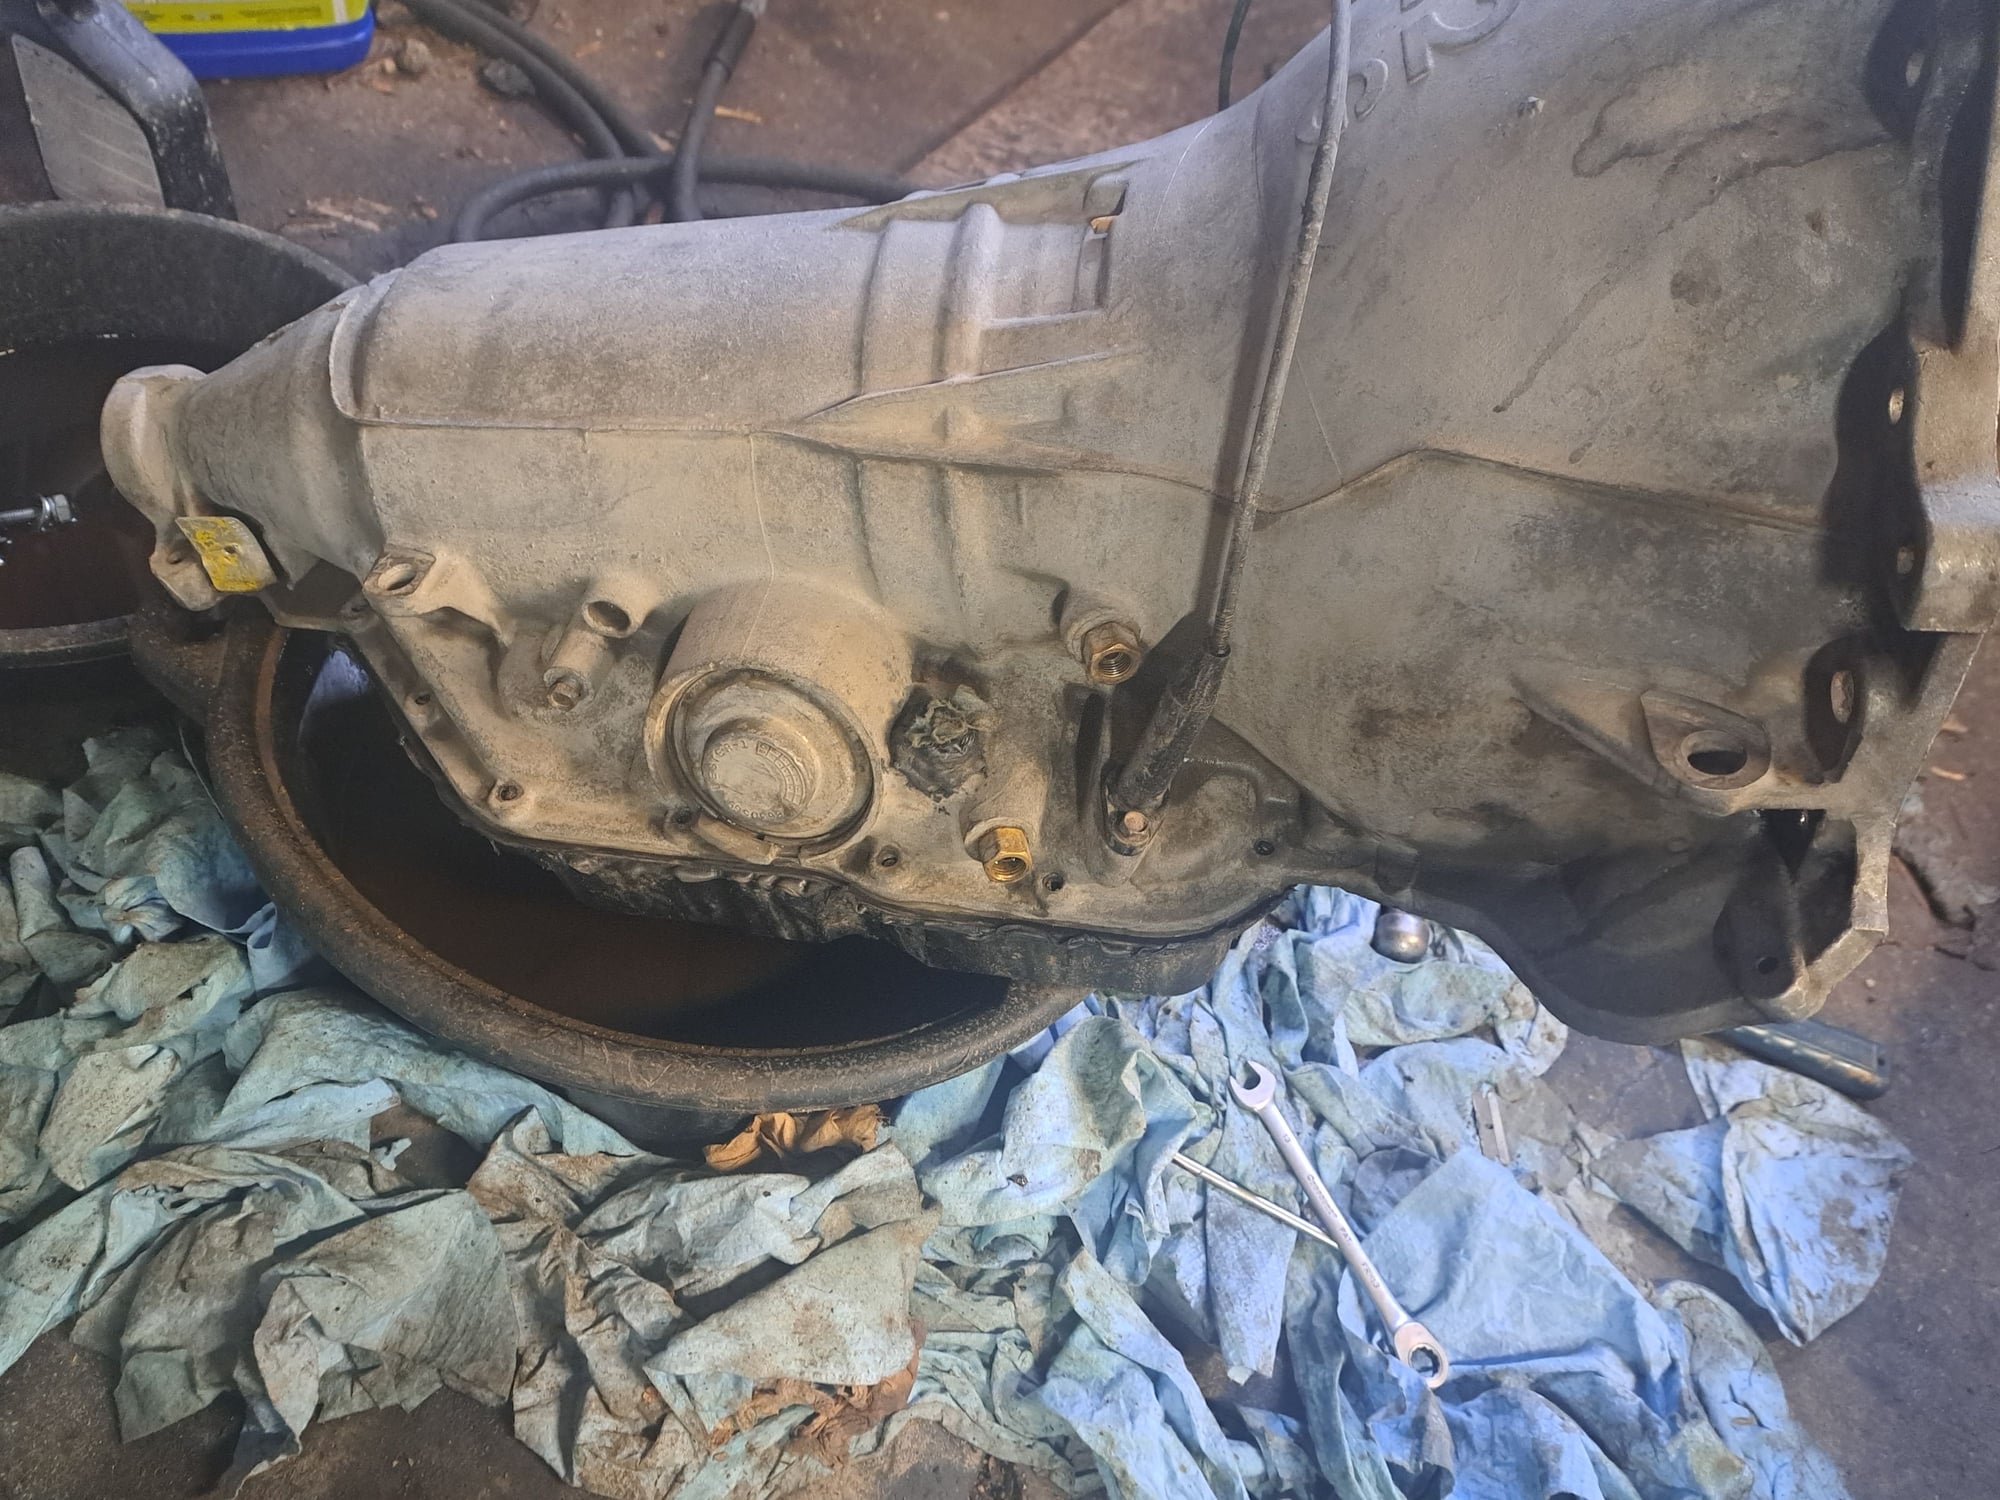
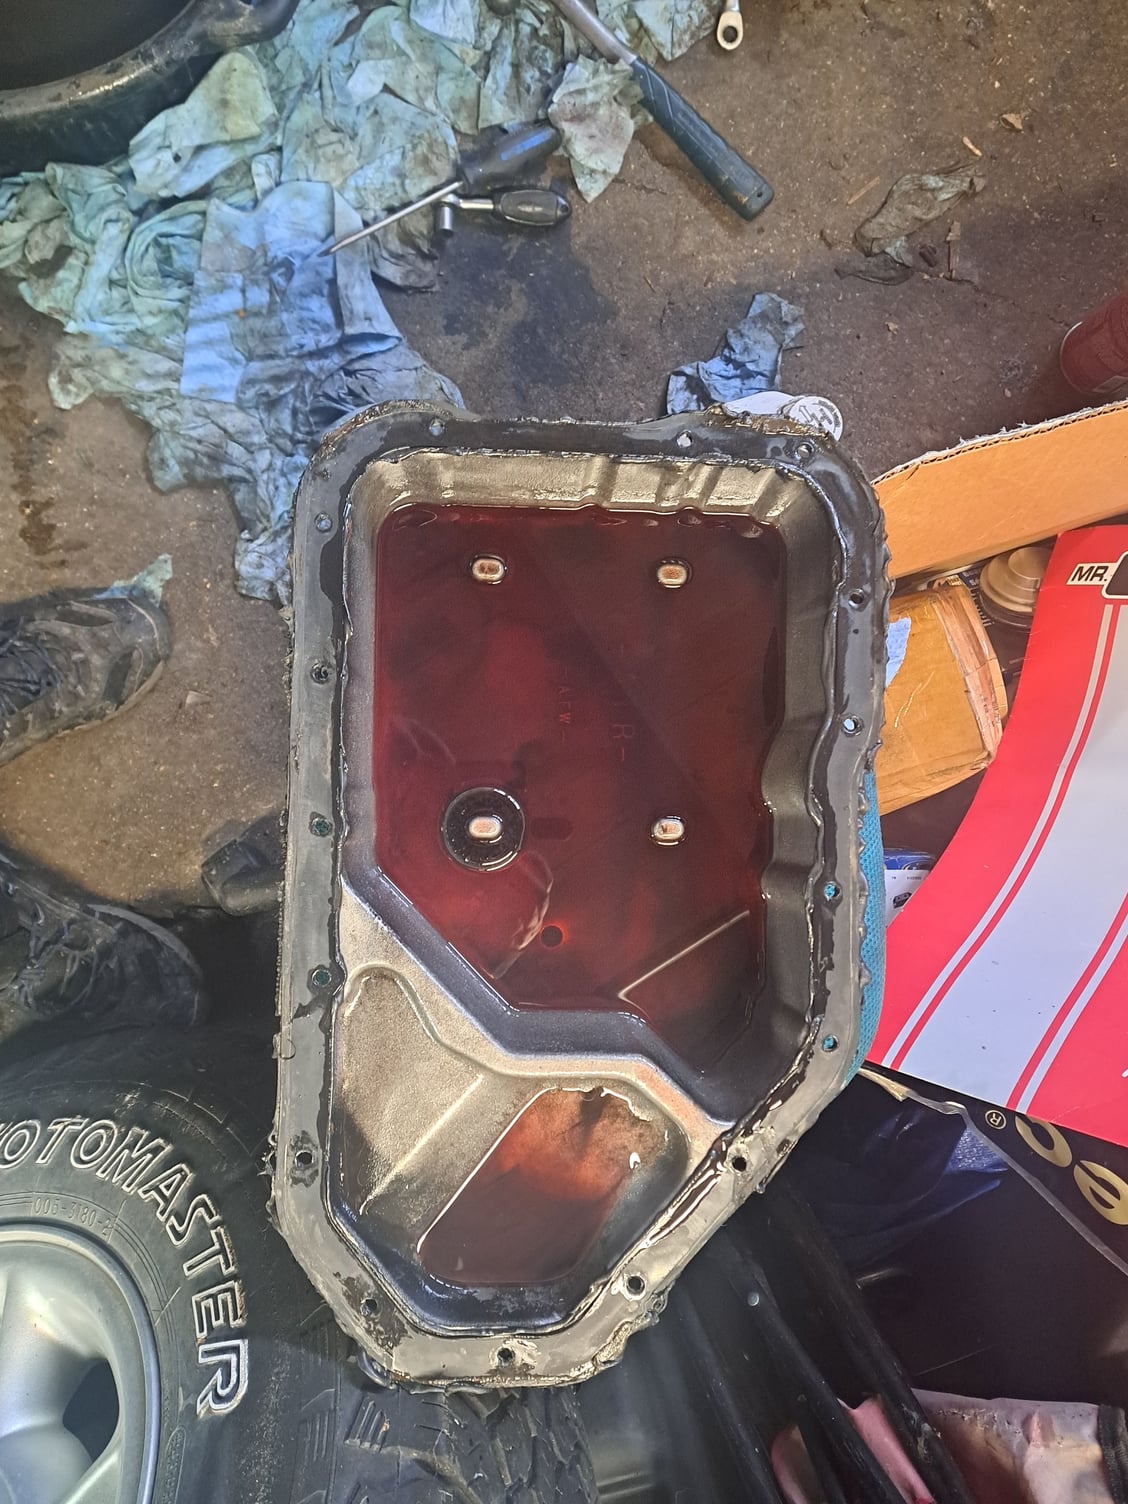
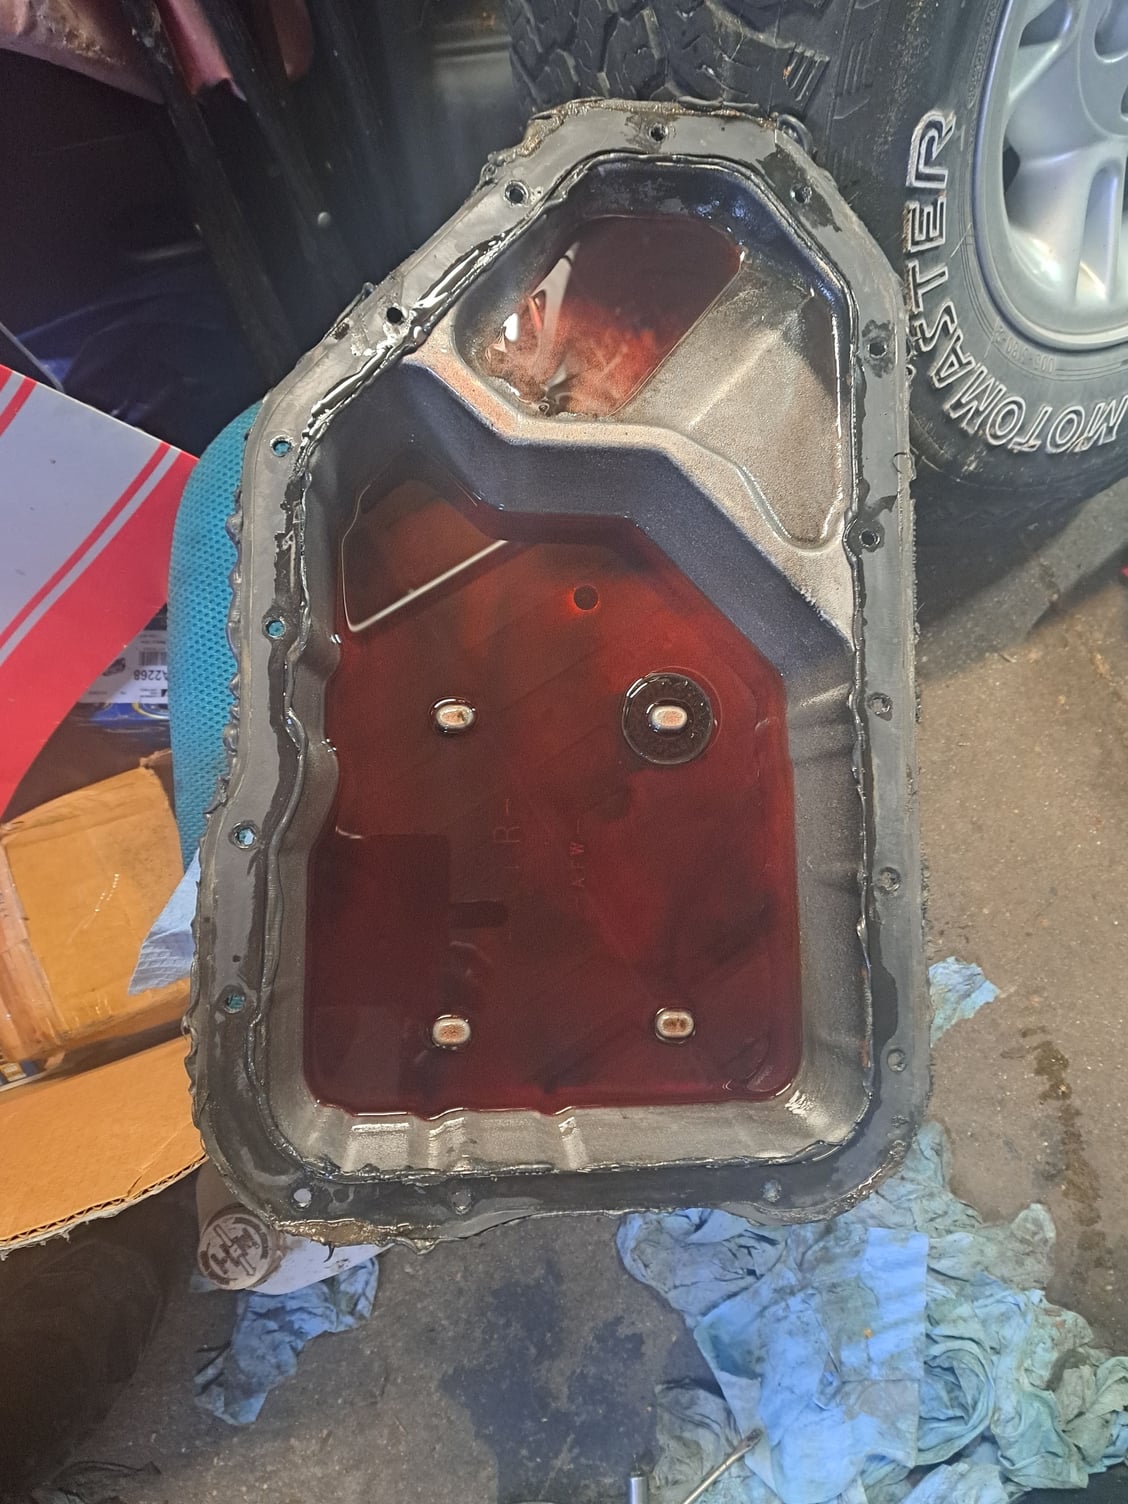
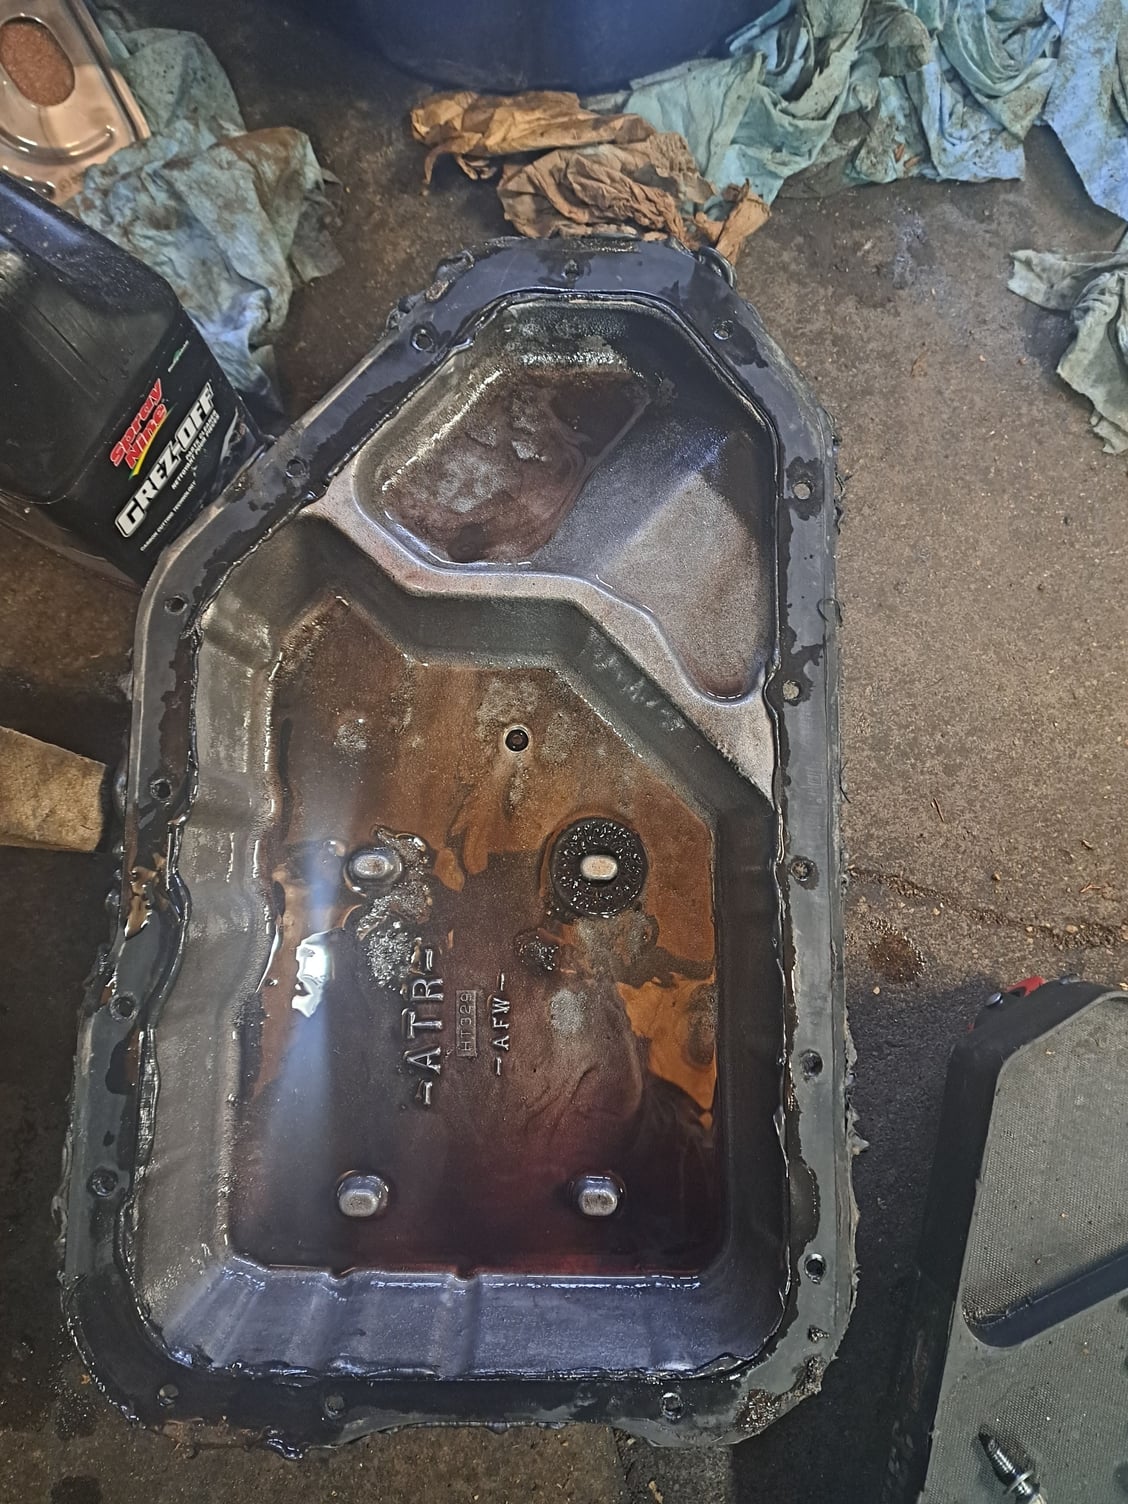
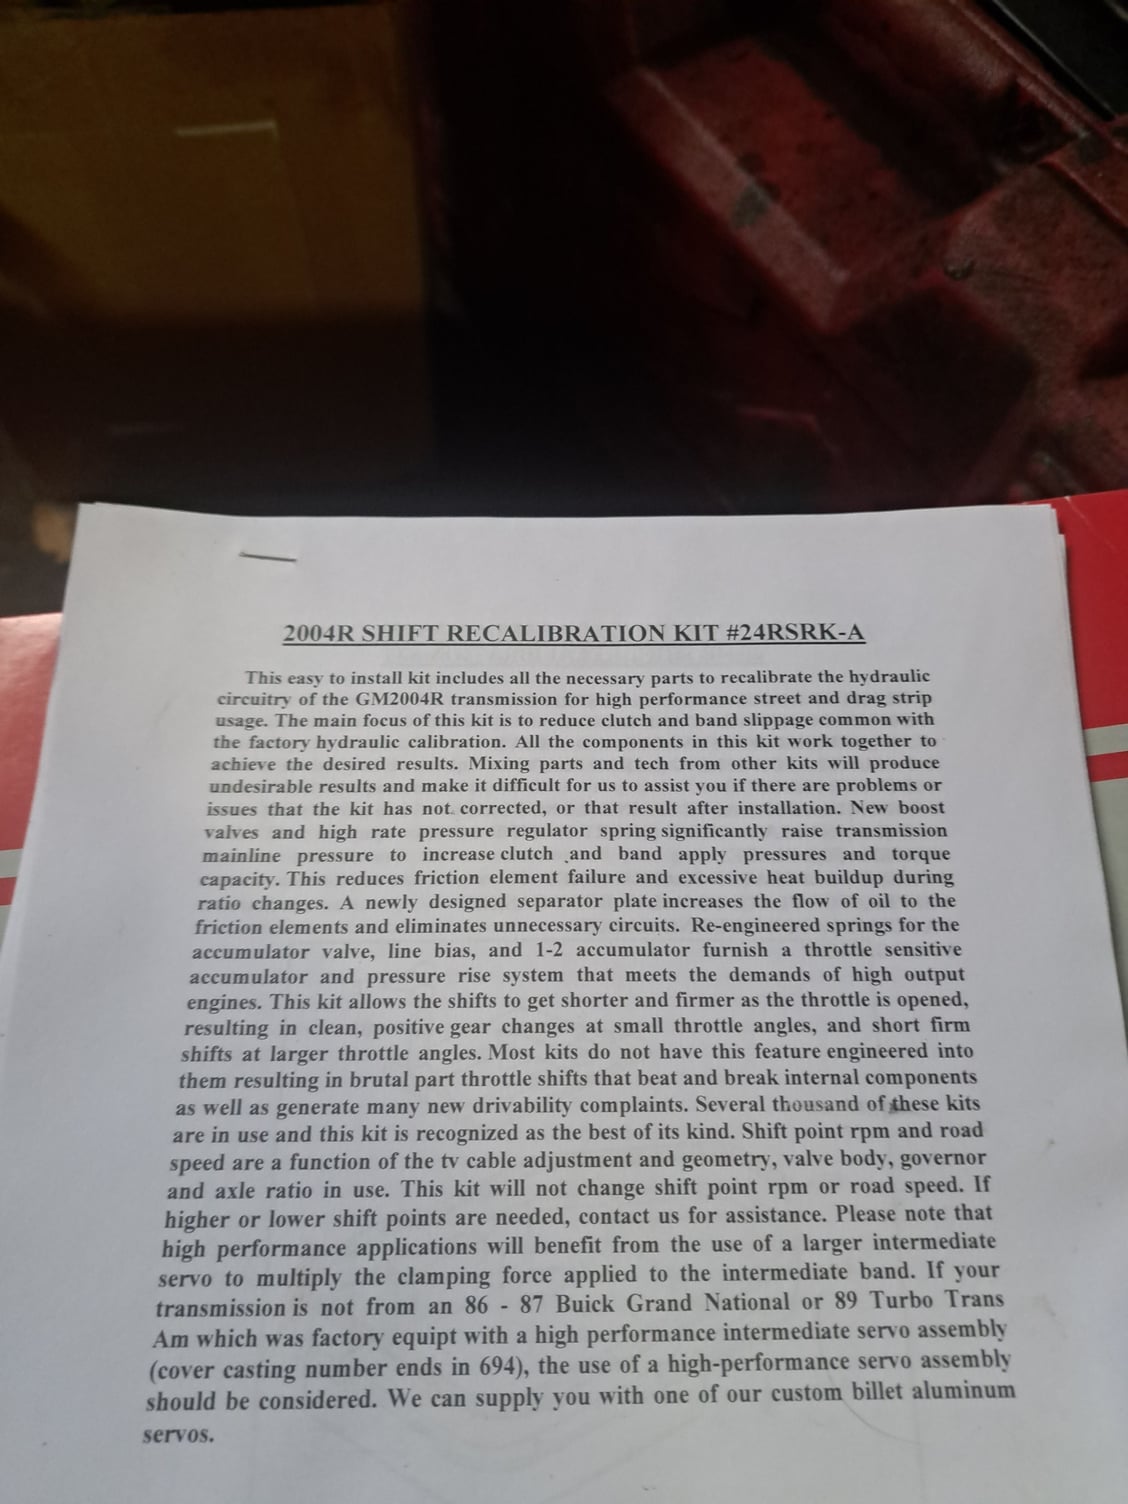
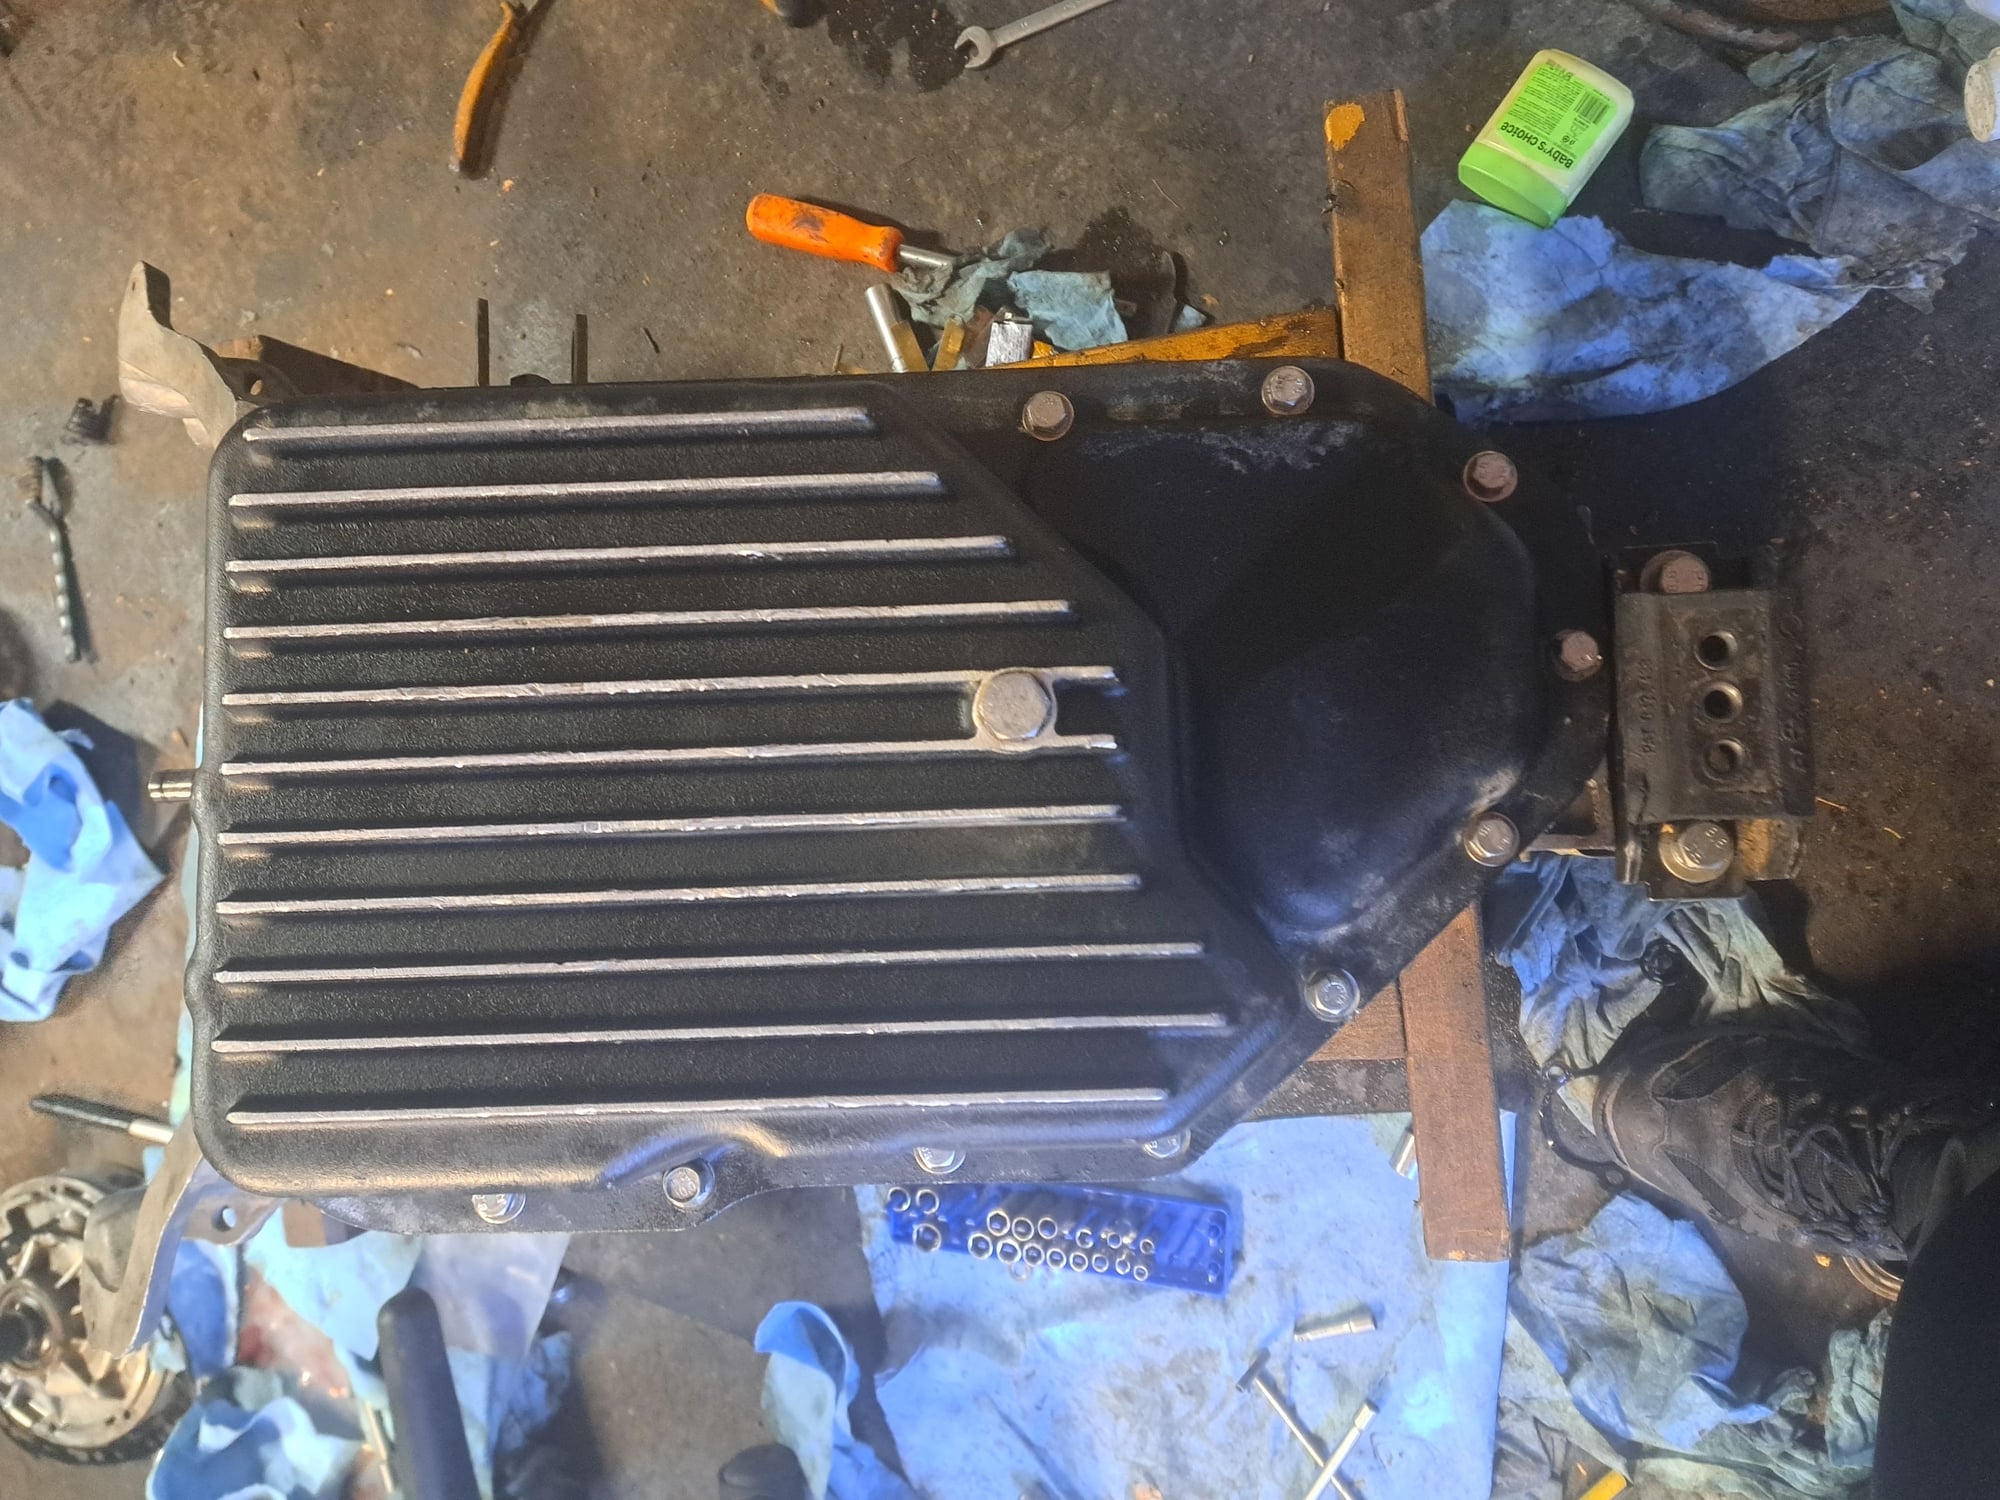
So the 2004R was a bit greasy, mostly gravel and grease. We have many unpaved roads up here. I just hit it will solvent that Spray Nine Grez-Off, using a screw driver in crevices, a parts cleaning brush and brass bristle brush on the outside of the case. Then compressed air and CRC Brake Kleen. The pan is discoloured inside, so even less clutch material than it appears. I was running .555" boost valves from CK in the stock pump, 195ish PSI in foward gears. Hopefully the CK pump puts out 50 psi more. Now ready to start tearing into it!
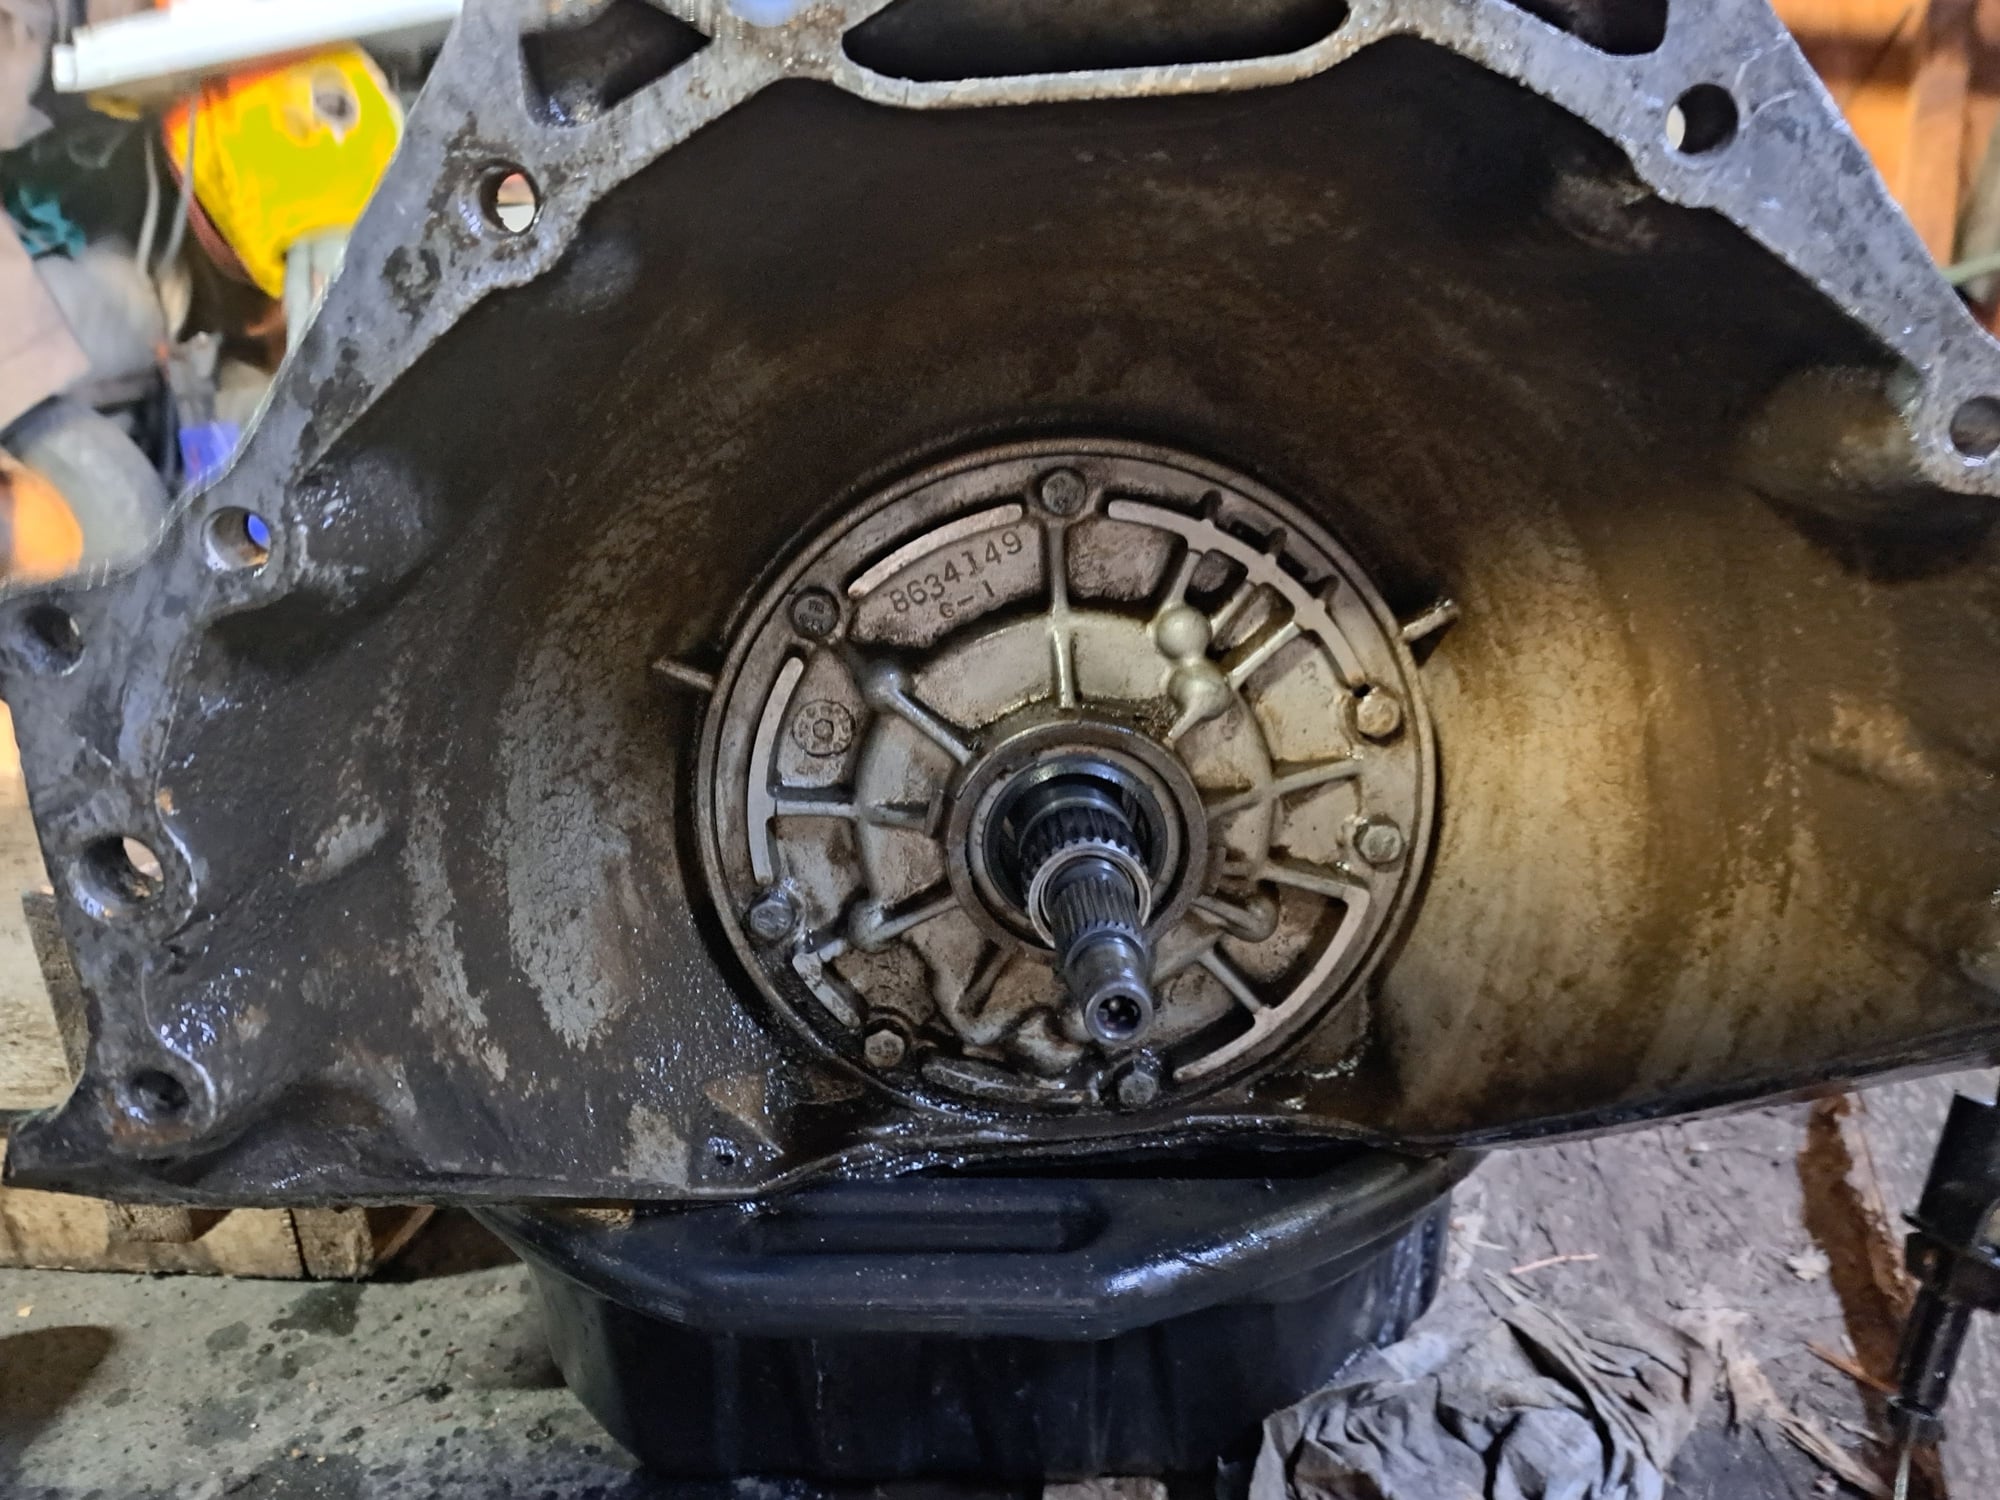
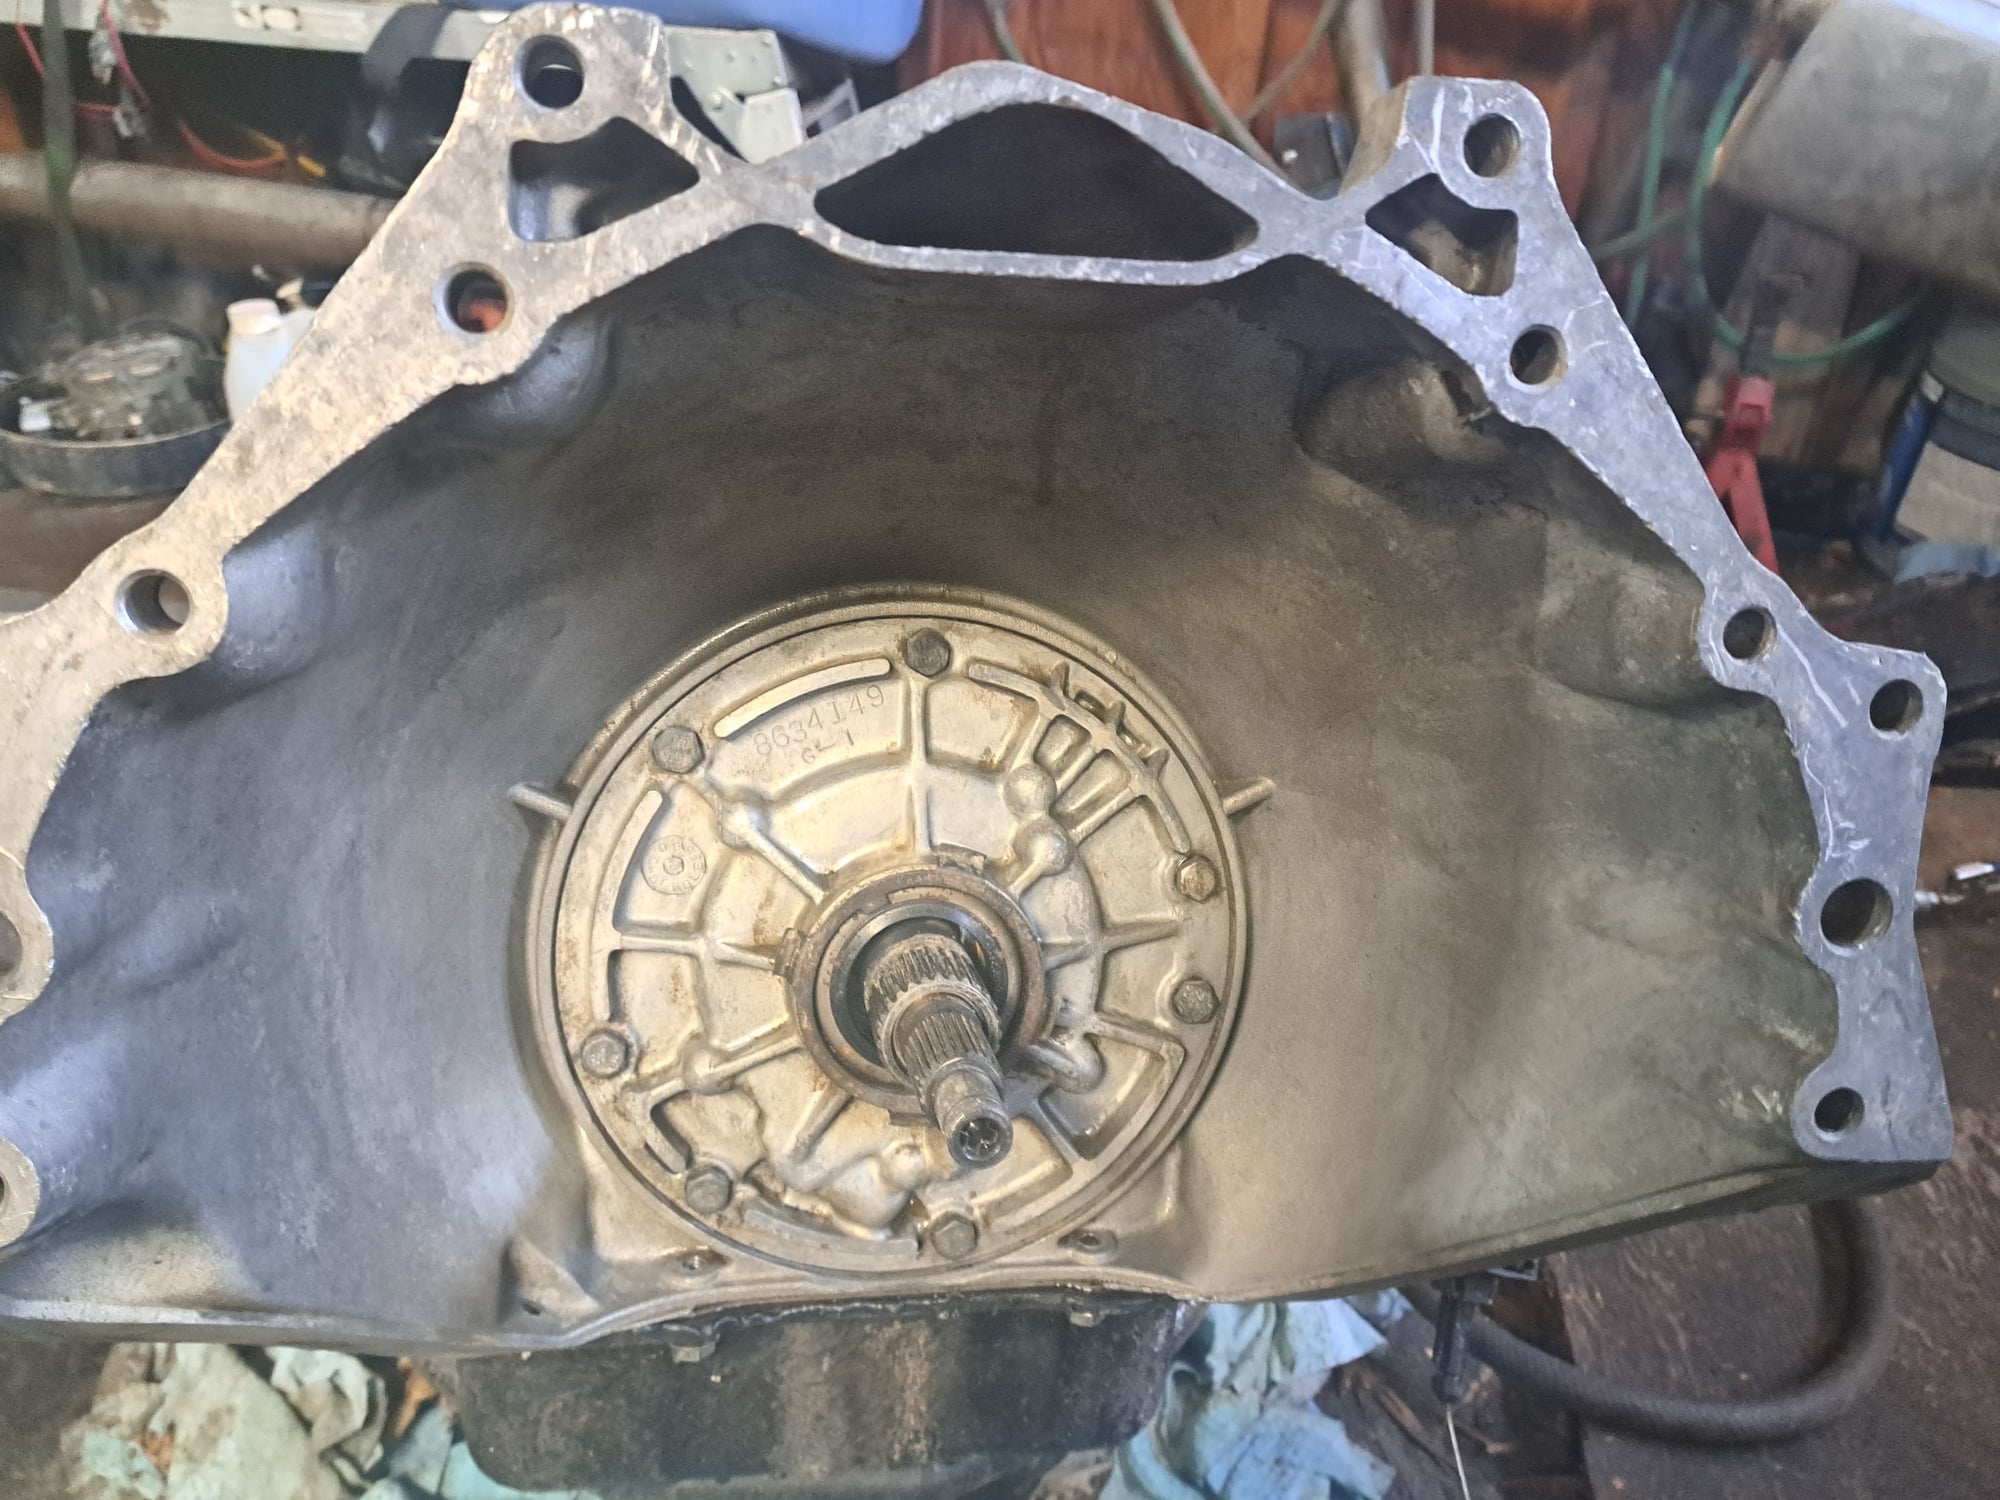
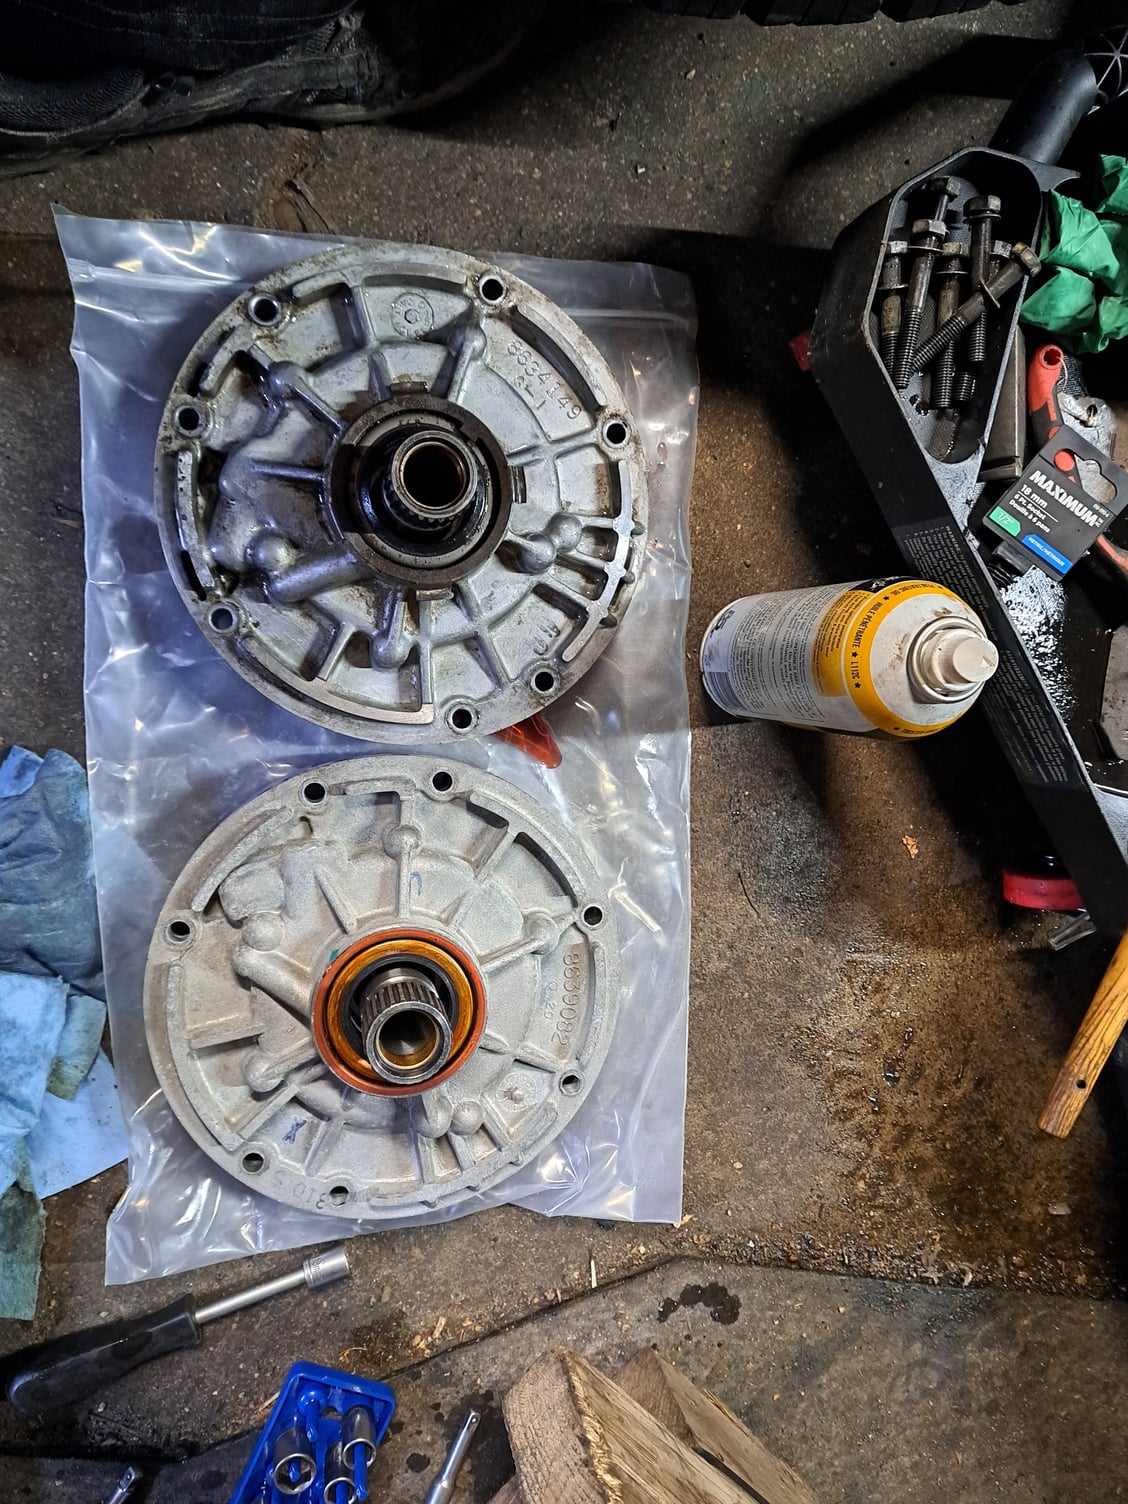
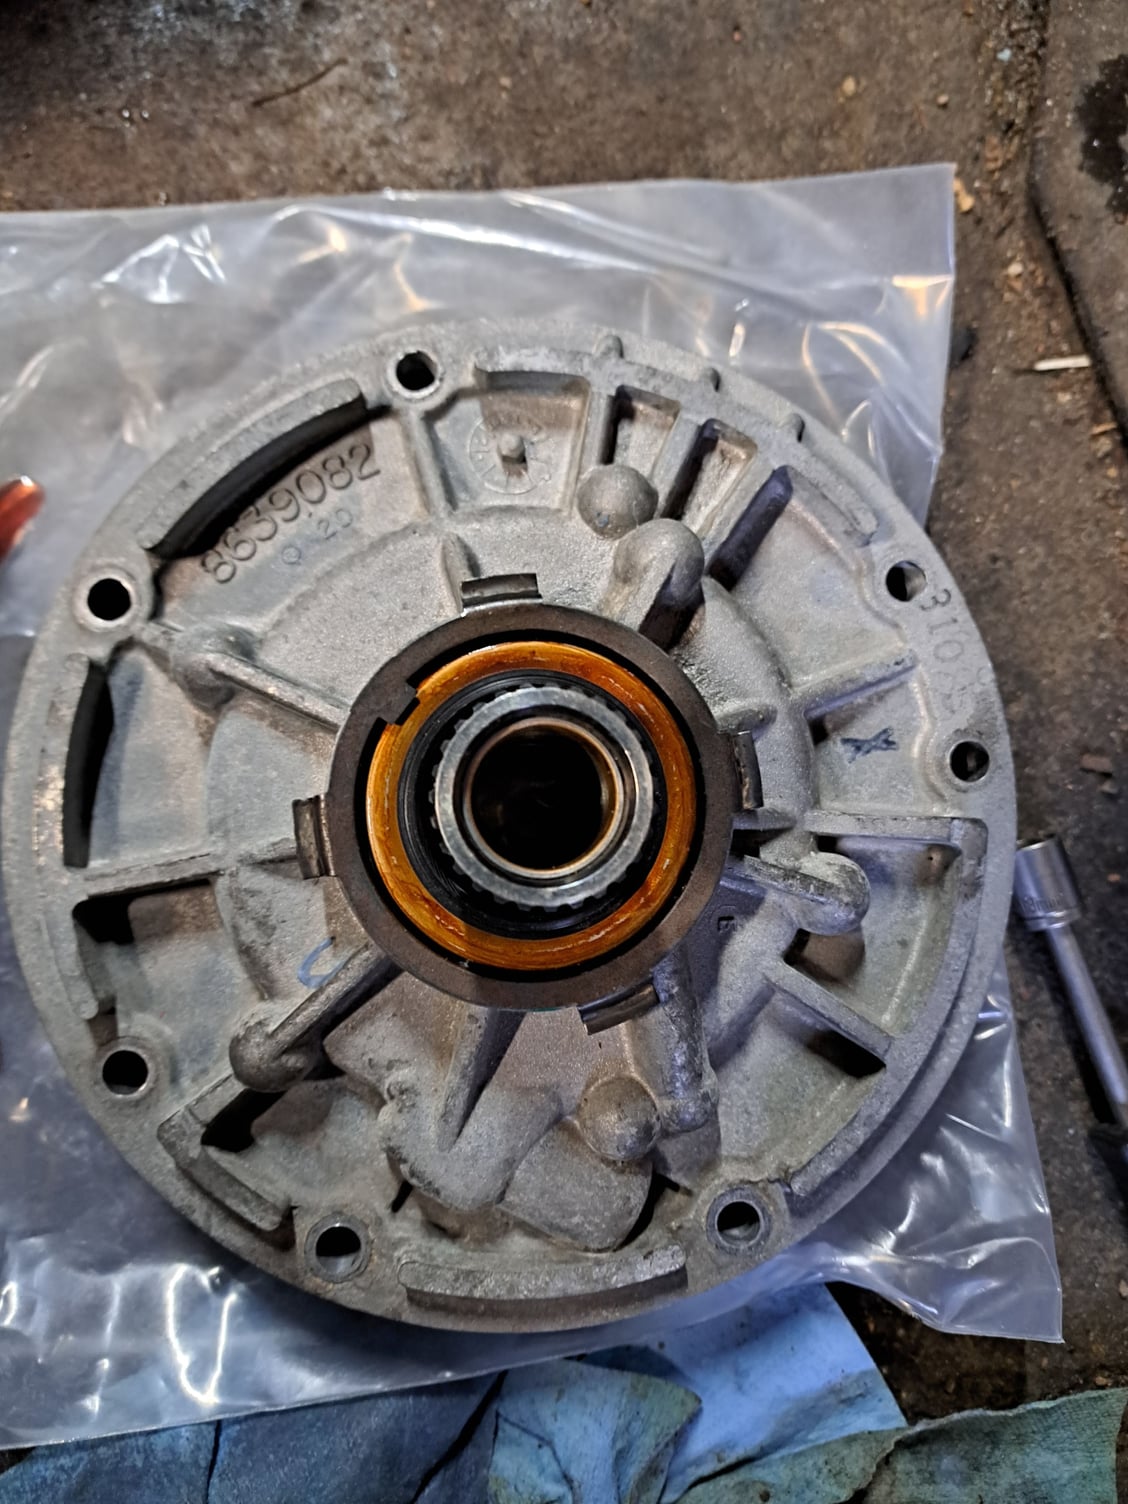
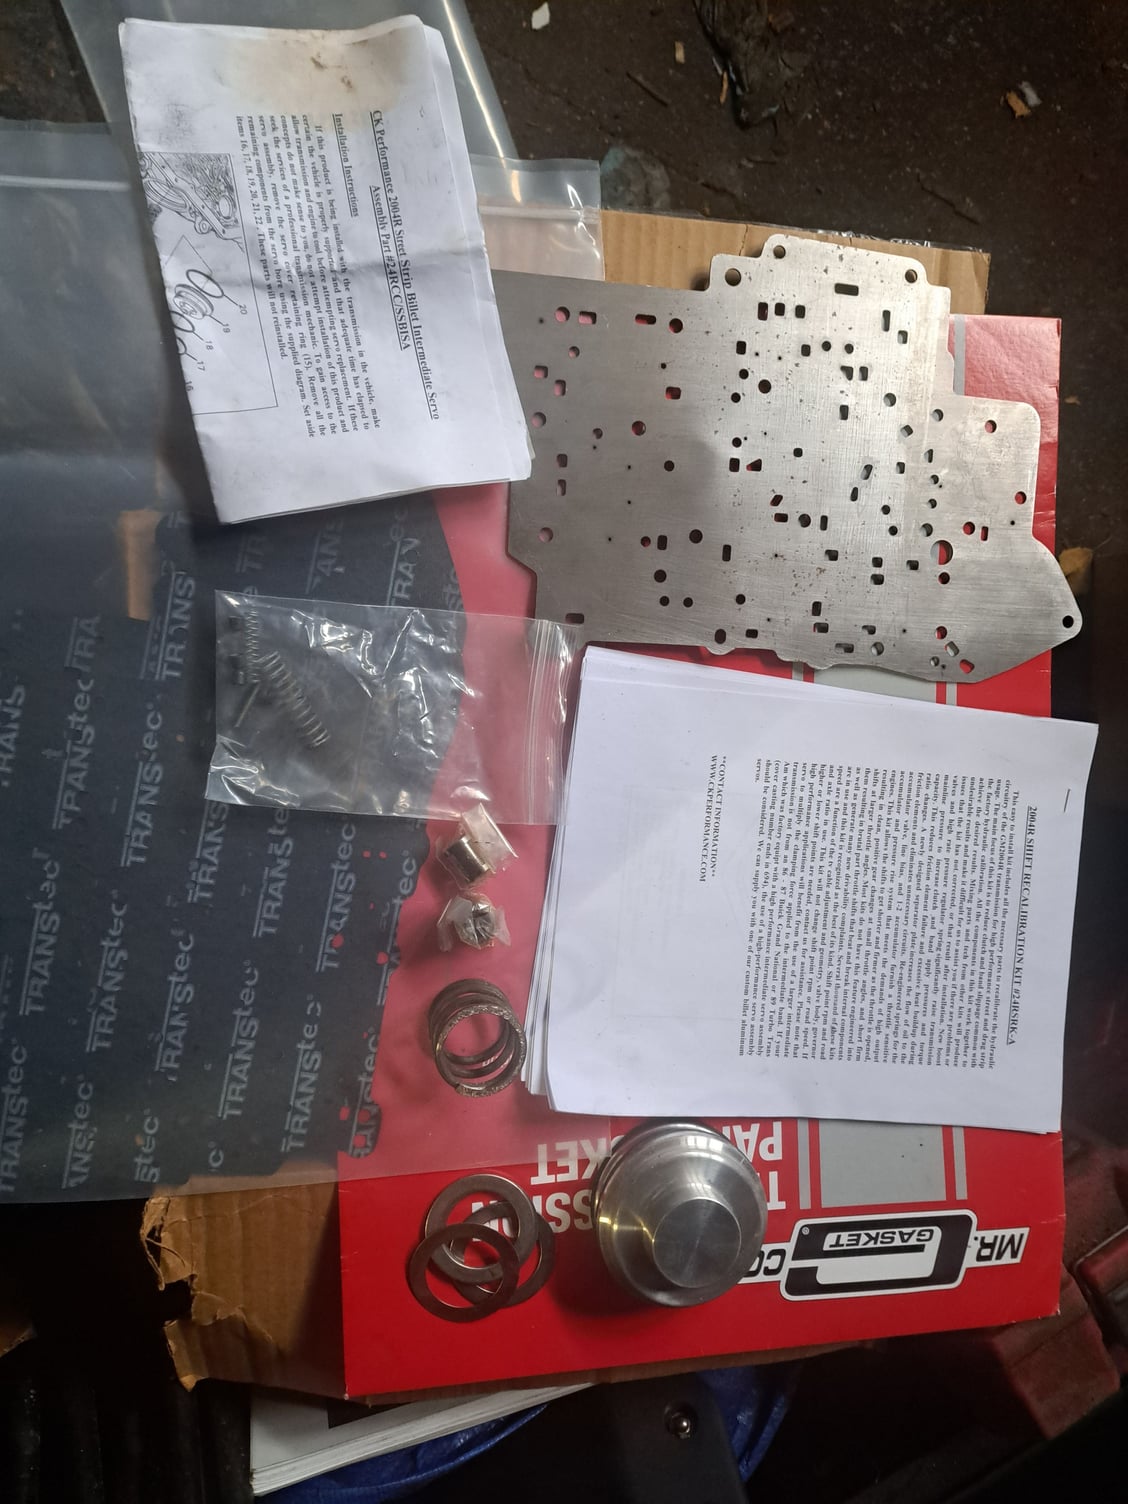
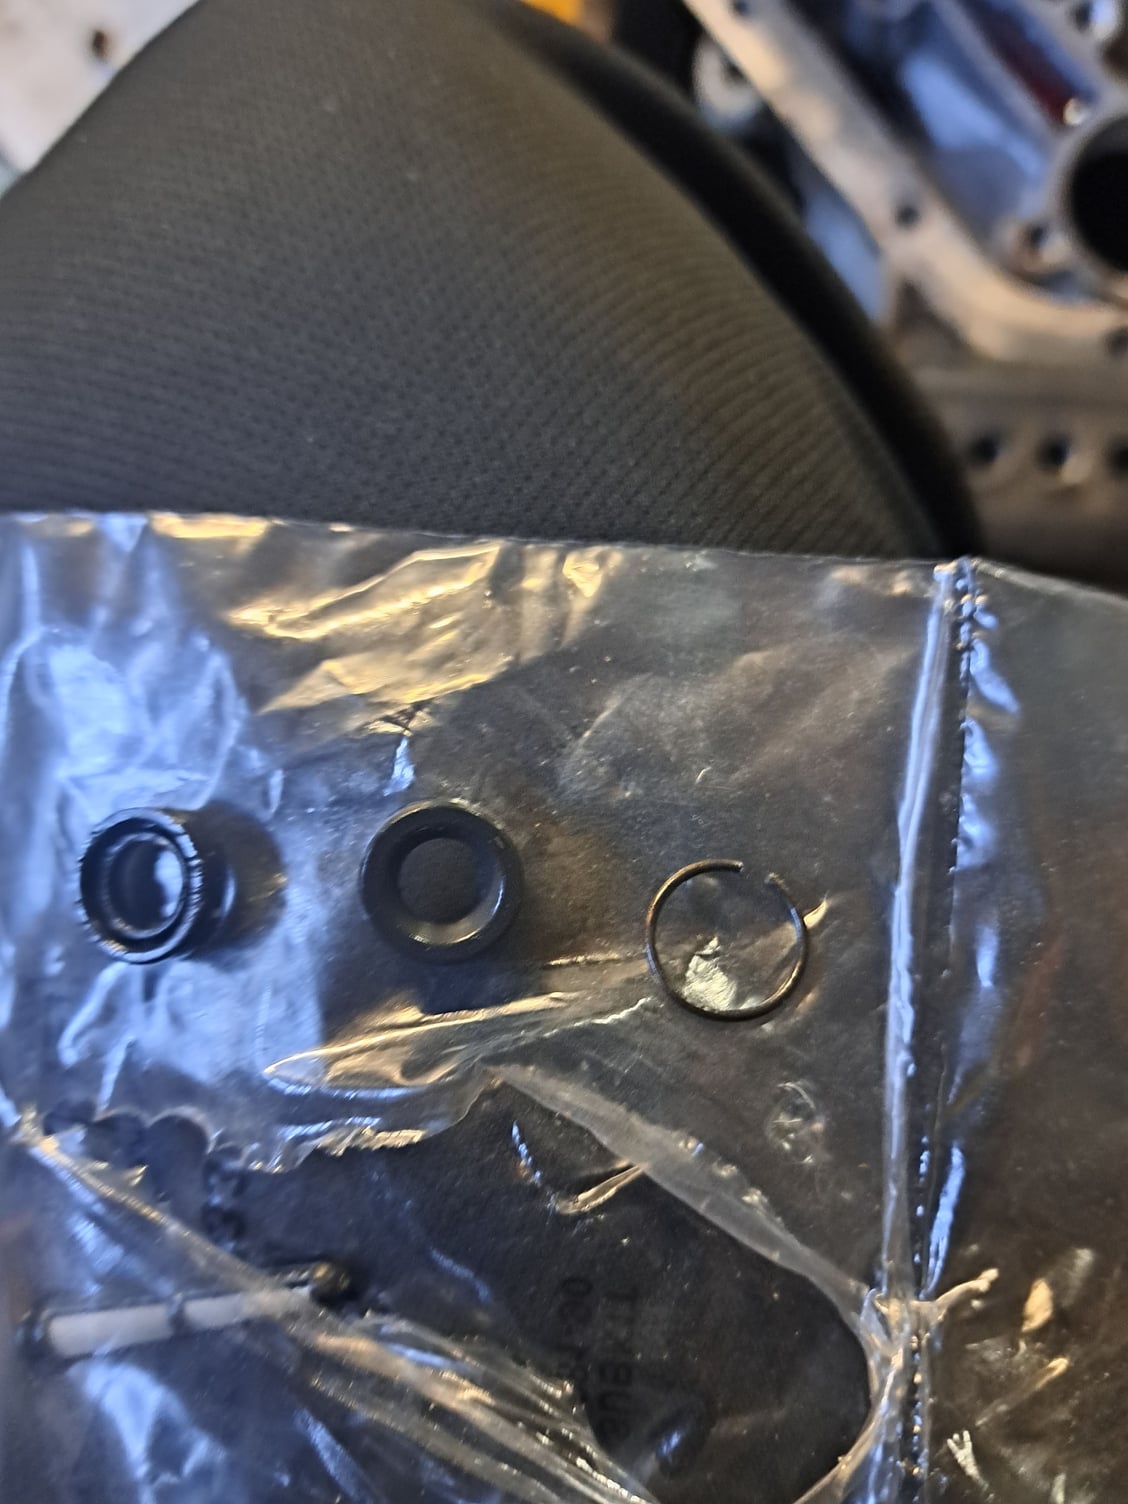
I got the CK pump installed. I added the seal retainer off the orginal pump. I used Vaseline to lube the O ring around the pump plus position and hold the plastic washer behind the pump. I started installing the CK Performance shift kit. It has very few parts. Basically a new line bias and accumulator spring. Plus the removal 3-2 control valve spring, a cup plug takes its place at the opposite end. I also plugged both ports the accumulators as instructed and have removed all parts of the accumulators per the instructions. Only the 3-4 is removed on lower output motors. I plan on using a 1/8" bit, .125" to drill the seperator plates, good for 350 HP. The 9/64", .146" is a bit bigger than .140" recommended for 400+ HP per the instructions.

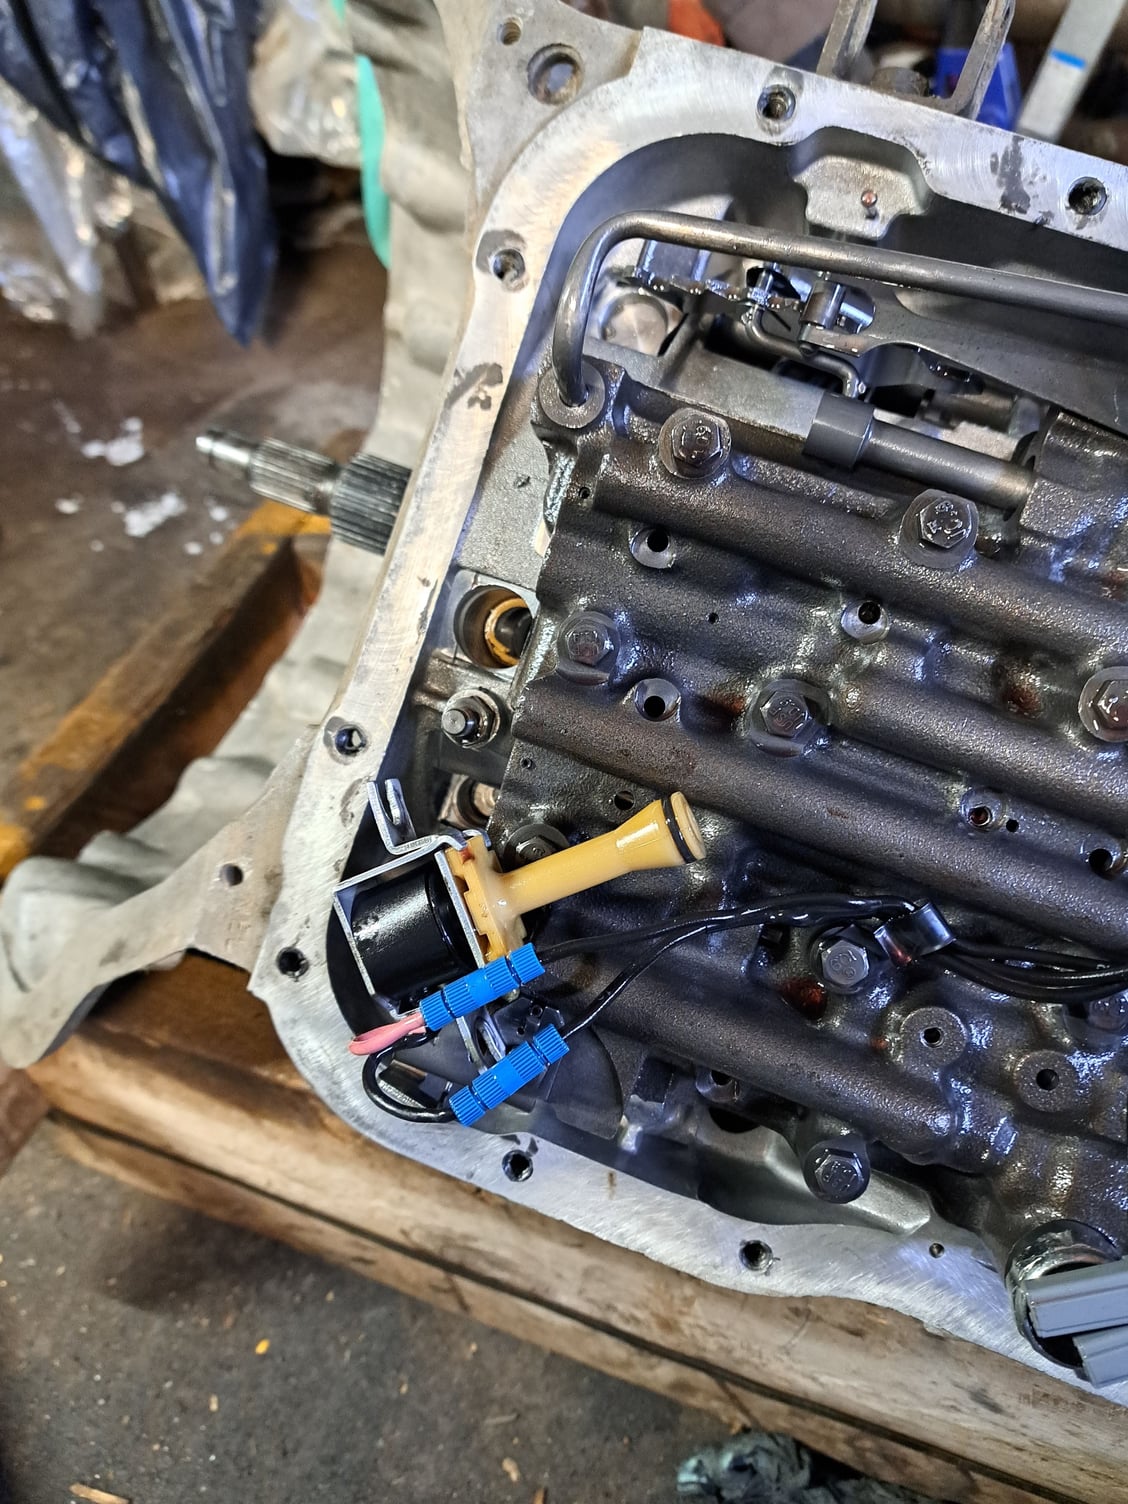
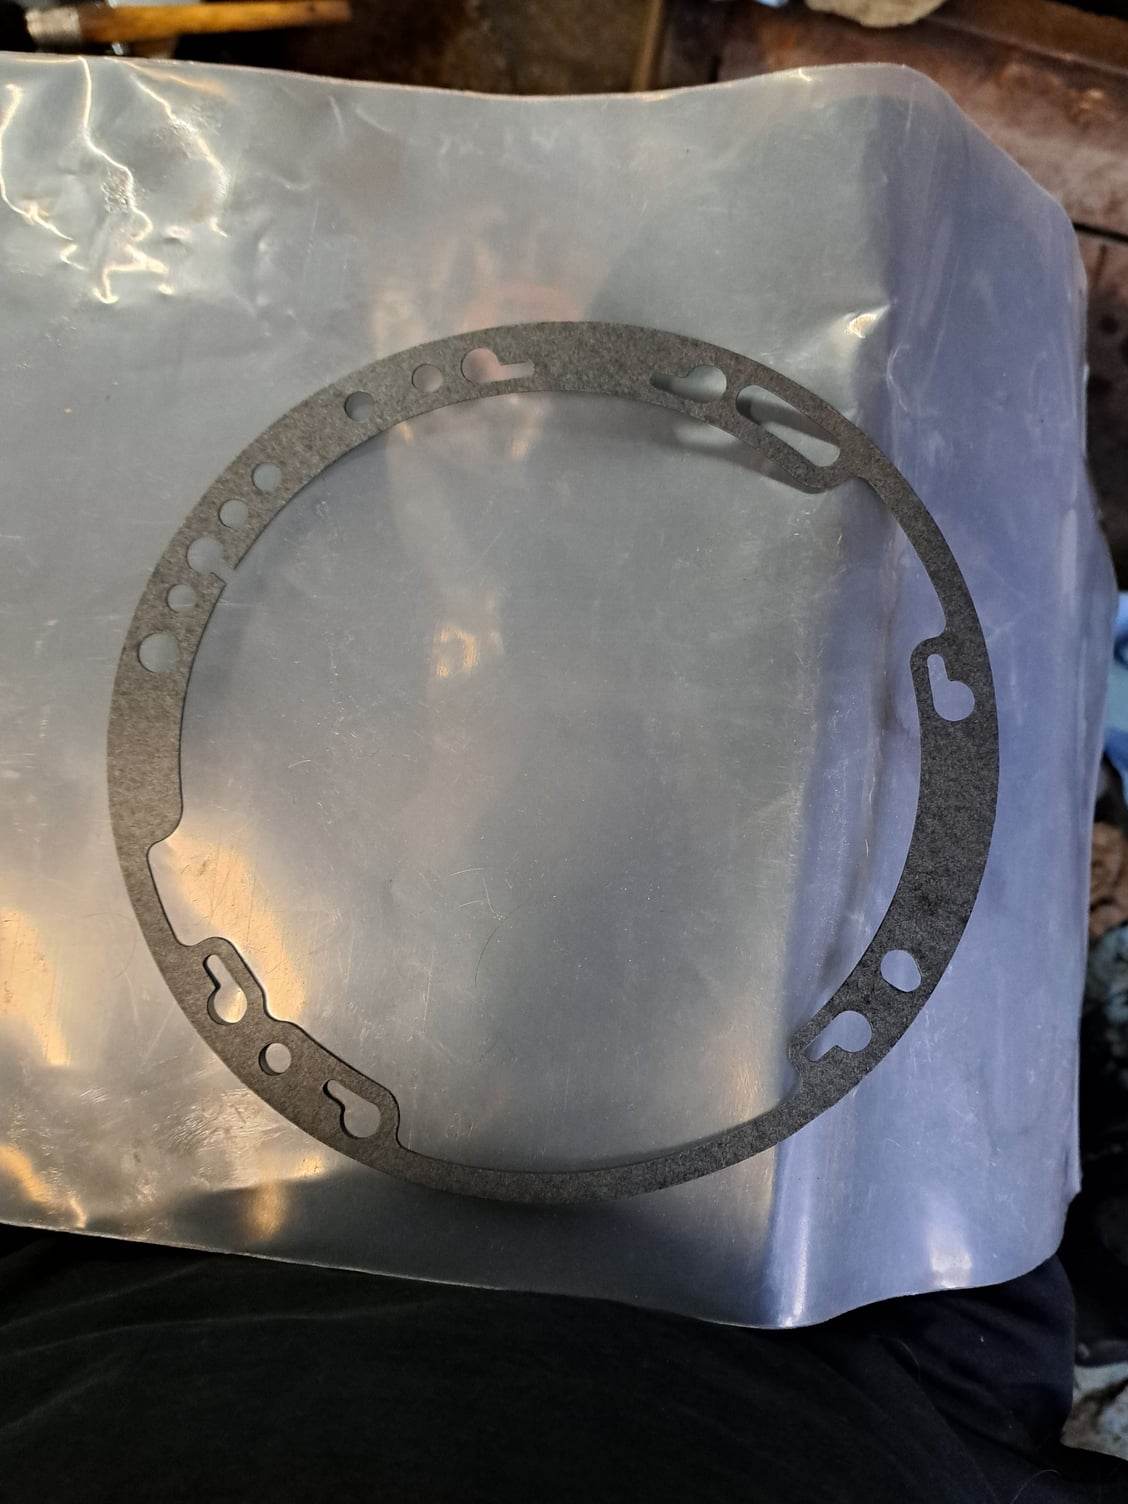
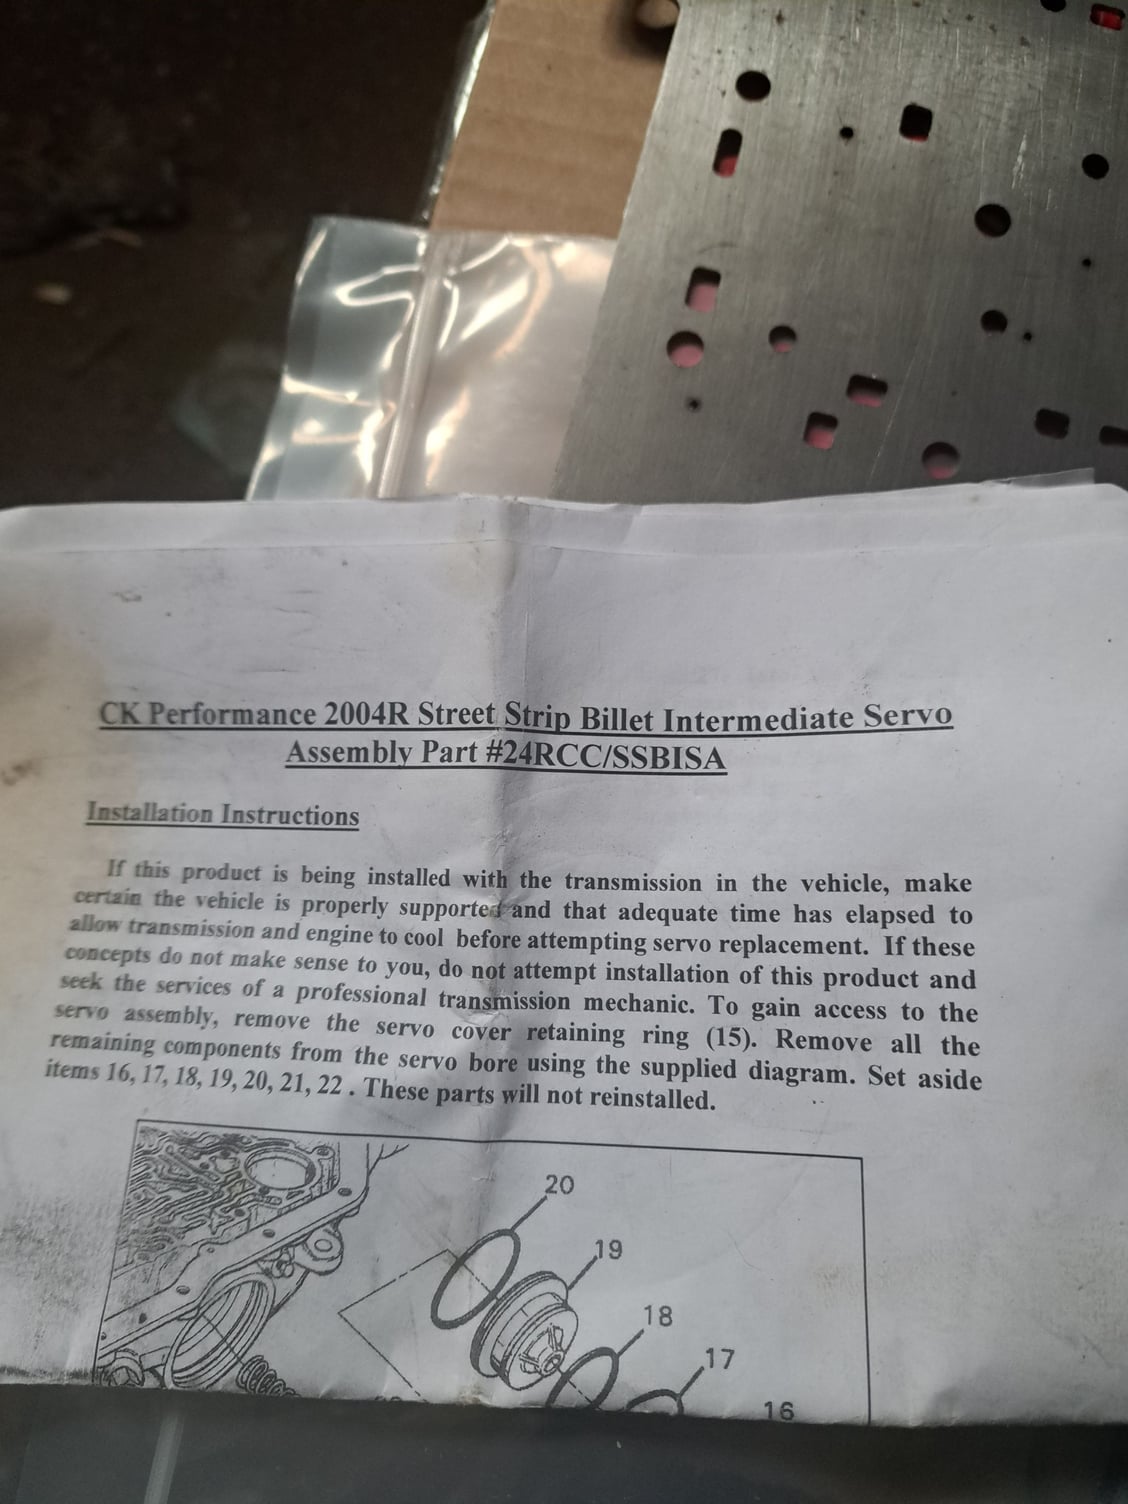
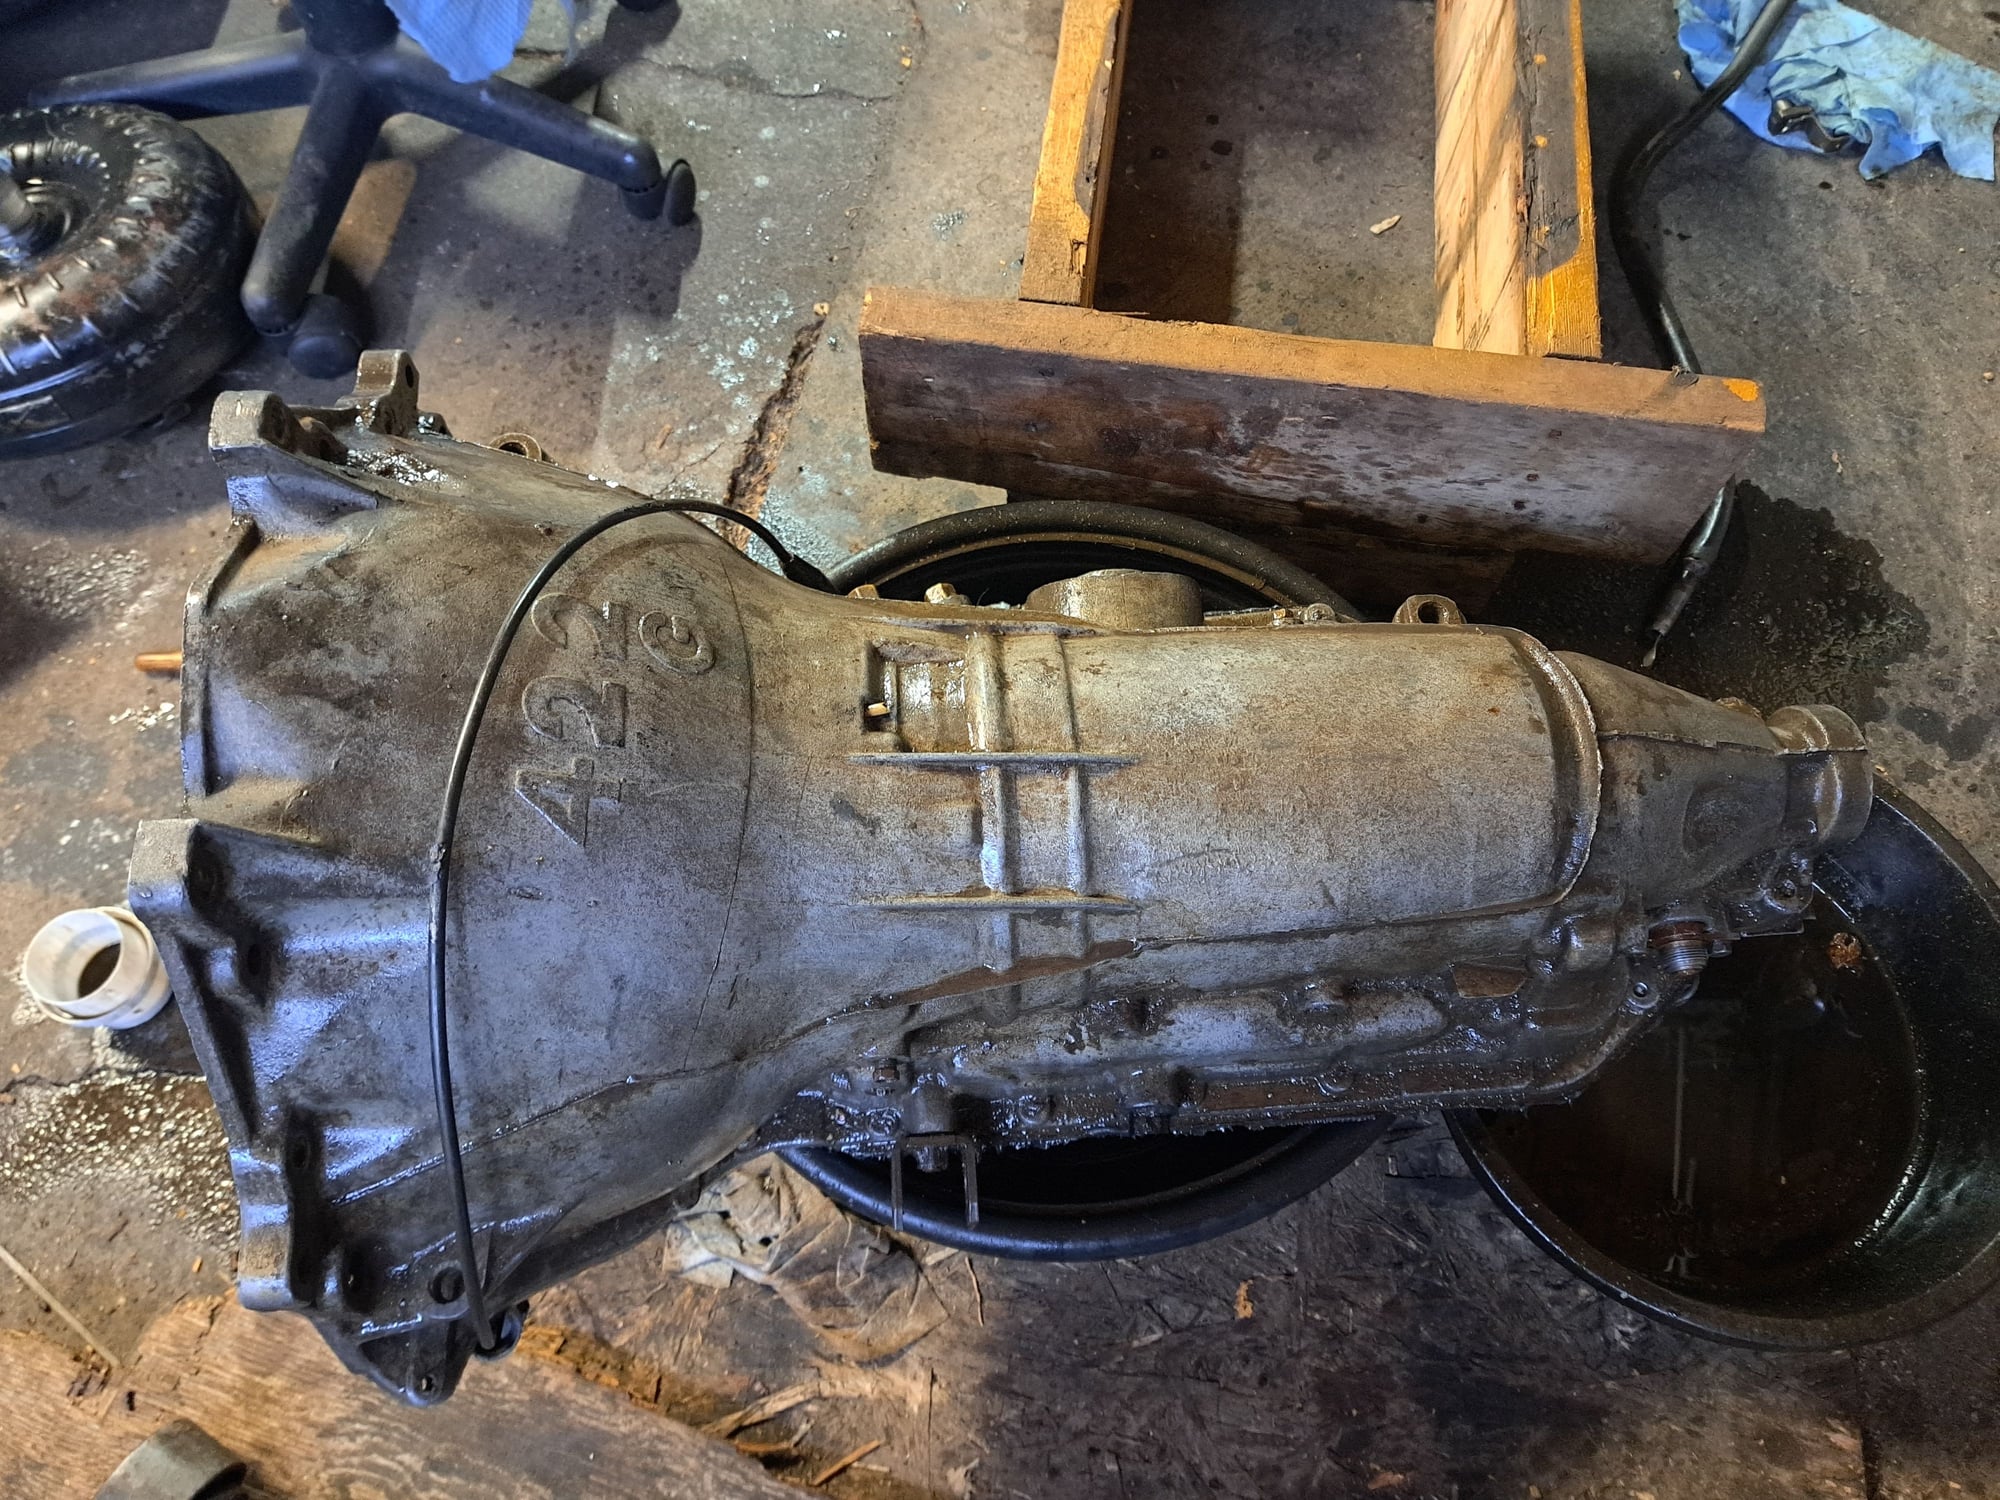
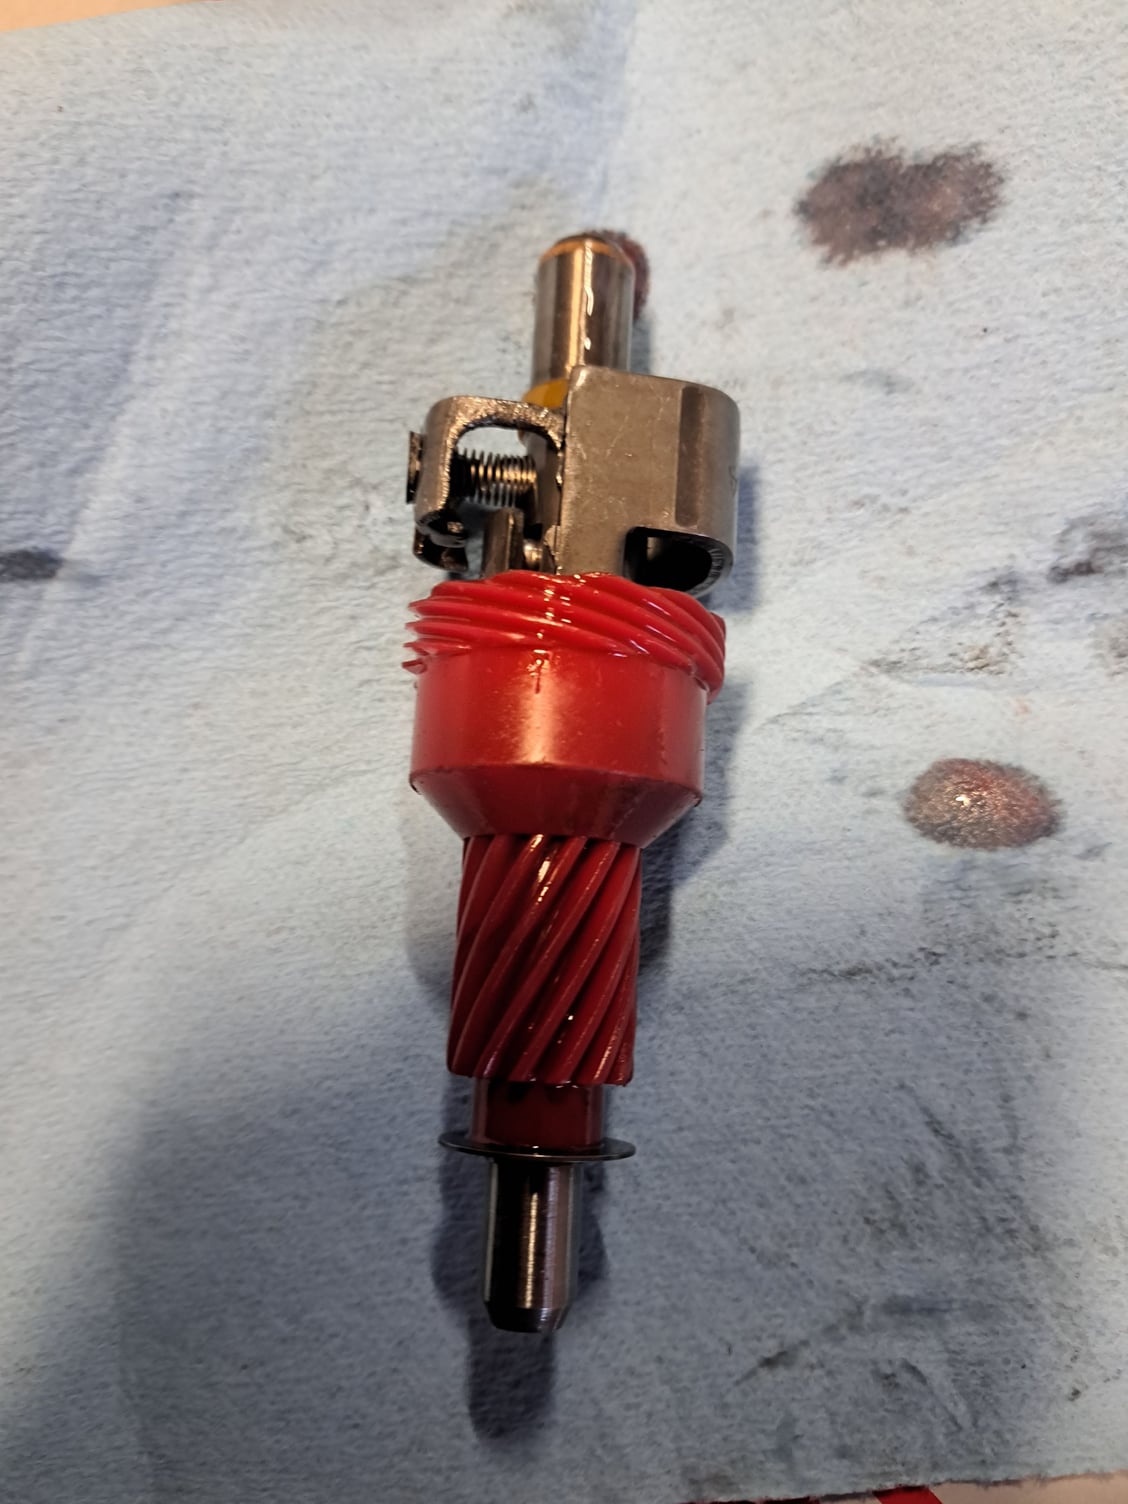
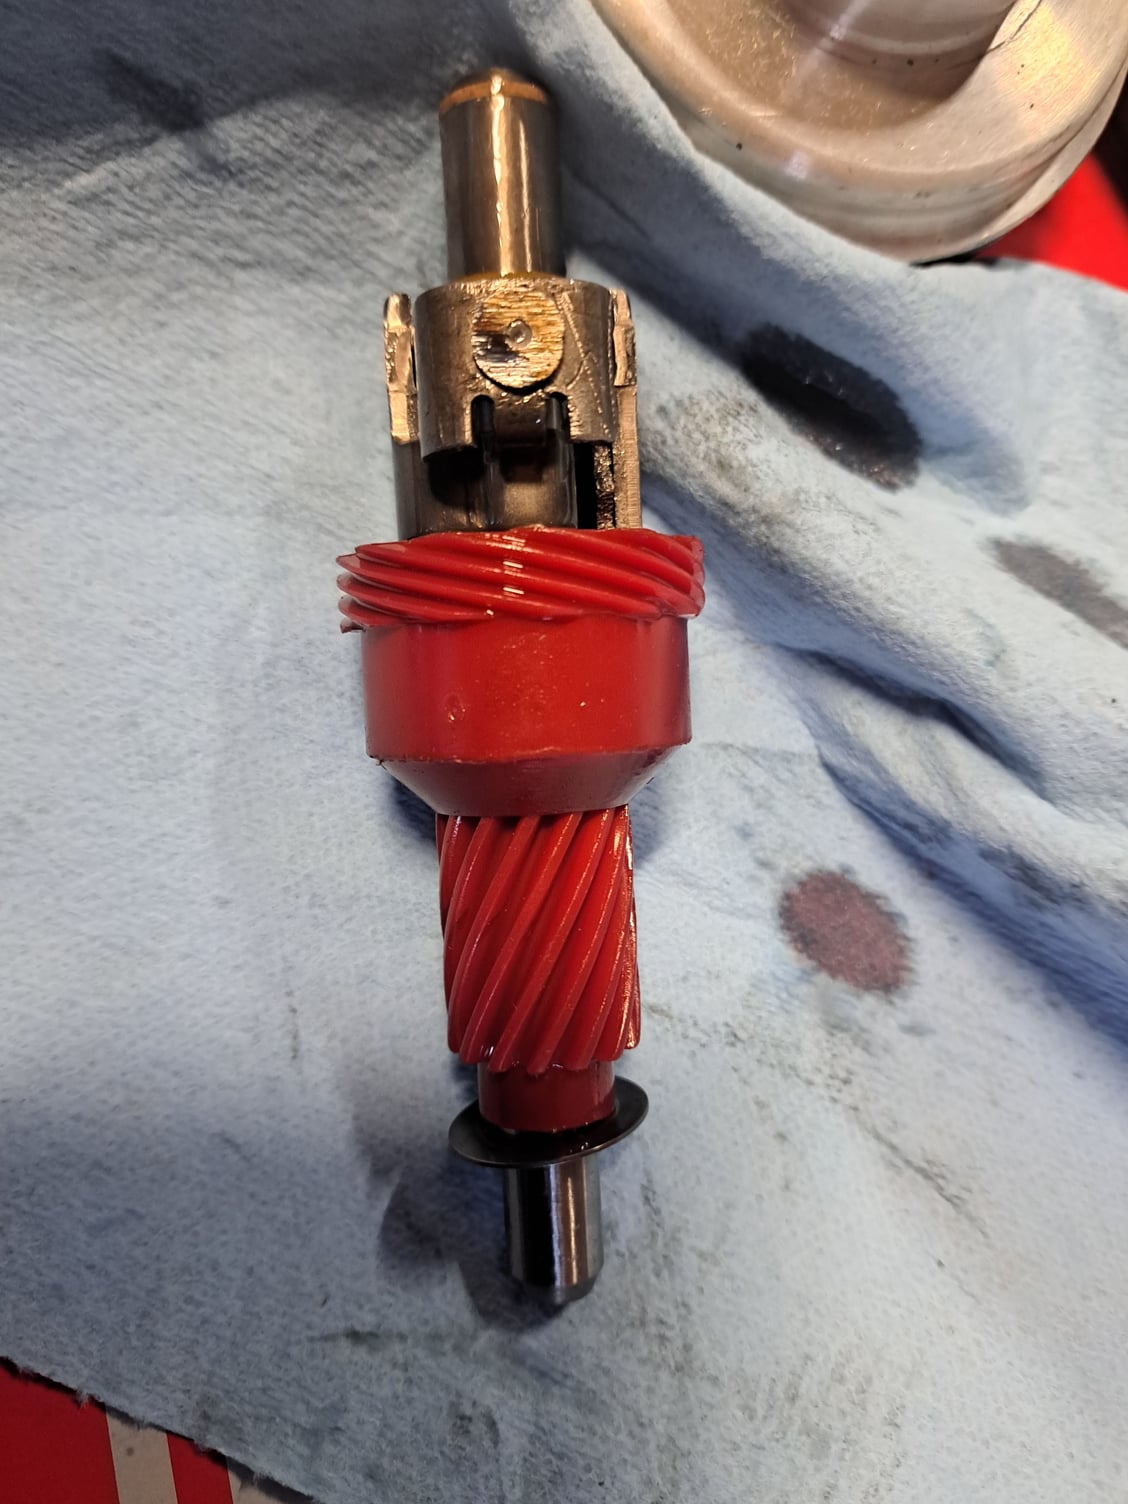
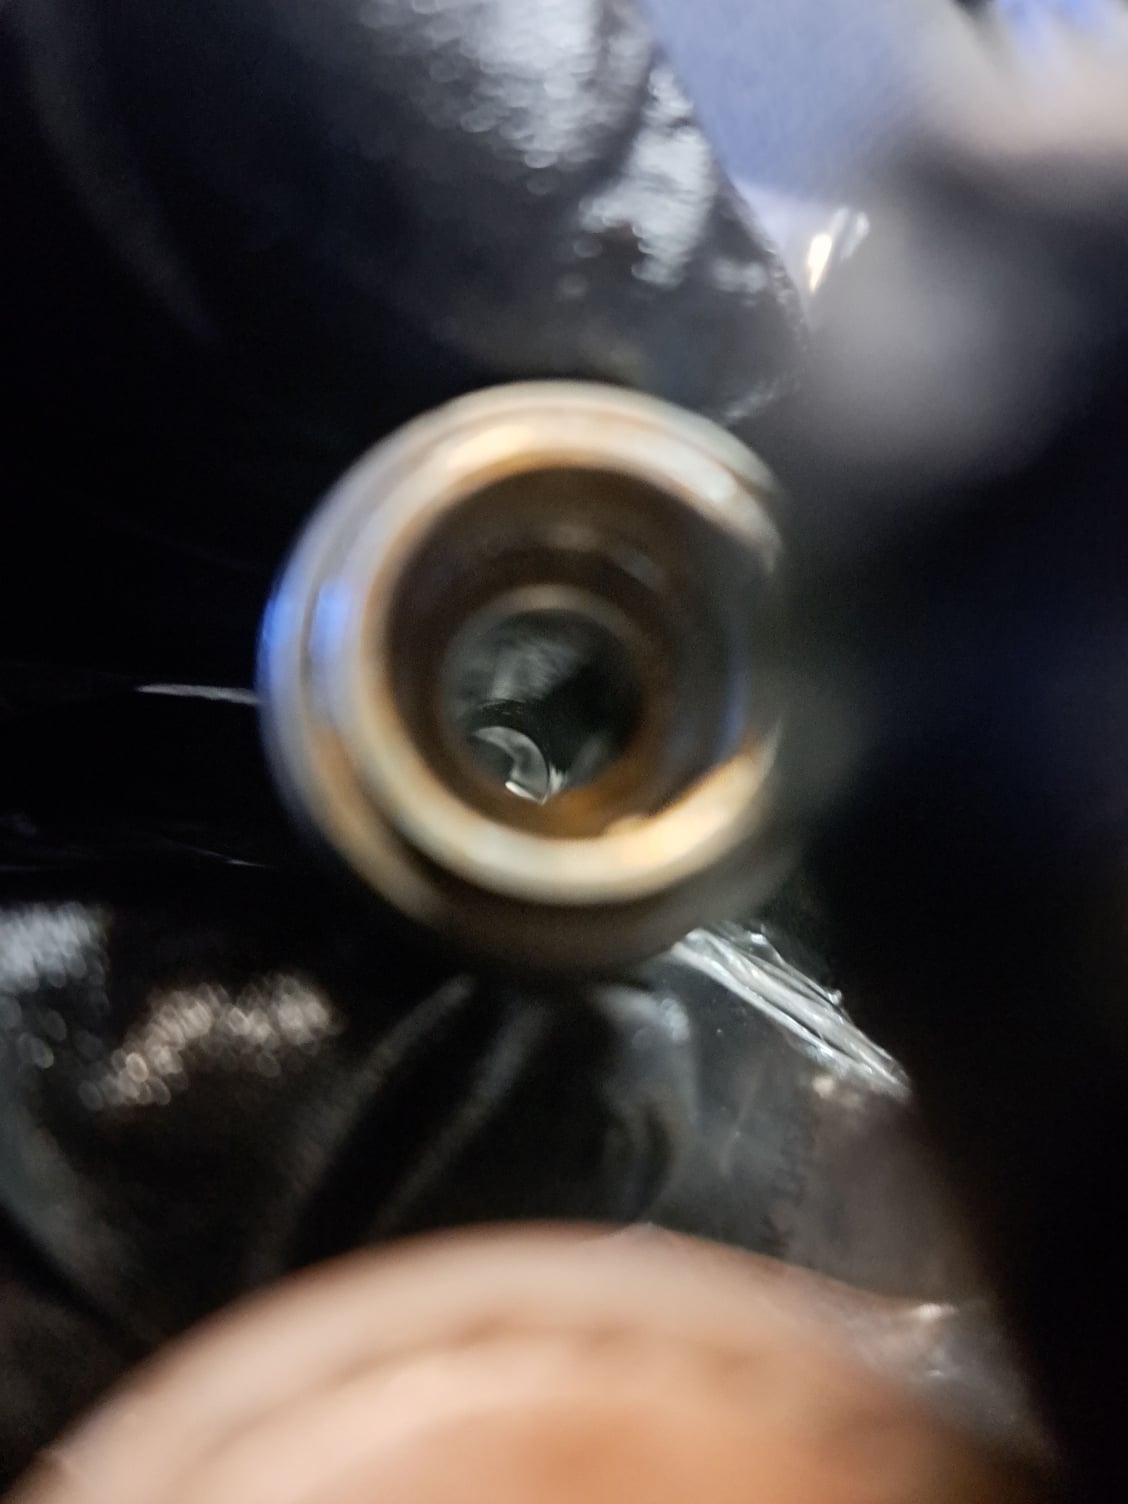
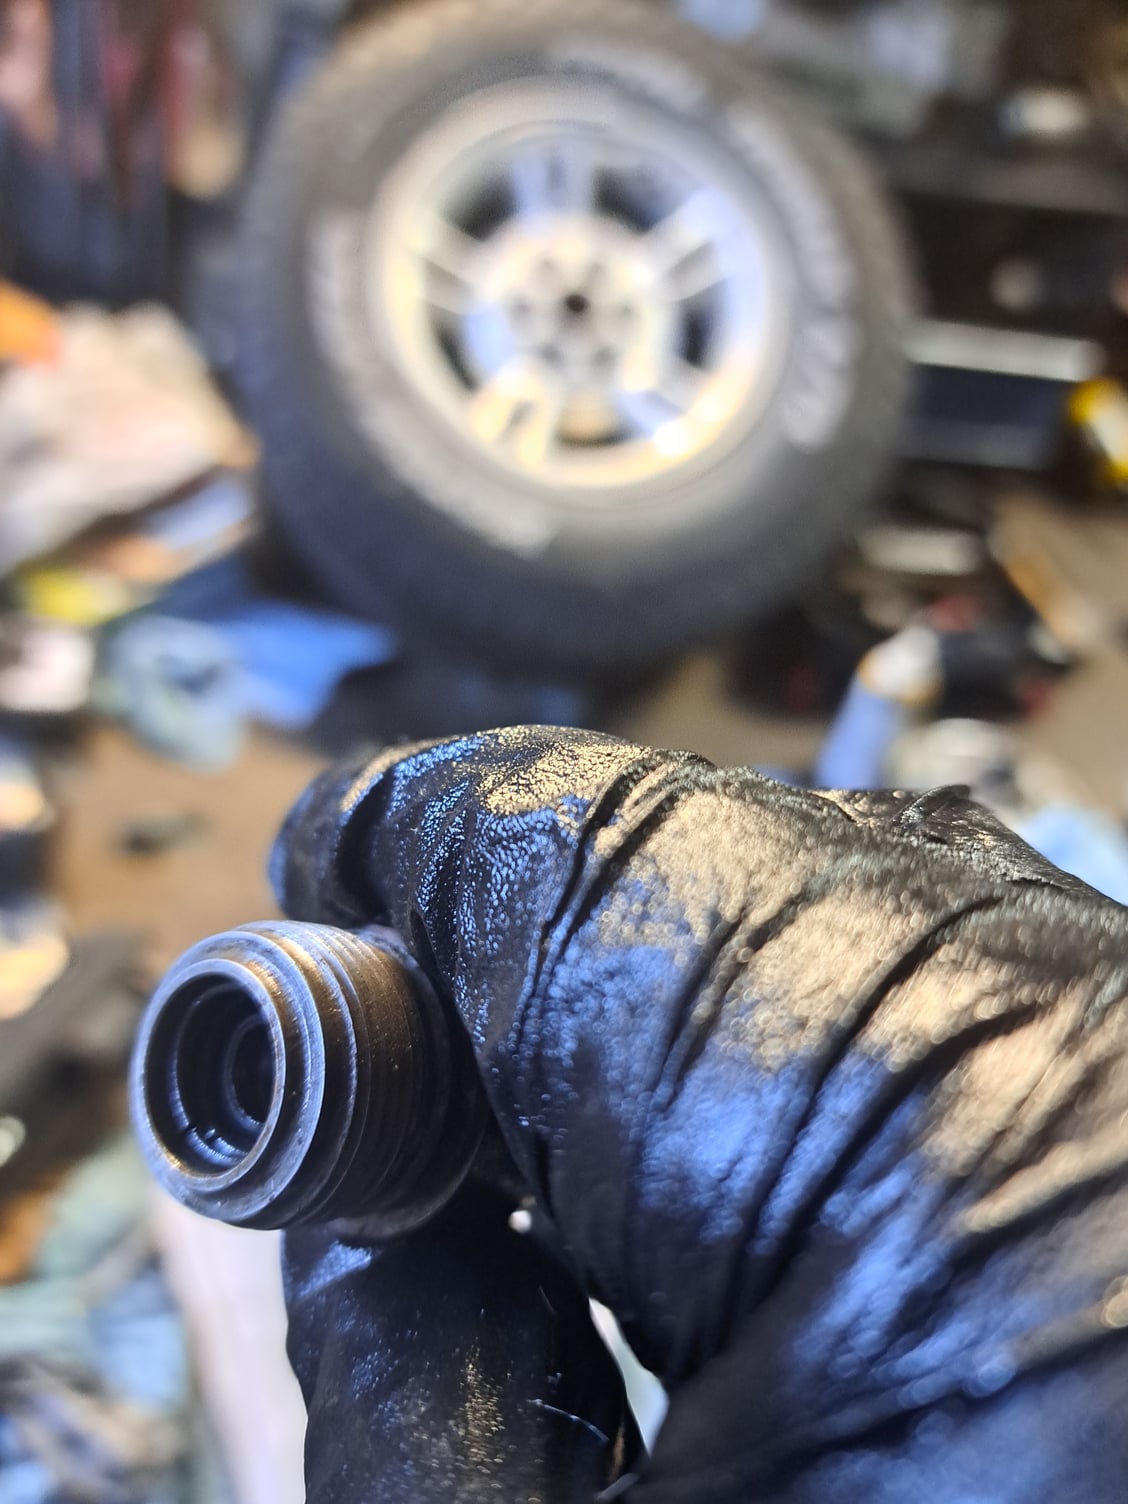
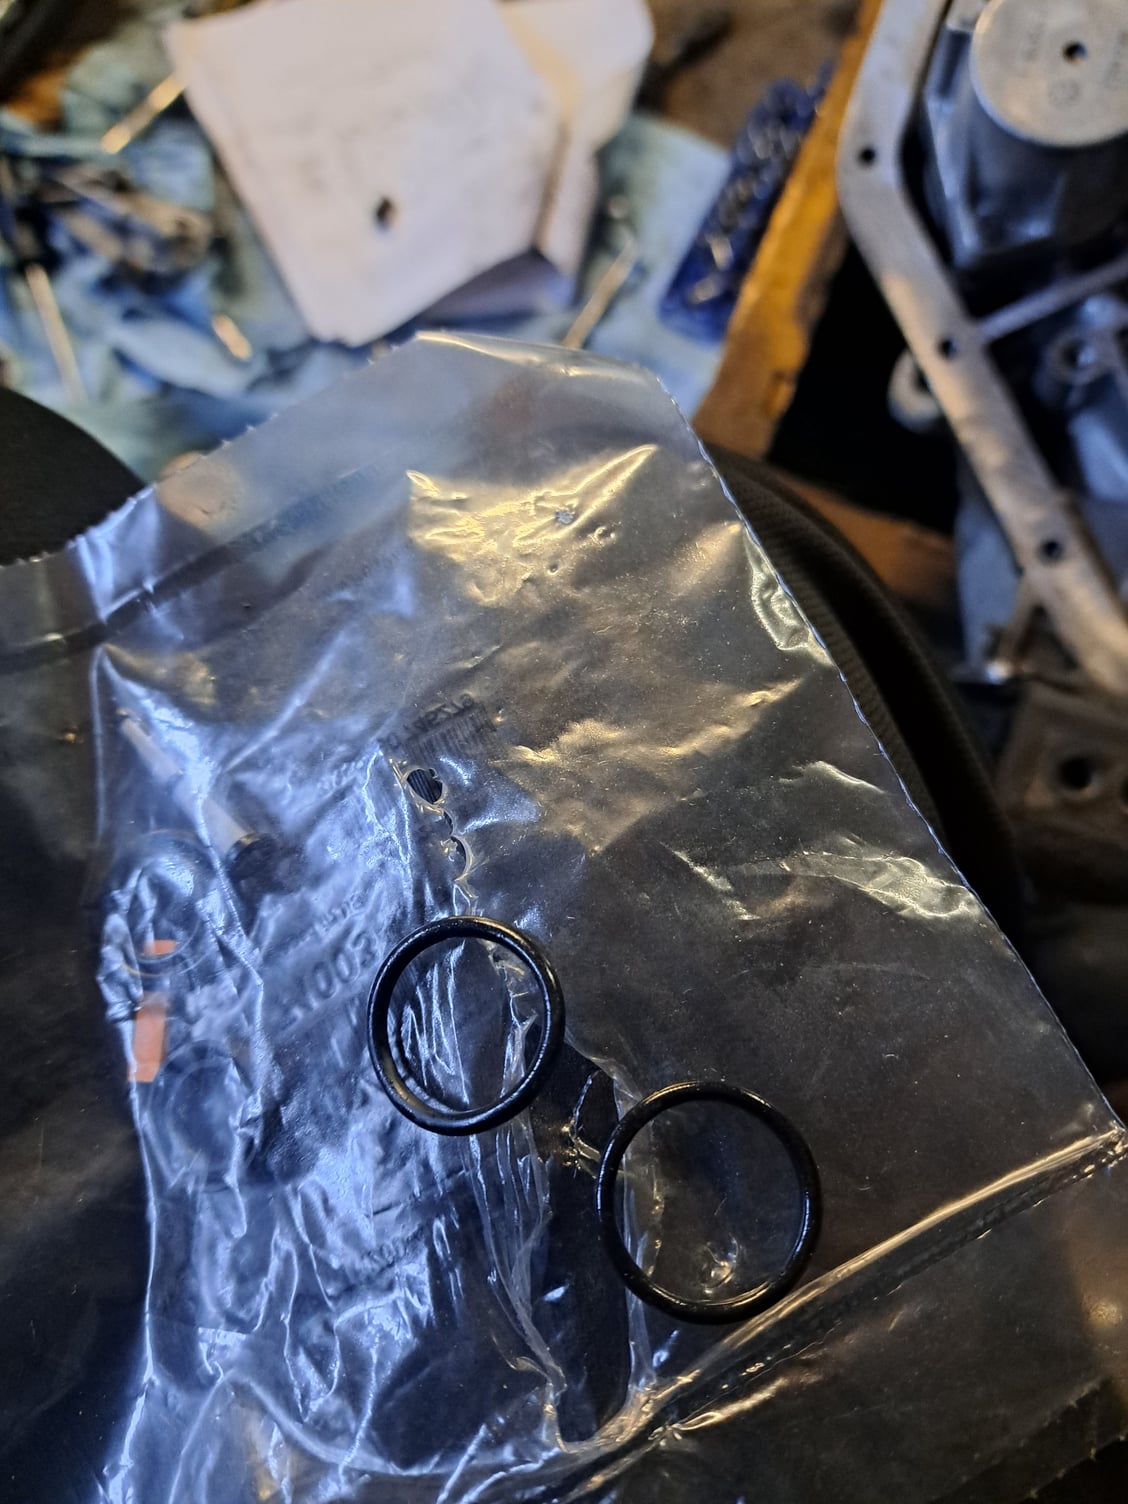
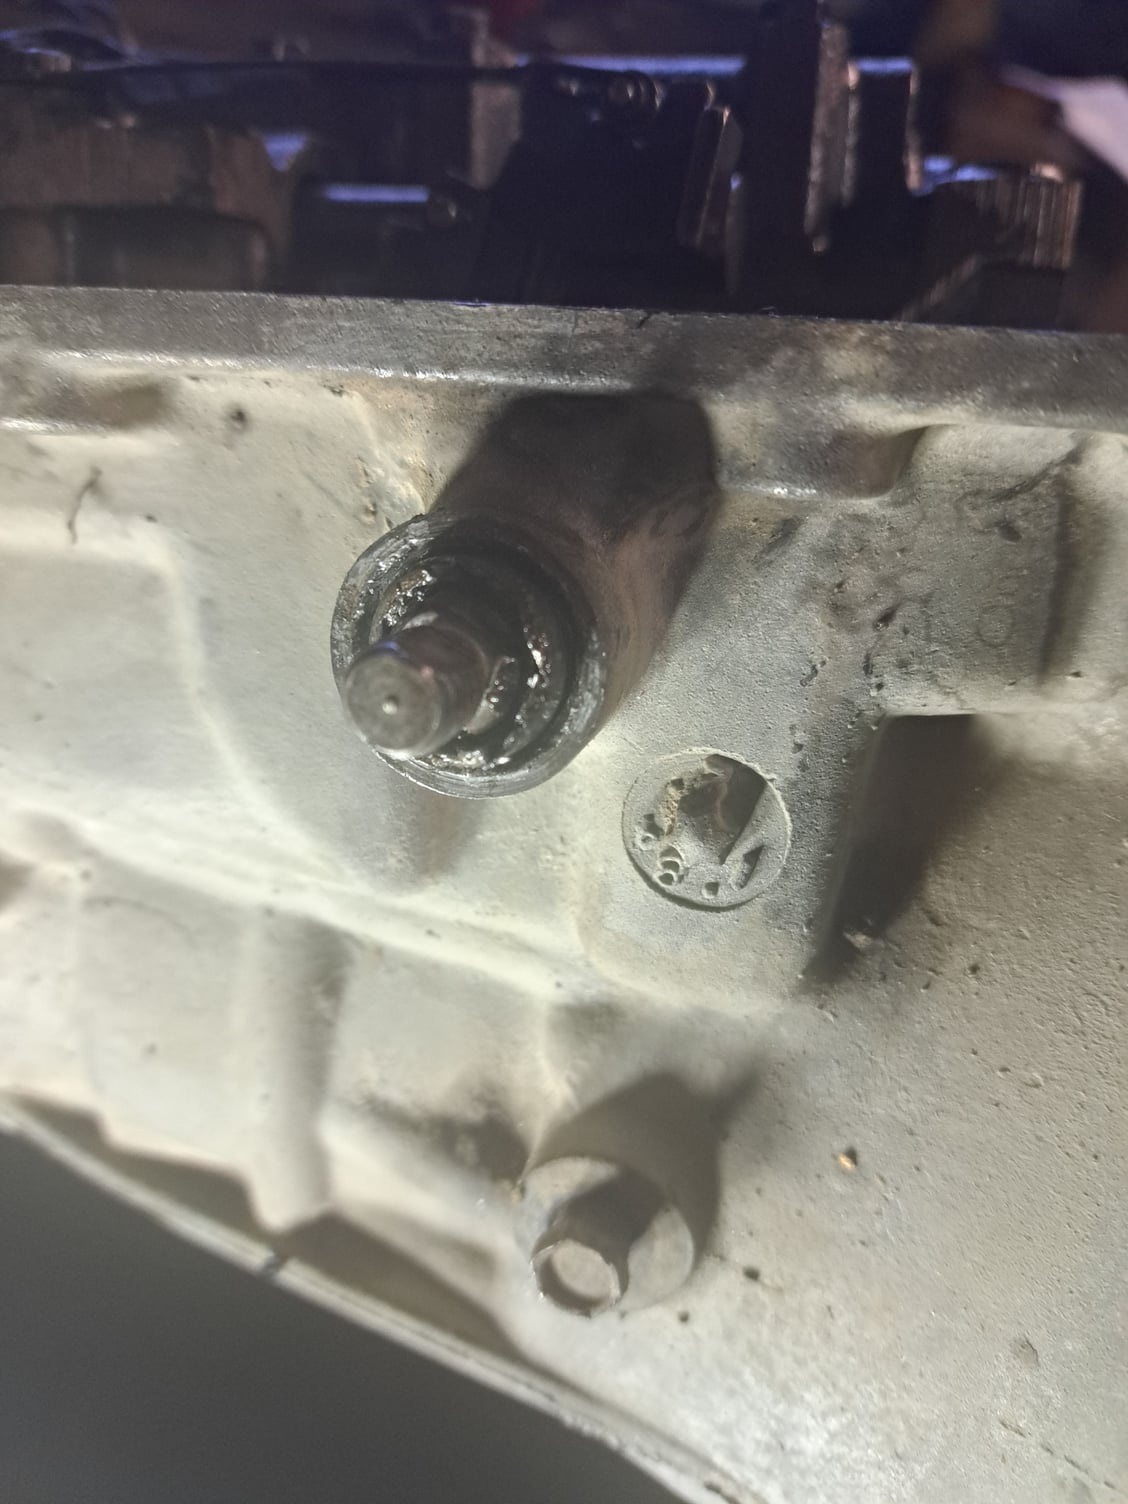
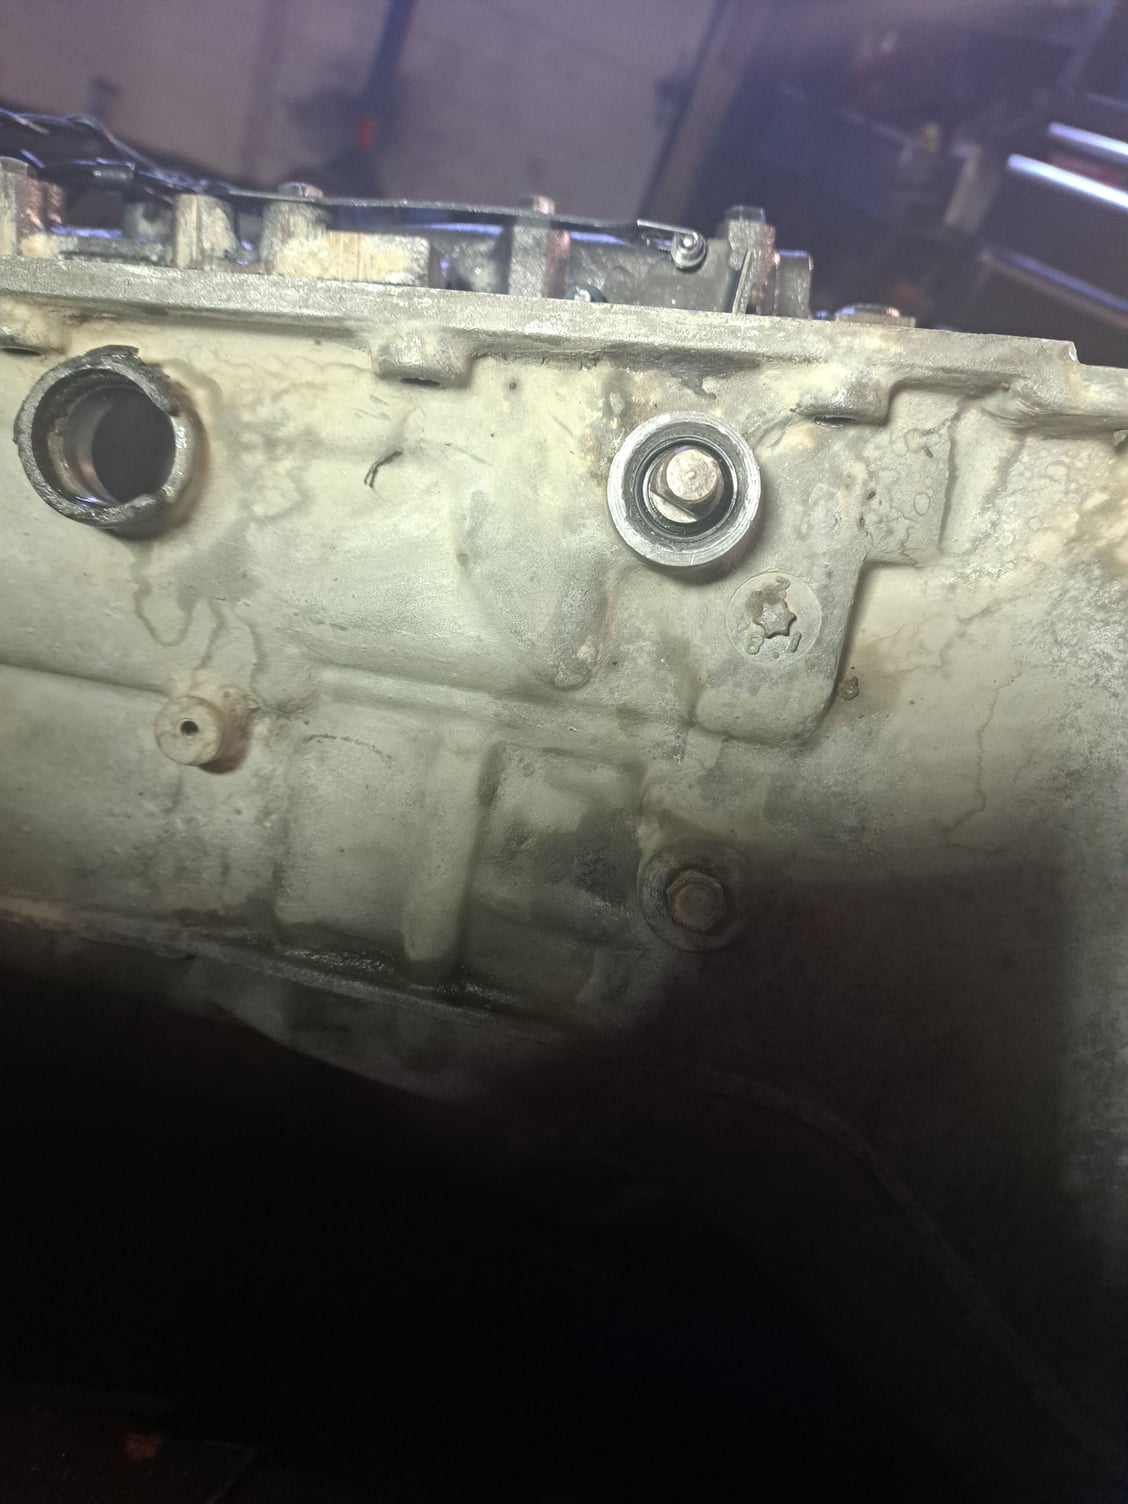
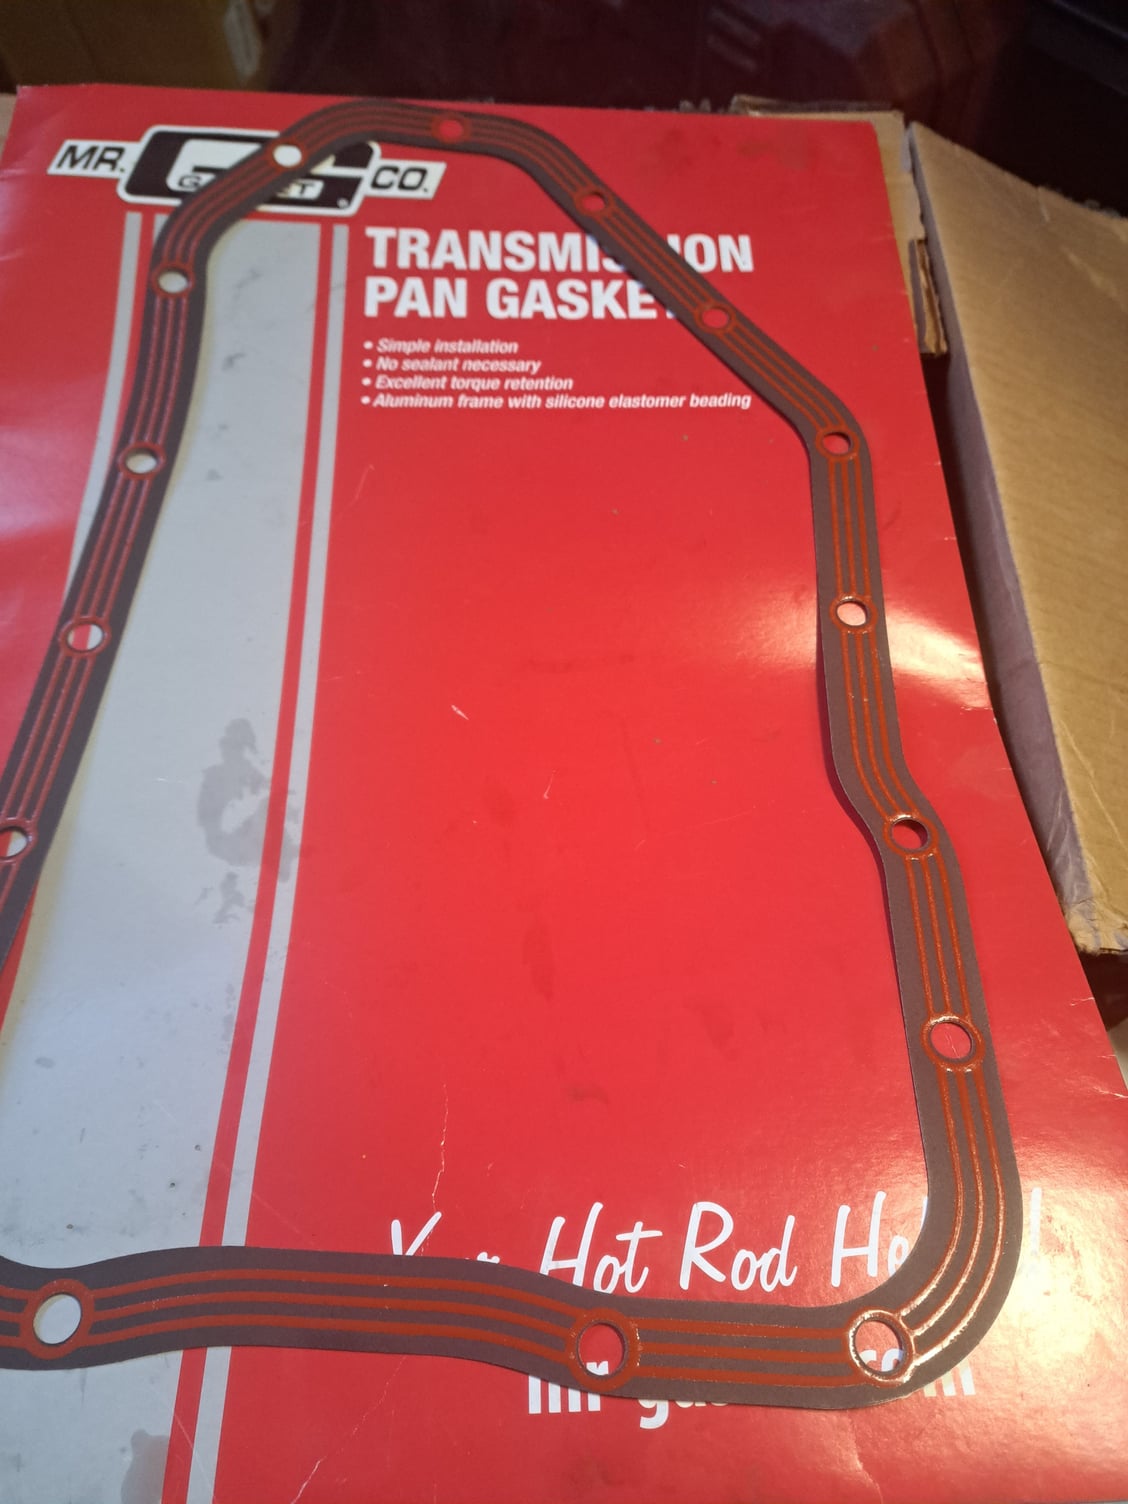
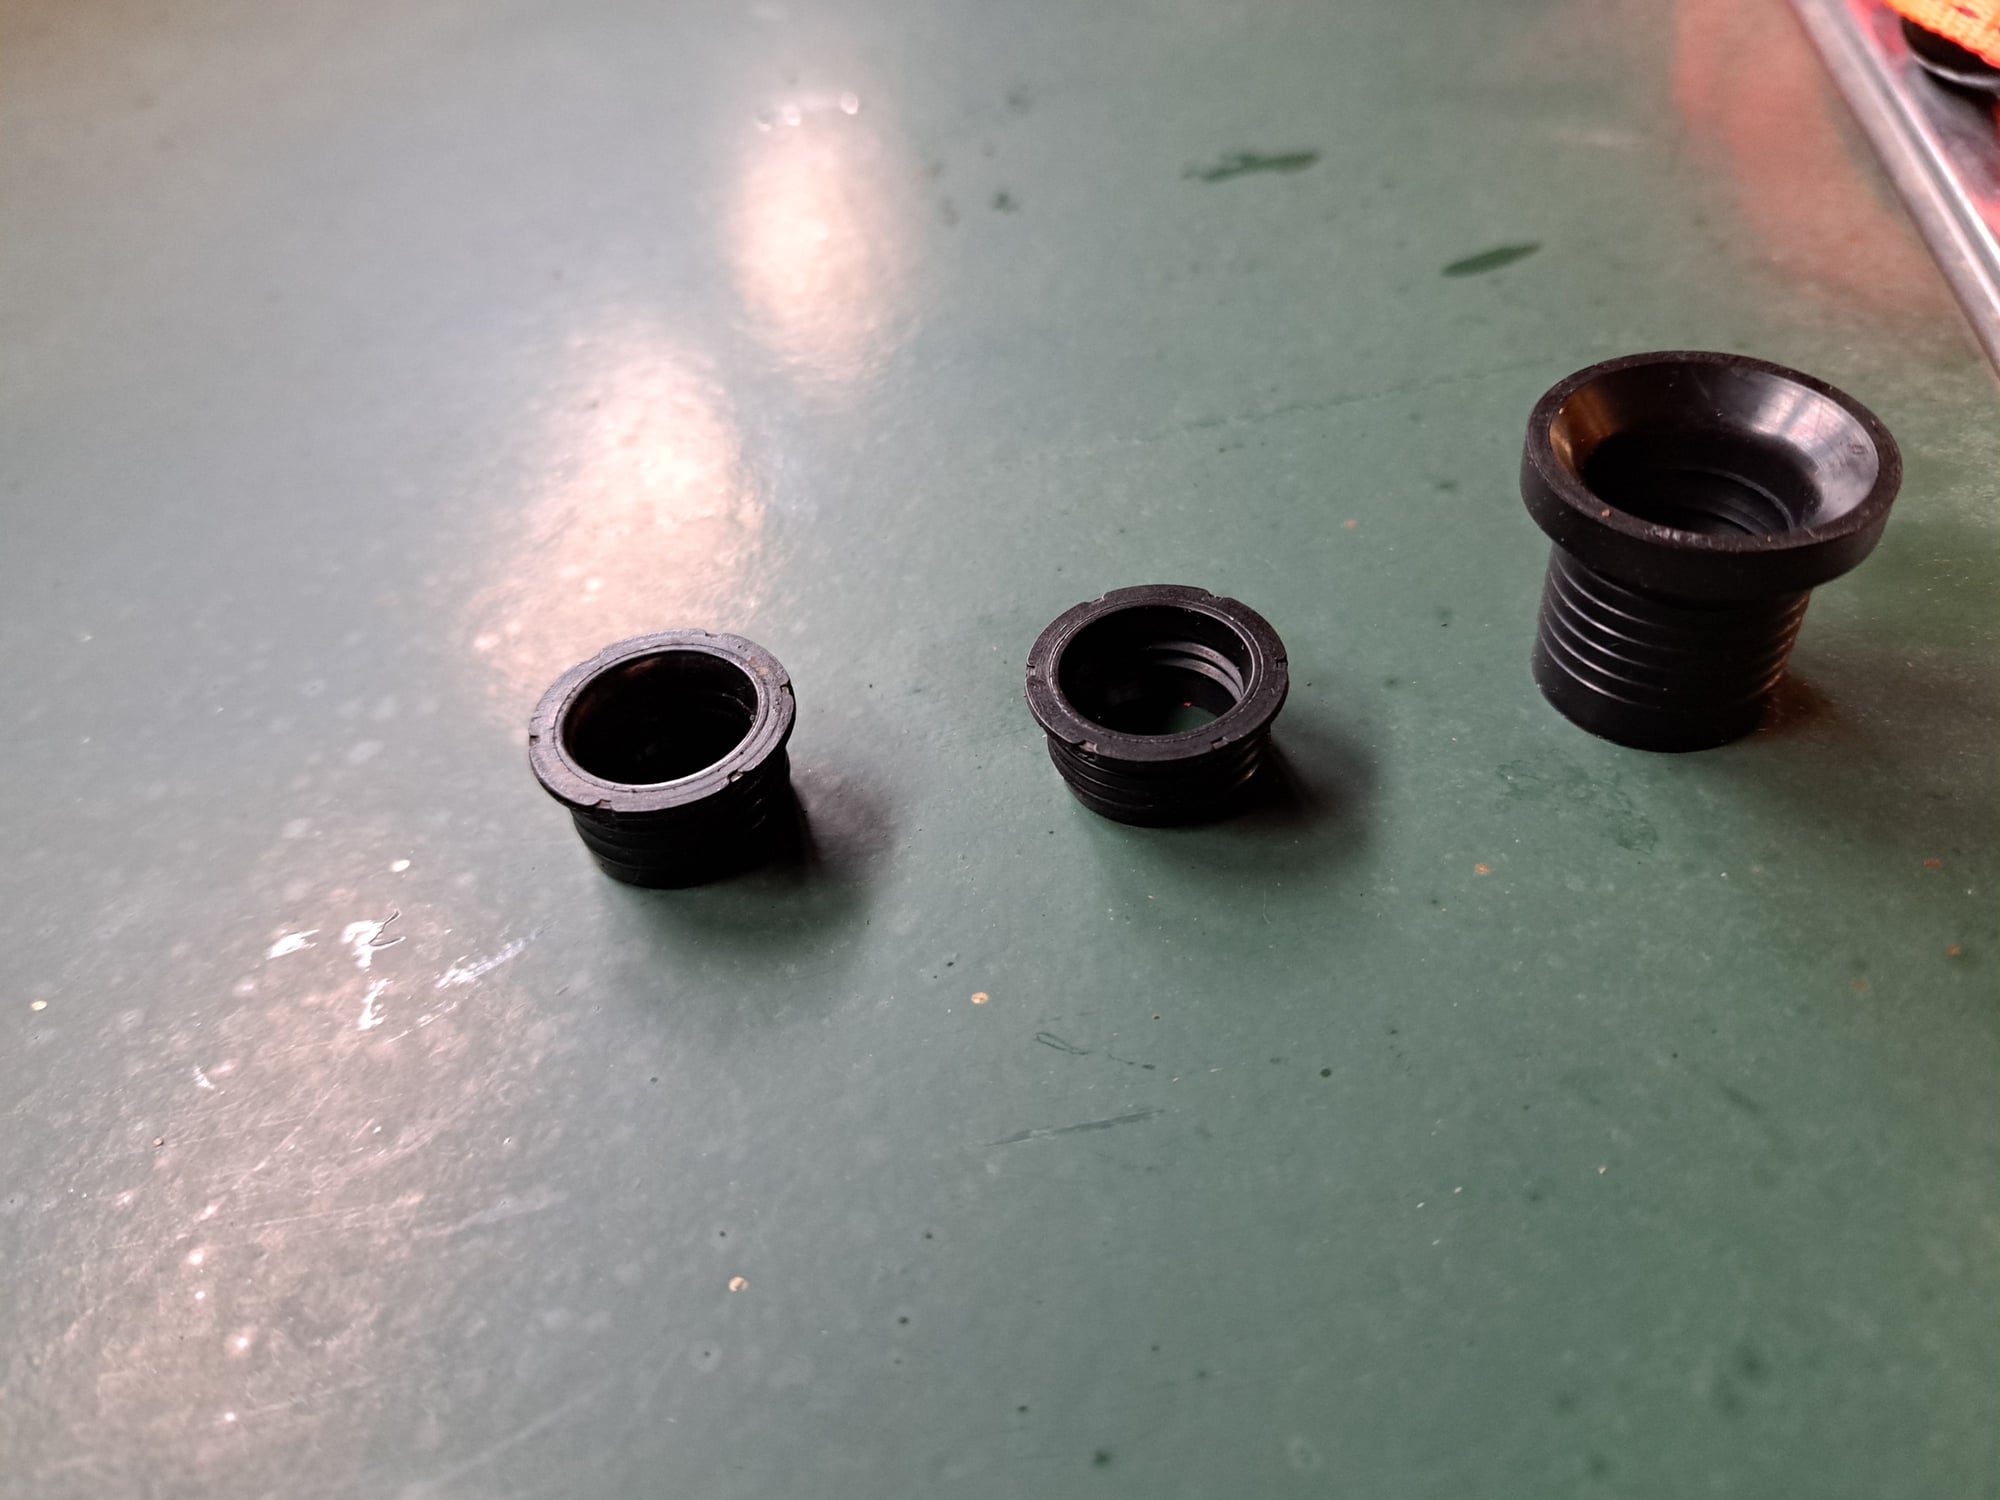
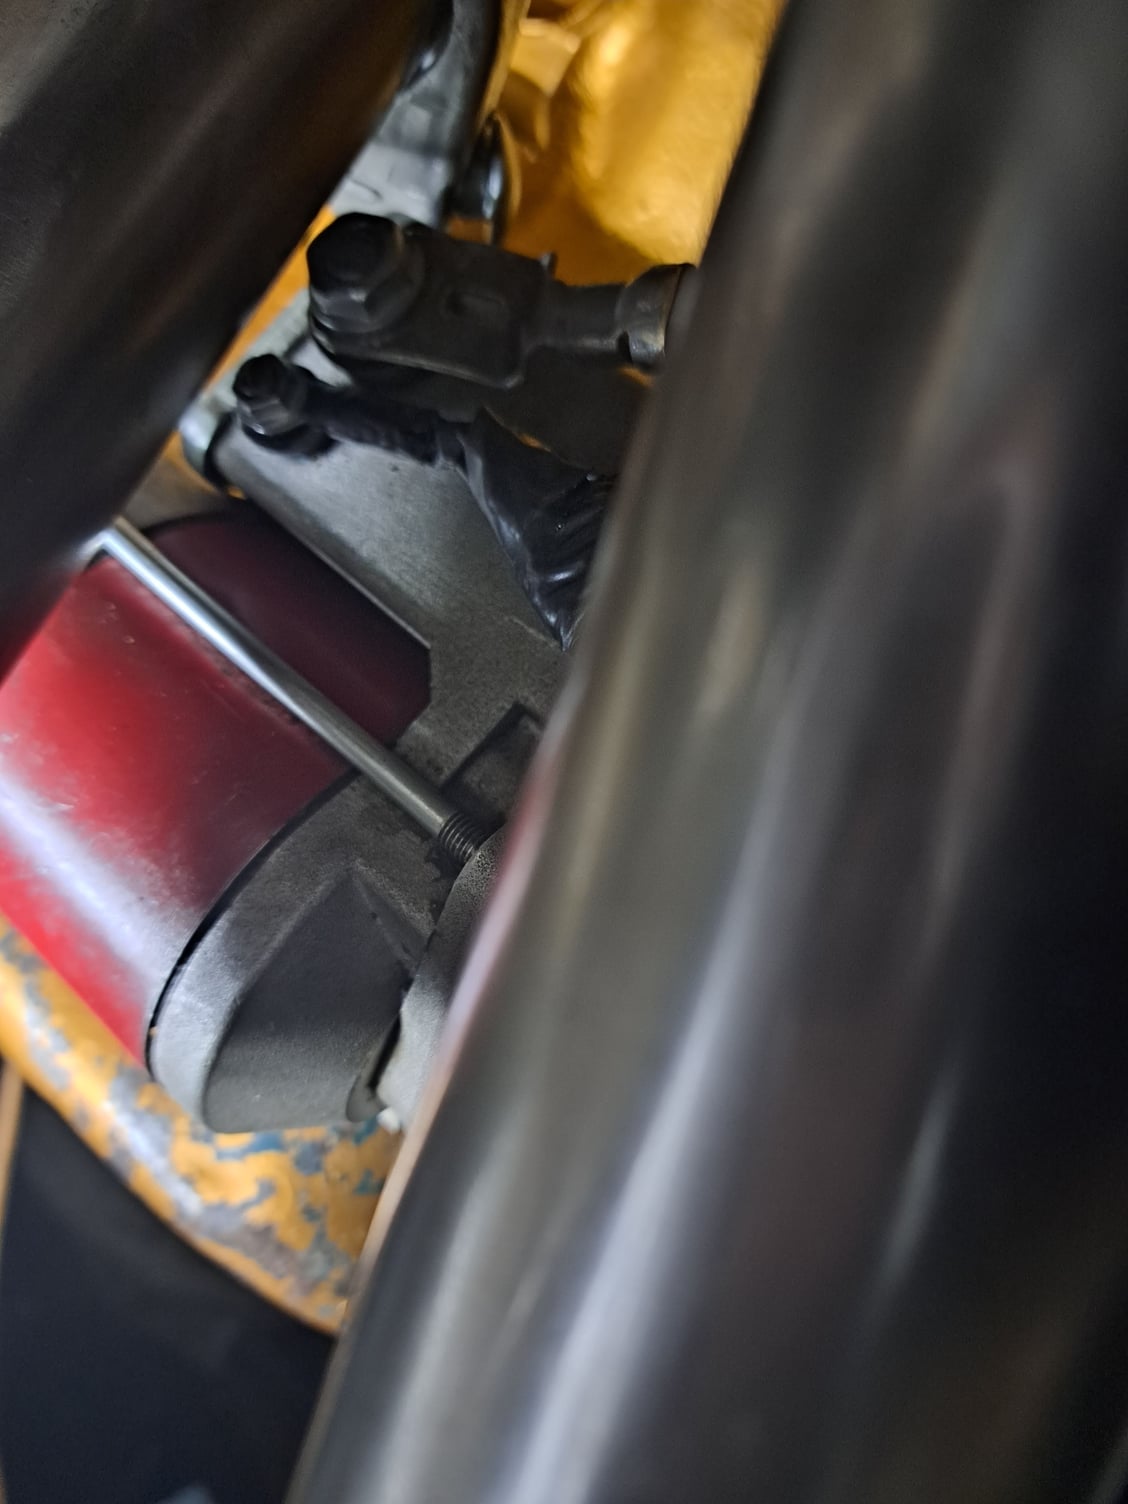
The CK Performance shift kit and servo is installed. They get you to shorten the front part of the pin about 1/4". They also say to make sure there is .100" minimum of servo movement between the cover and snap right when depressing the cover, there was that much, trimmed an old brass feeler gauge and bent it in there to measure. I grabbed a used lock up connector out of the trans outside and installed a new O ring. New O ring and seal where the cable goes in the bullet. New rear seal and selector shaft seal. Tricky to get out, a 9/16" socket installs it. A new Mr.Gasket pan gasket, metal with composite material and sealing beads. Very thin and needed trimmed to clear the 4L60E filter. So all new outer seals on the trans. The car is in the shop and the 403 on the mounts.

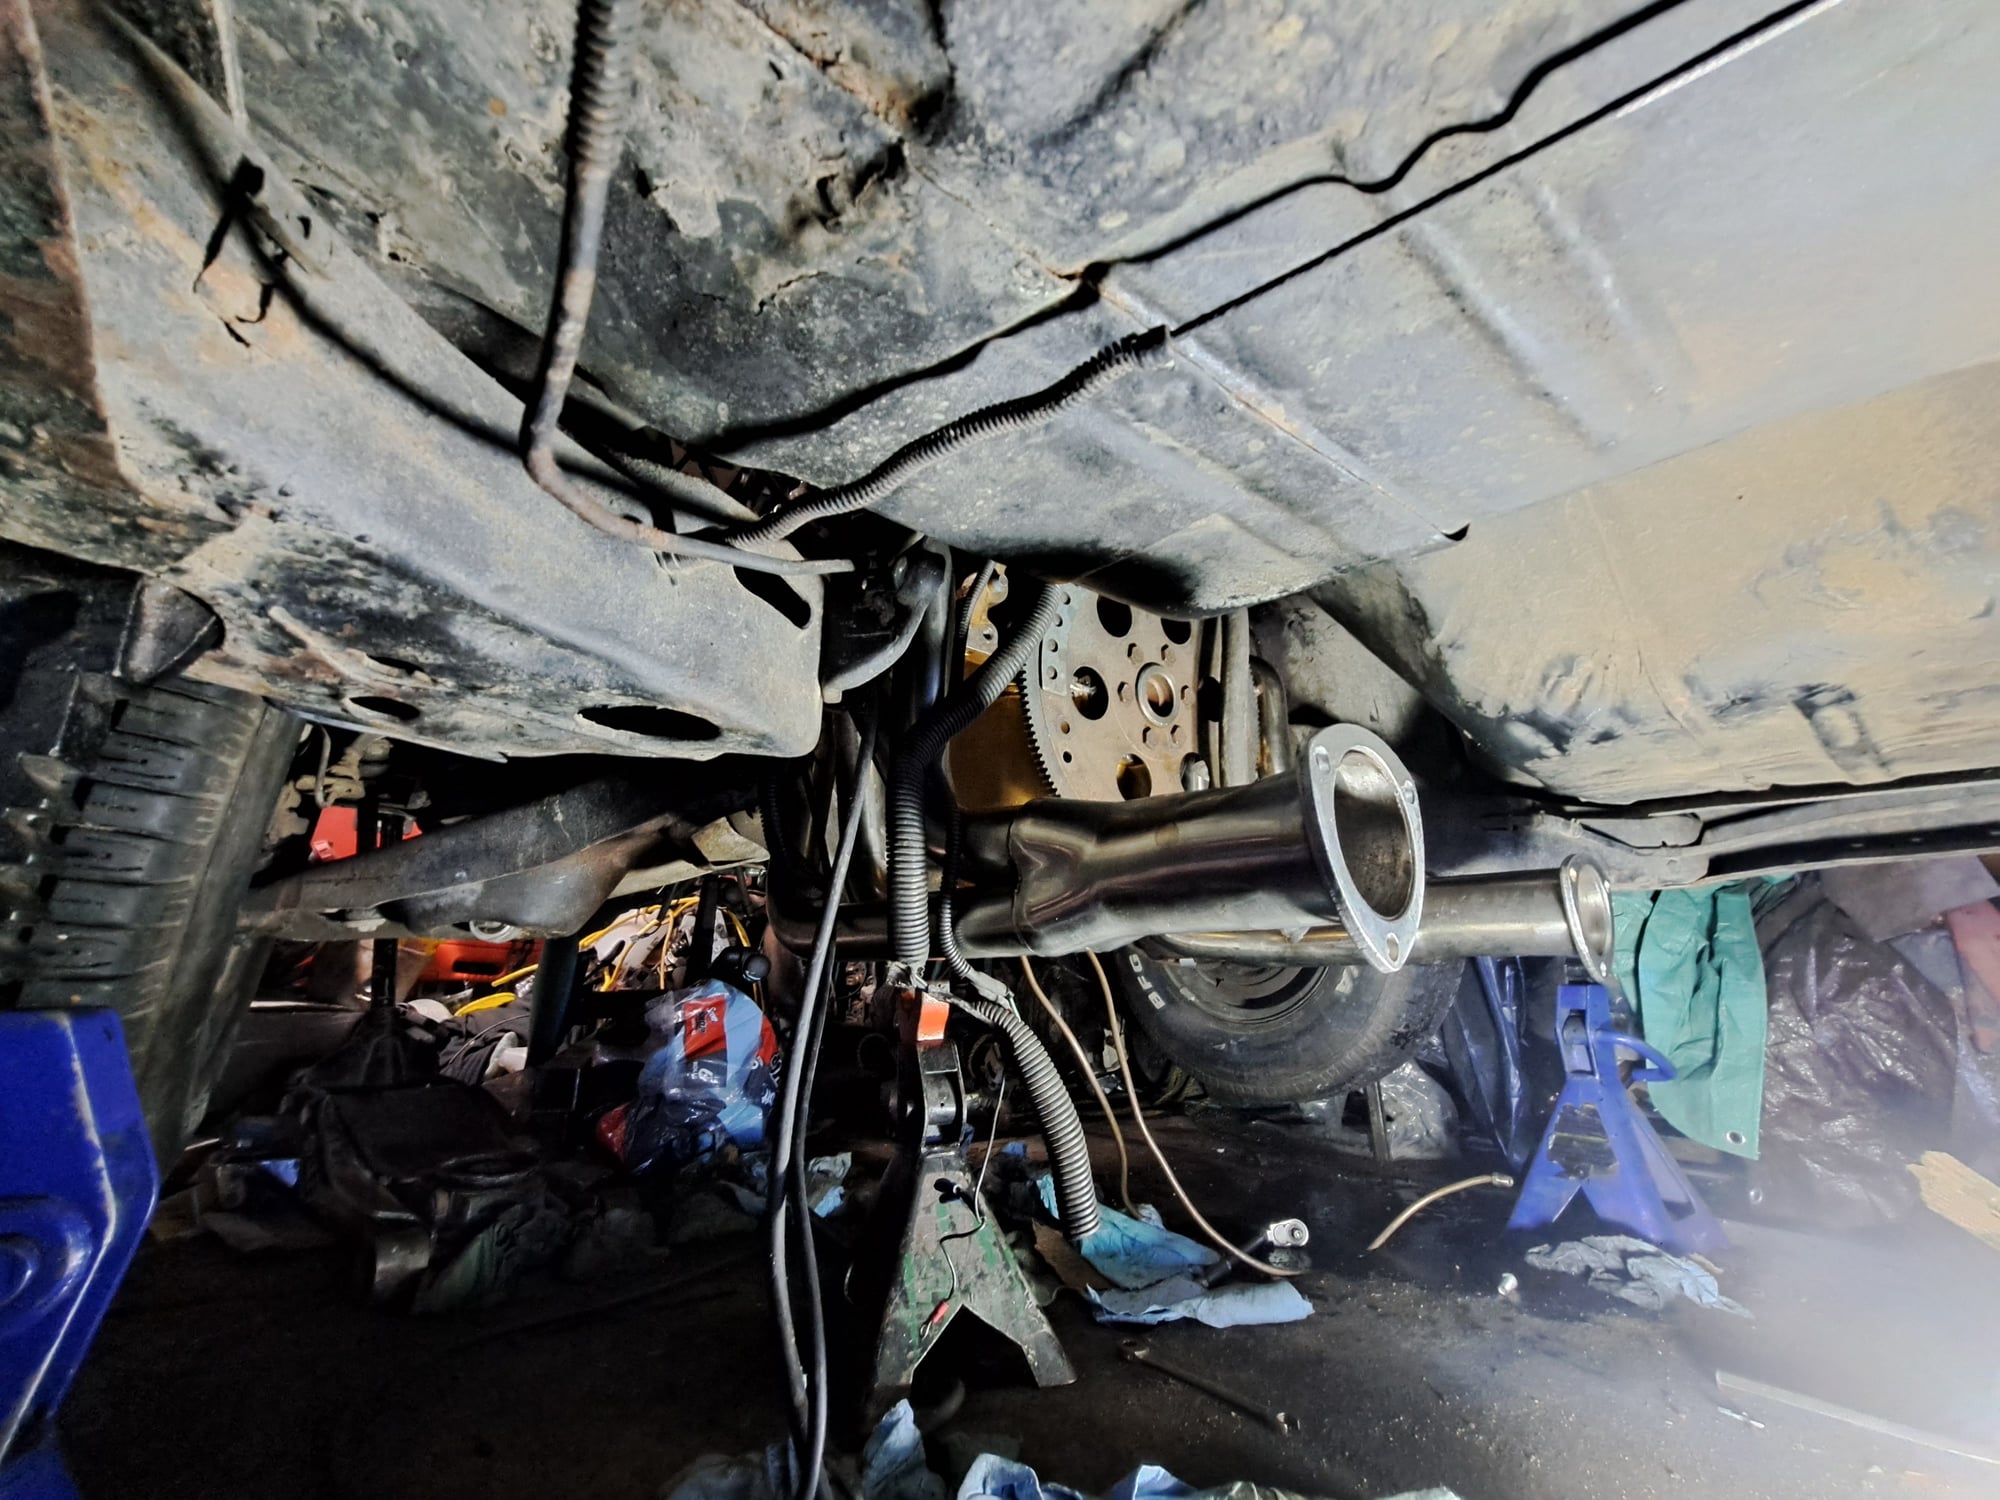
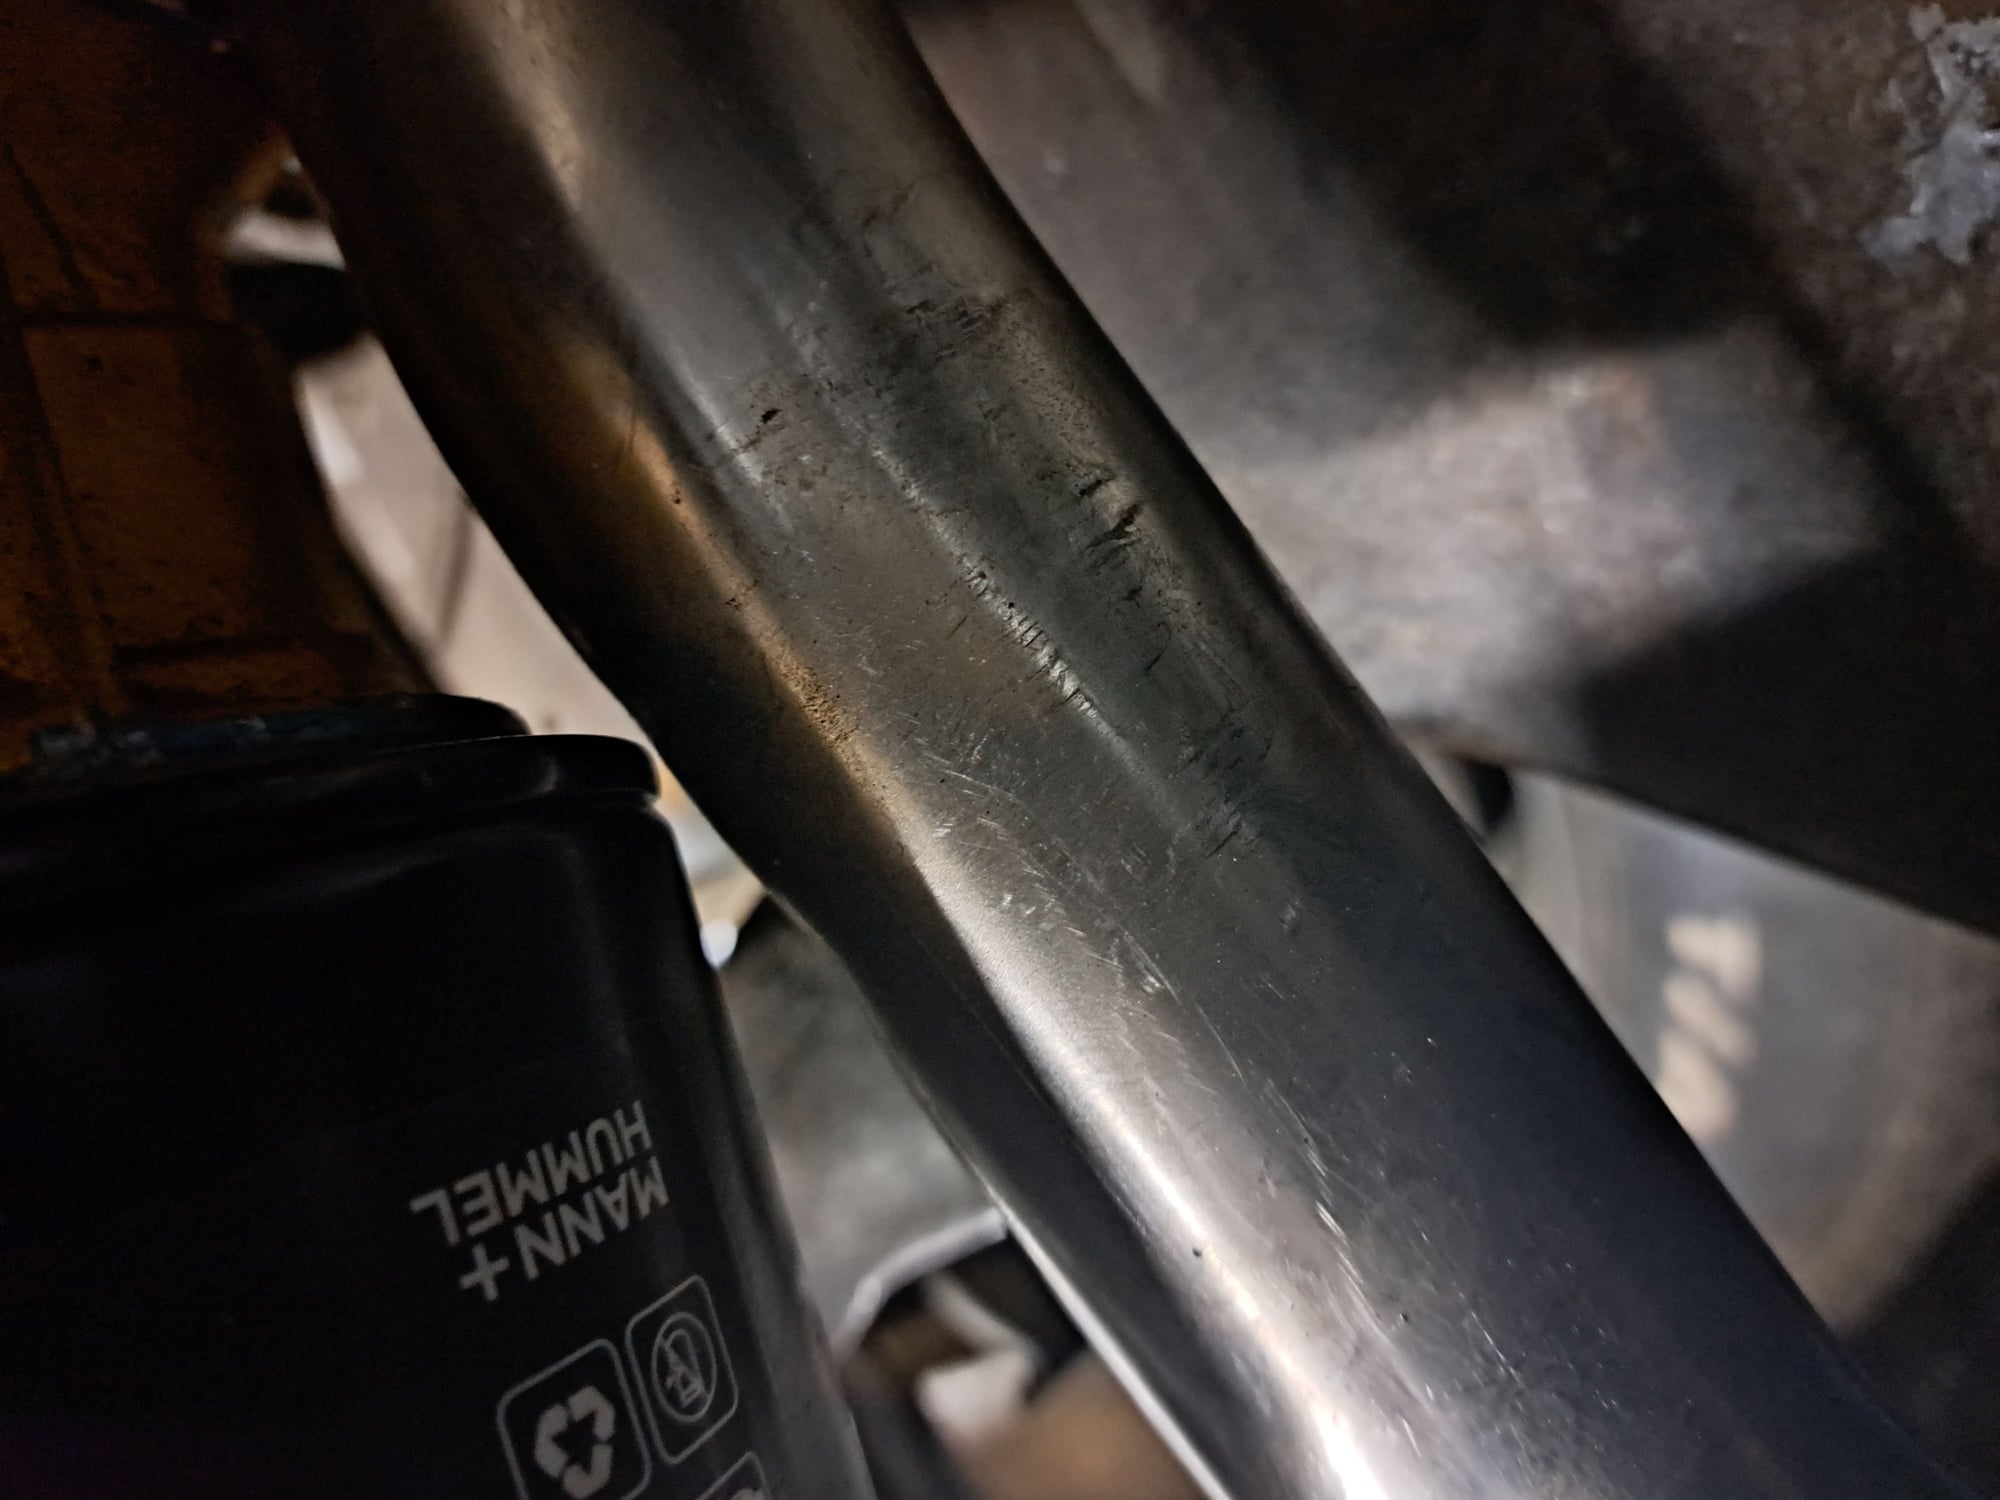
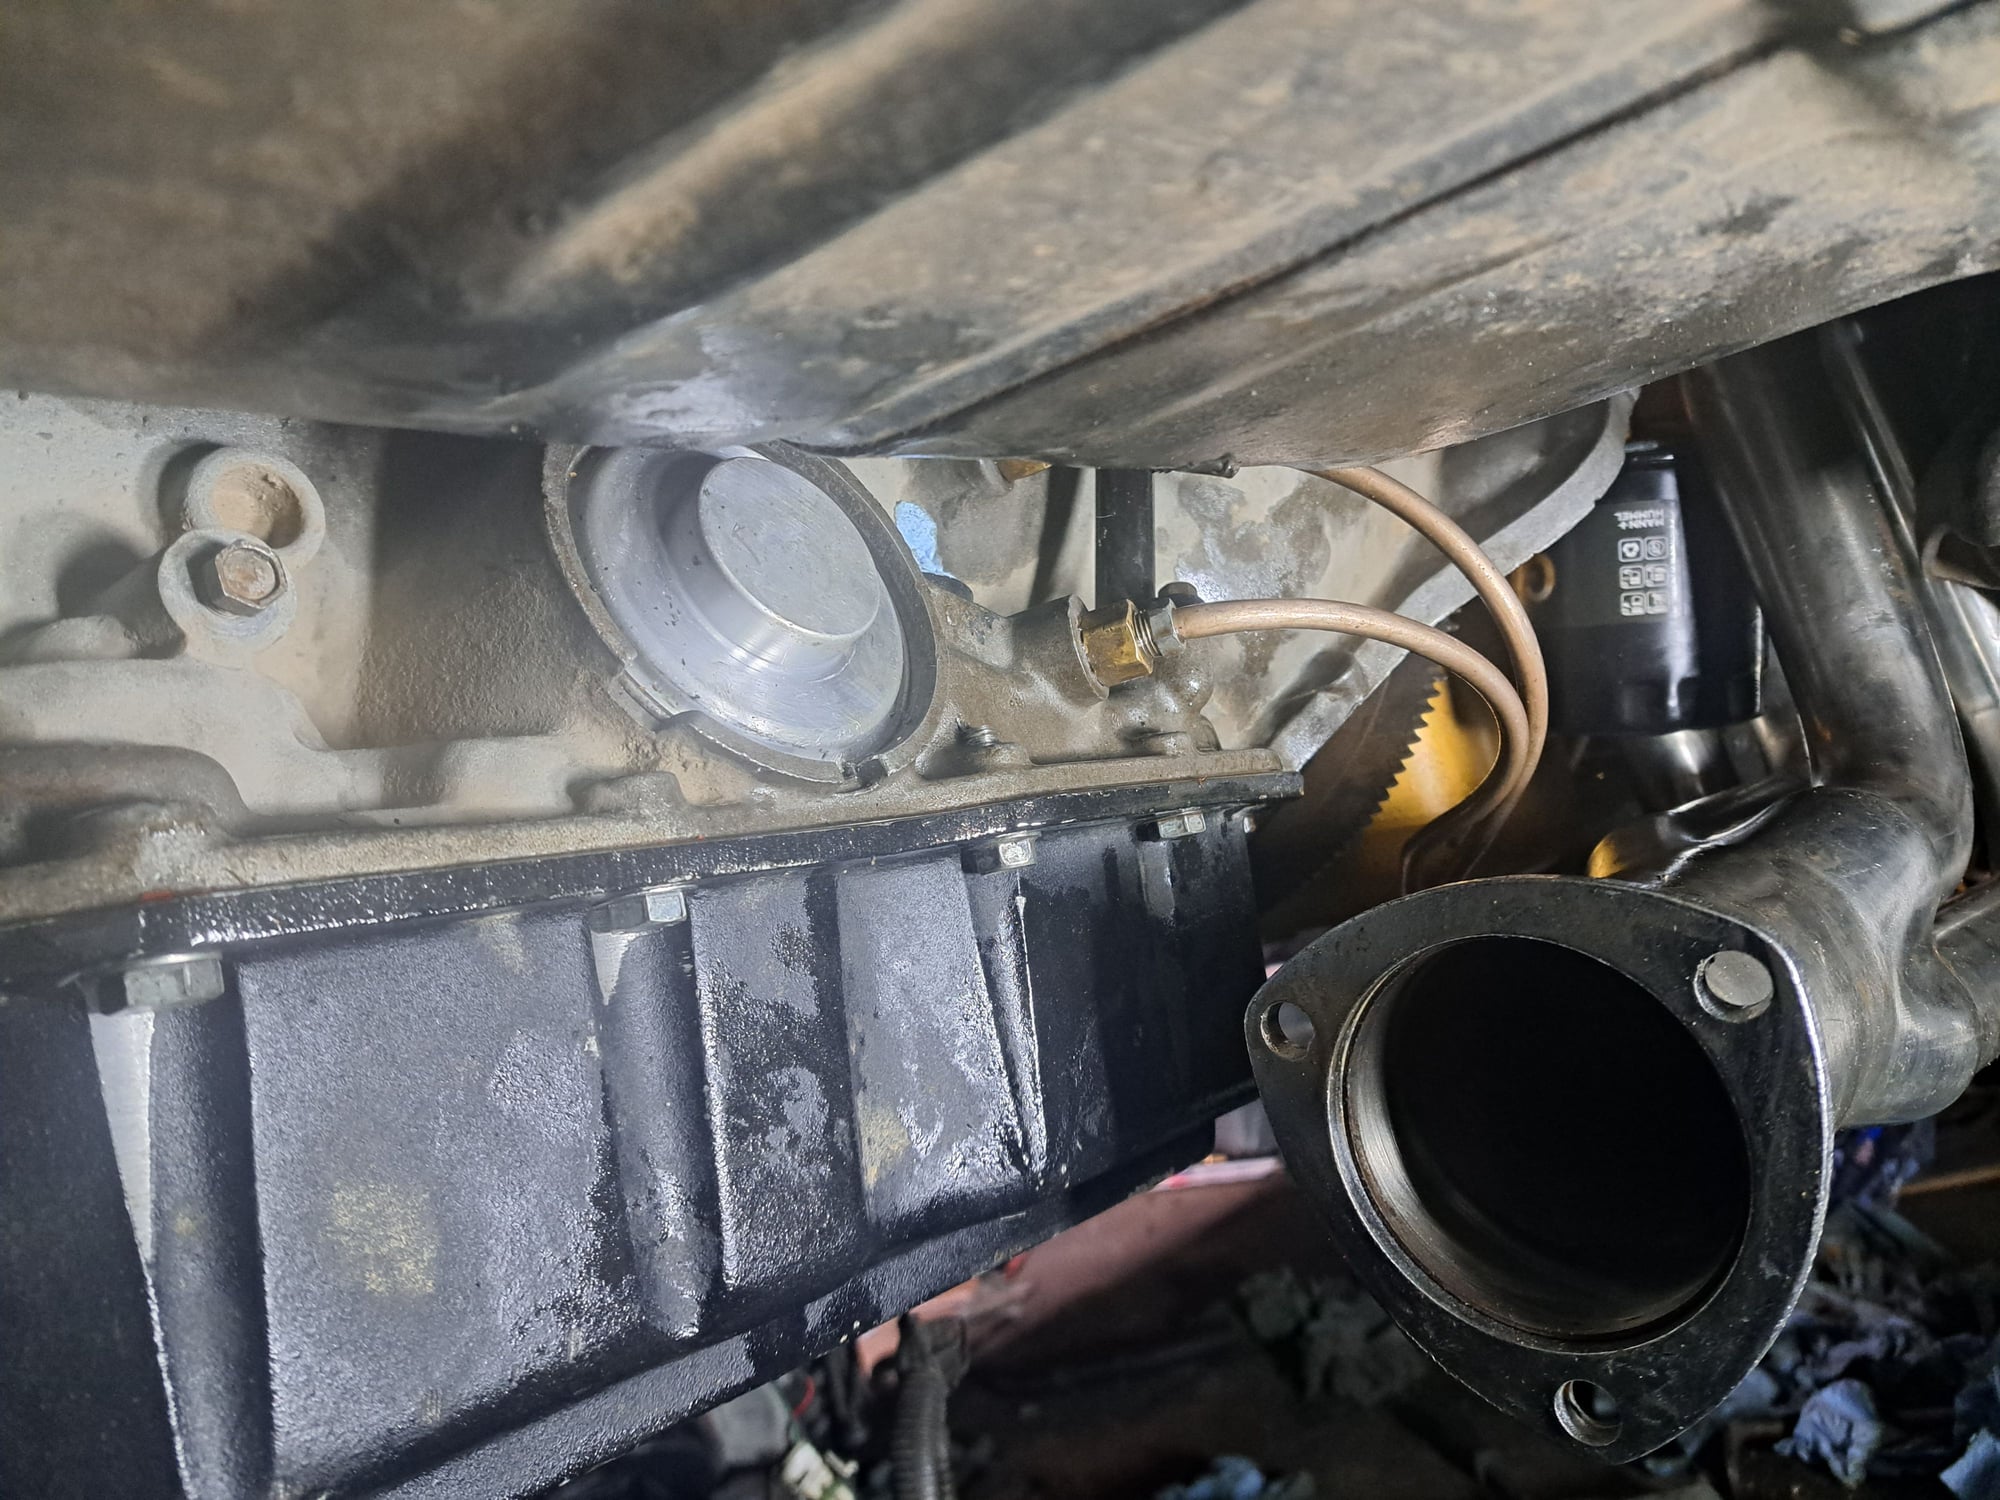
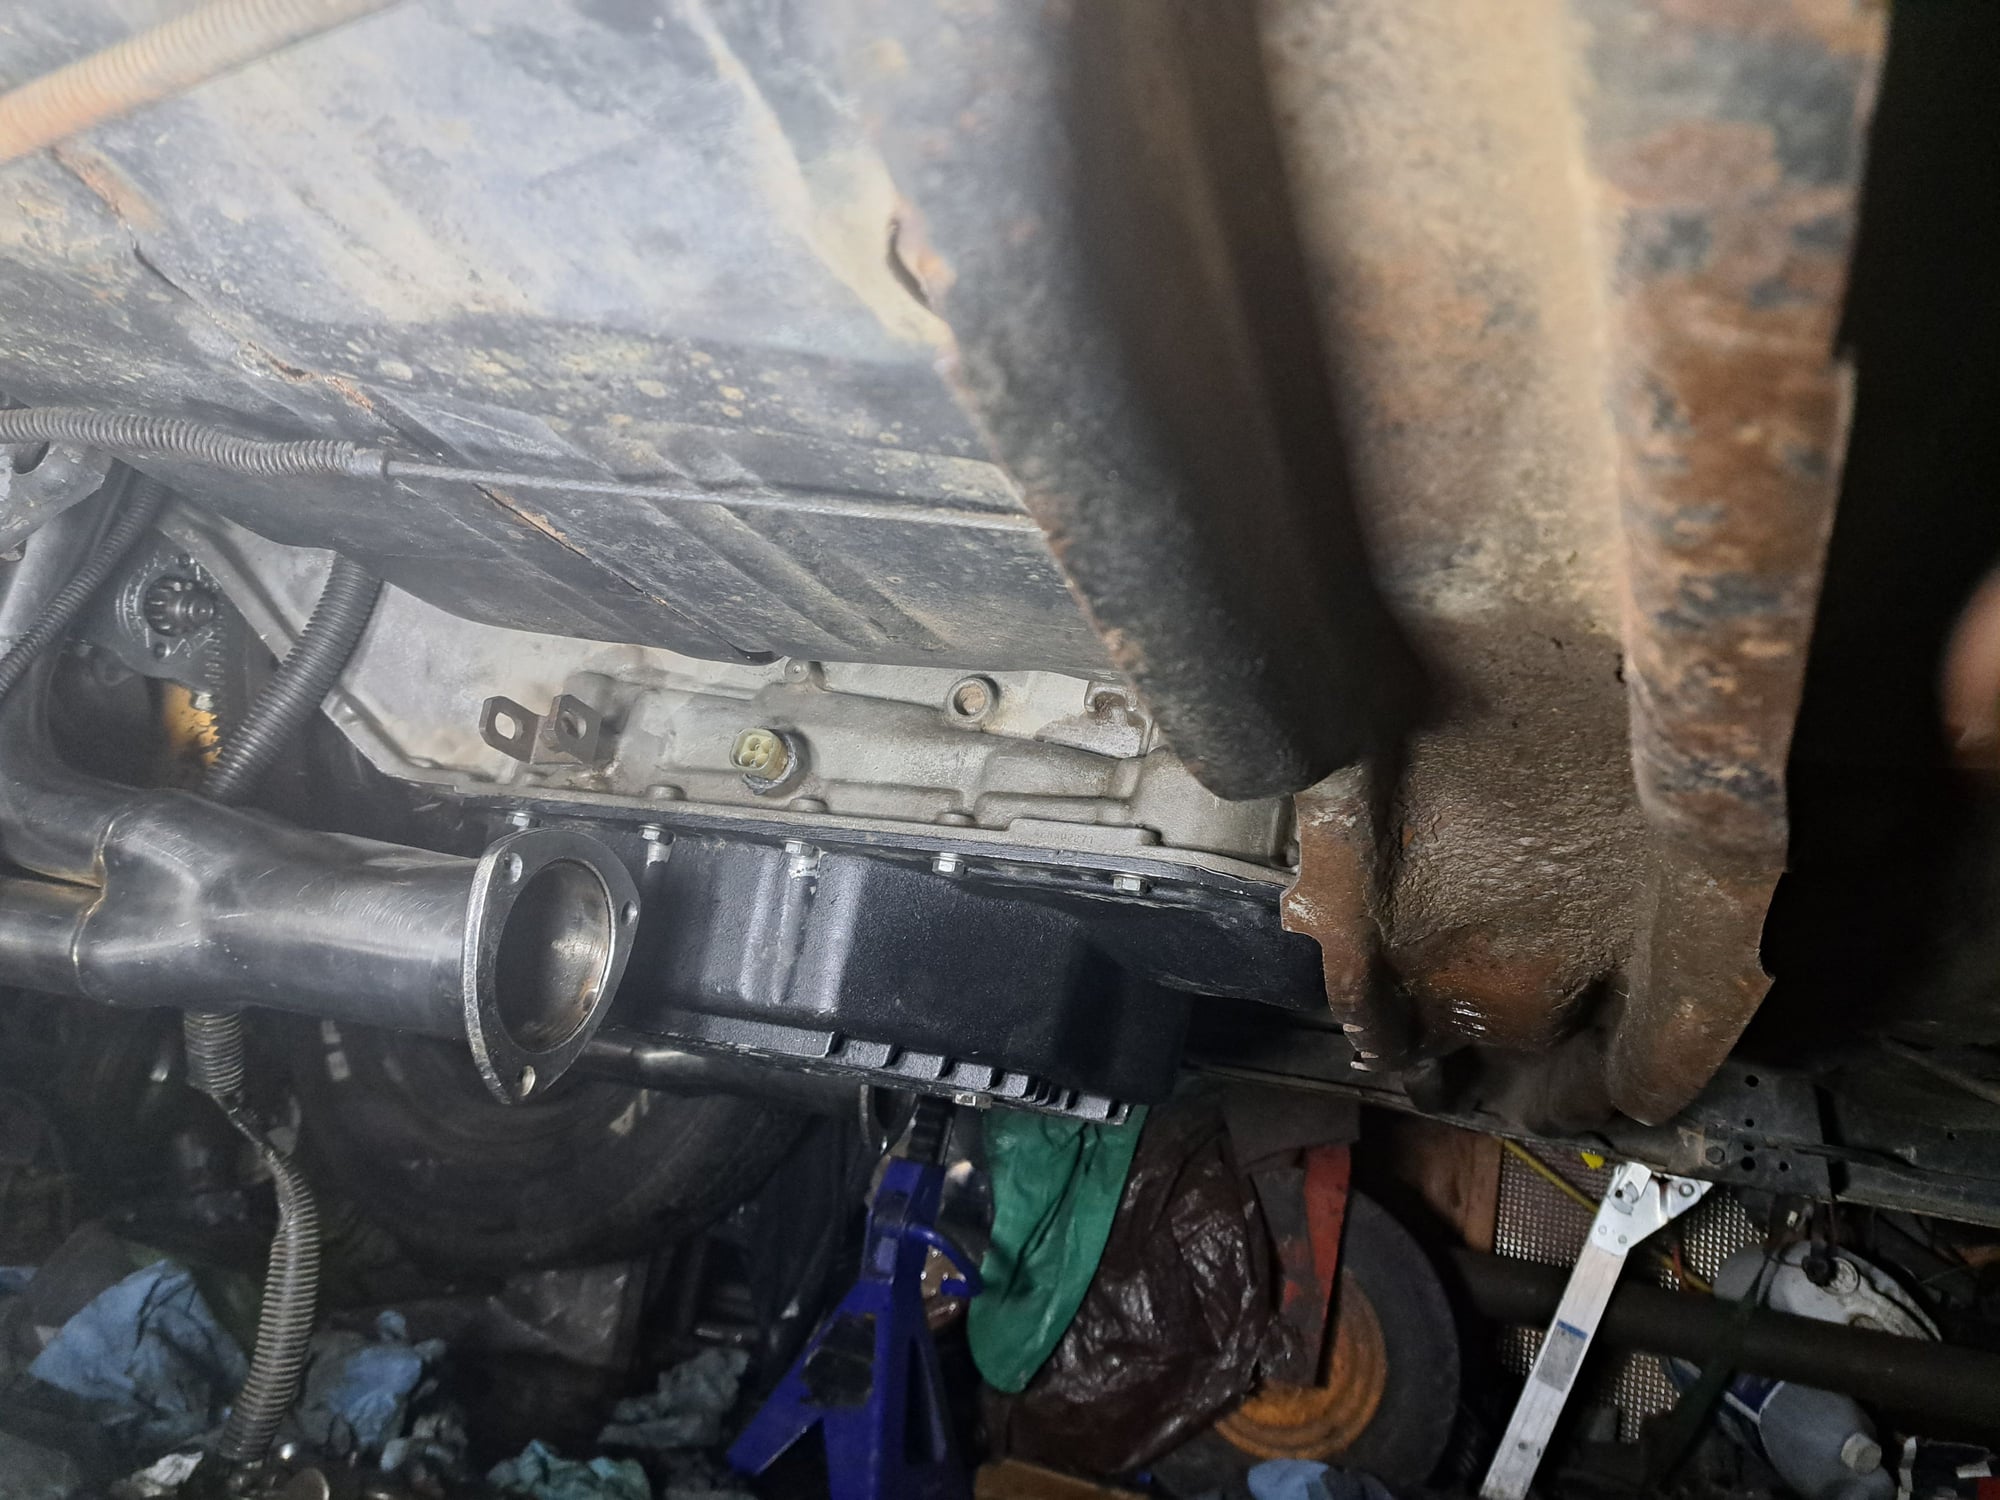
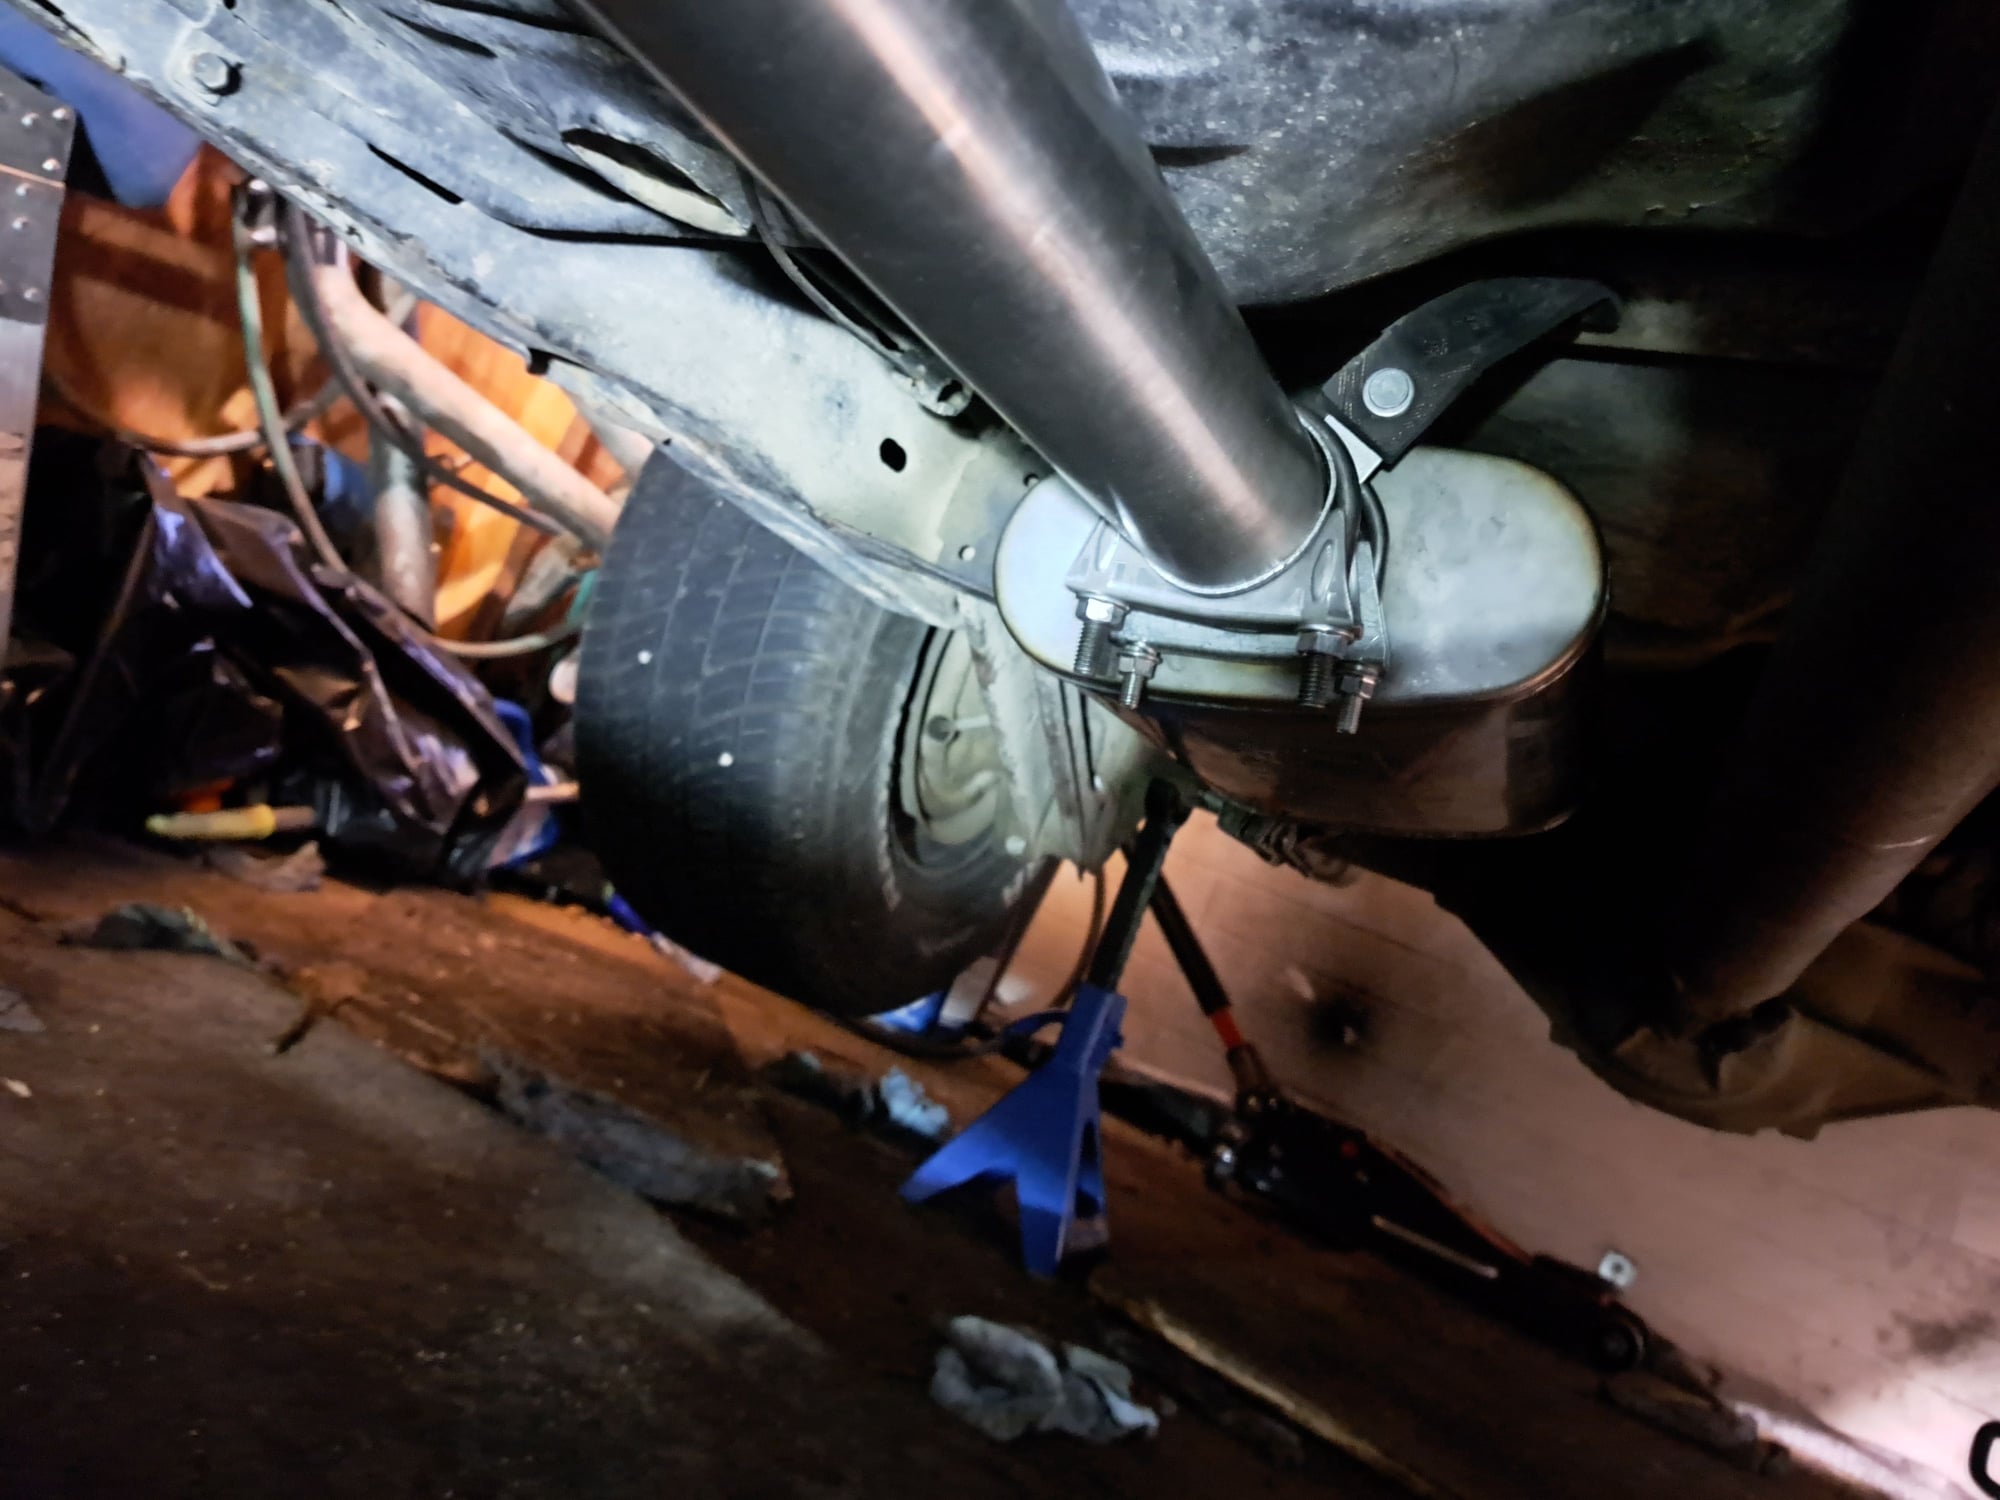
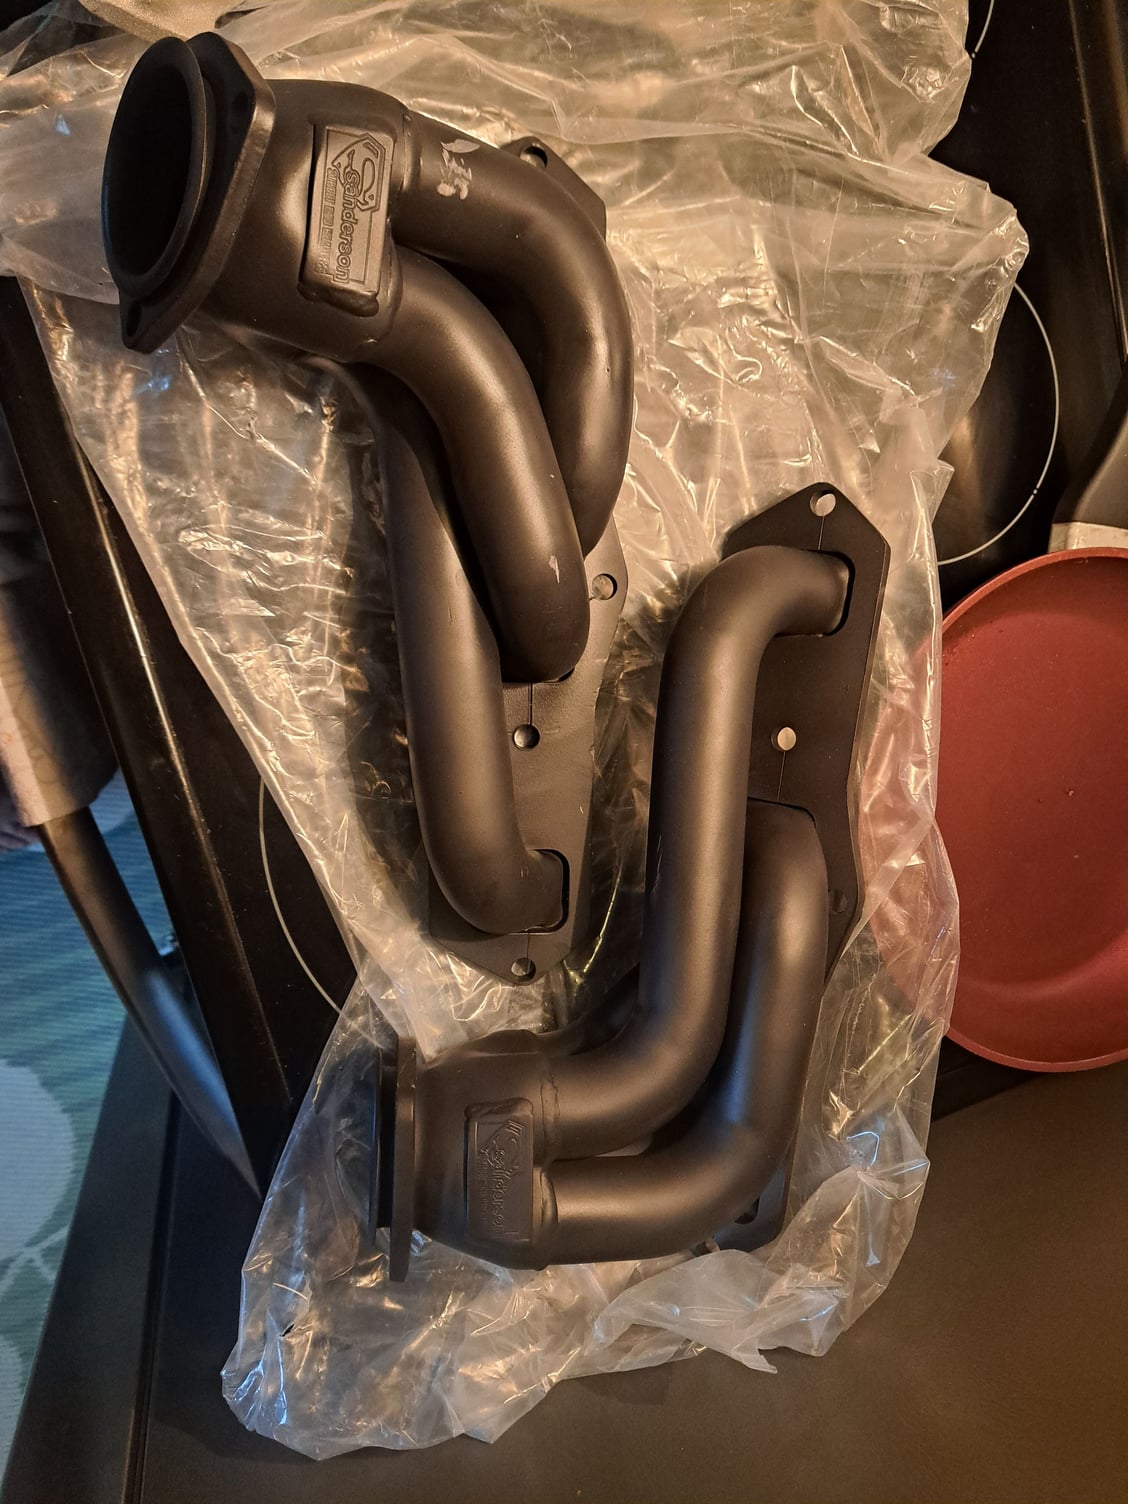
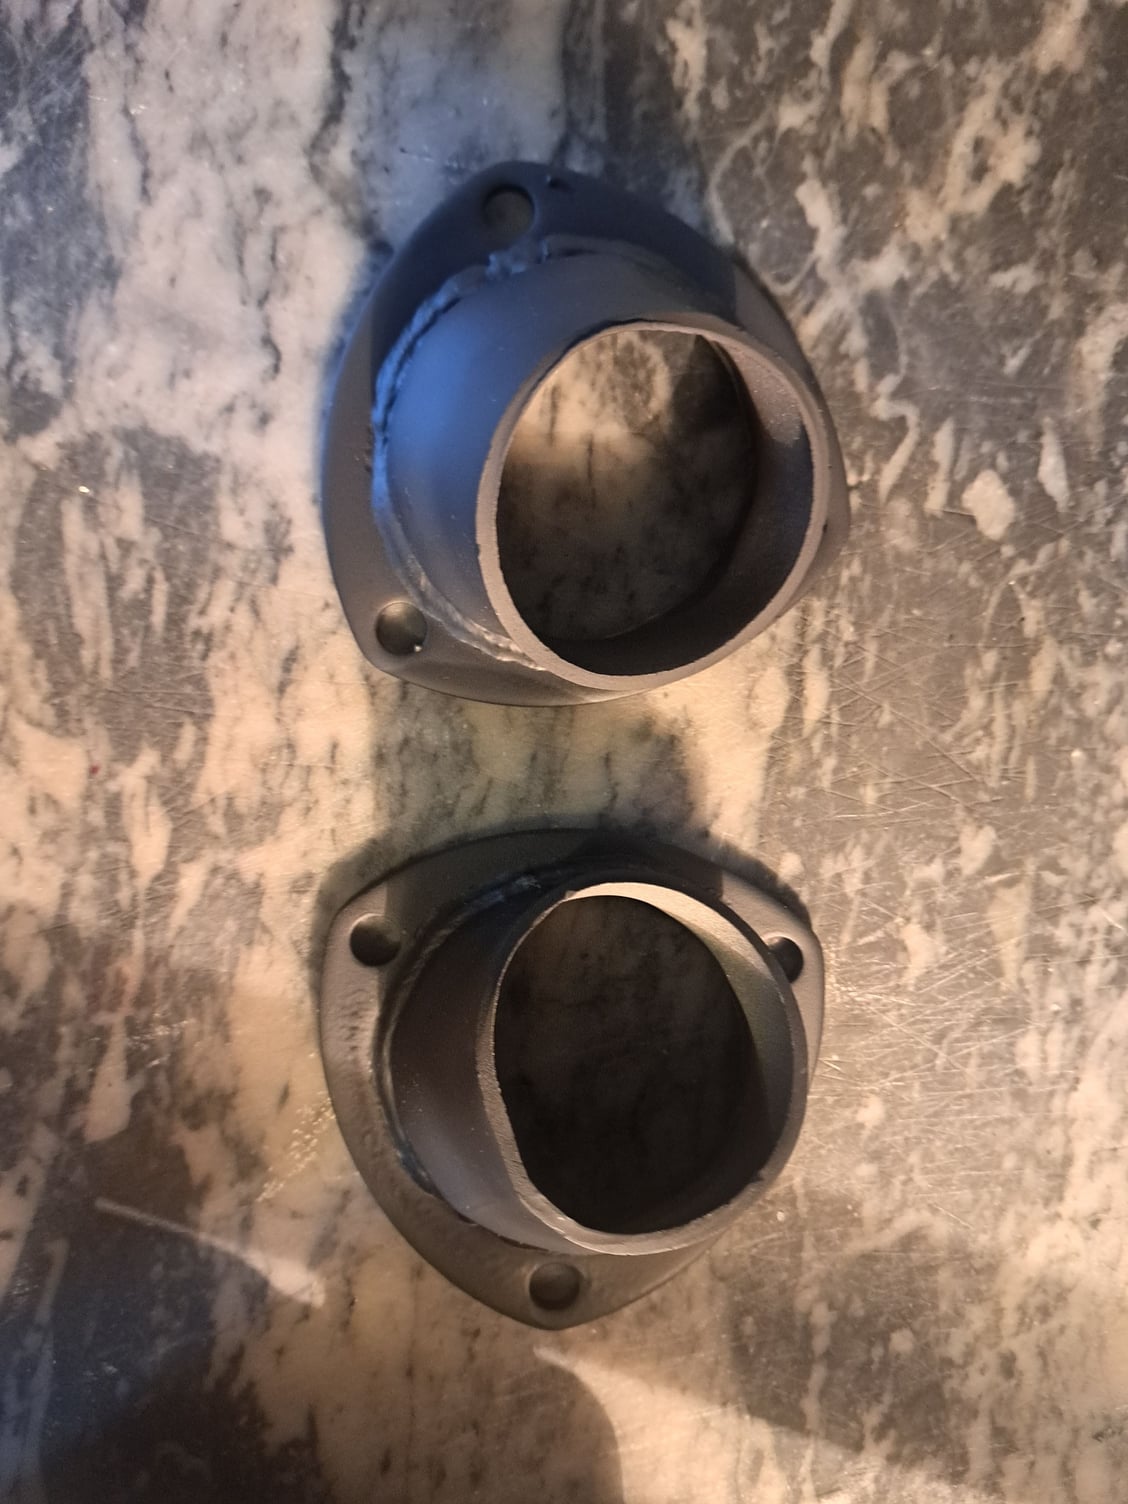
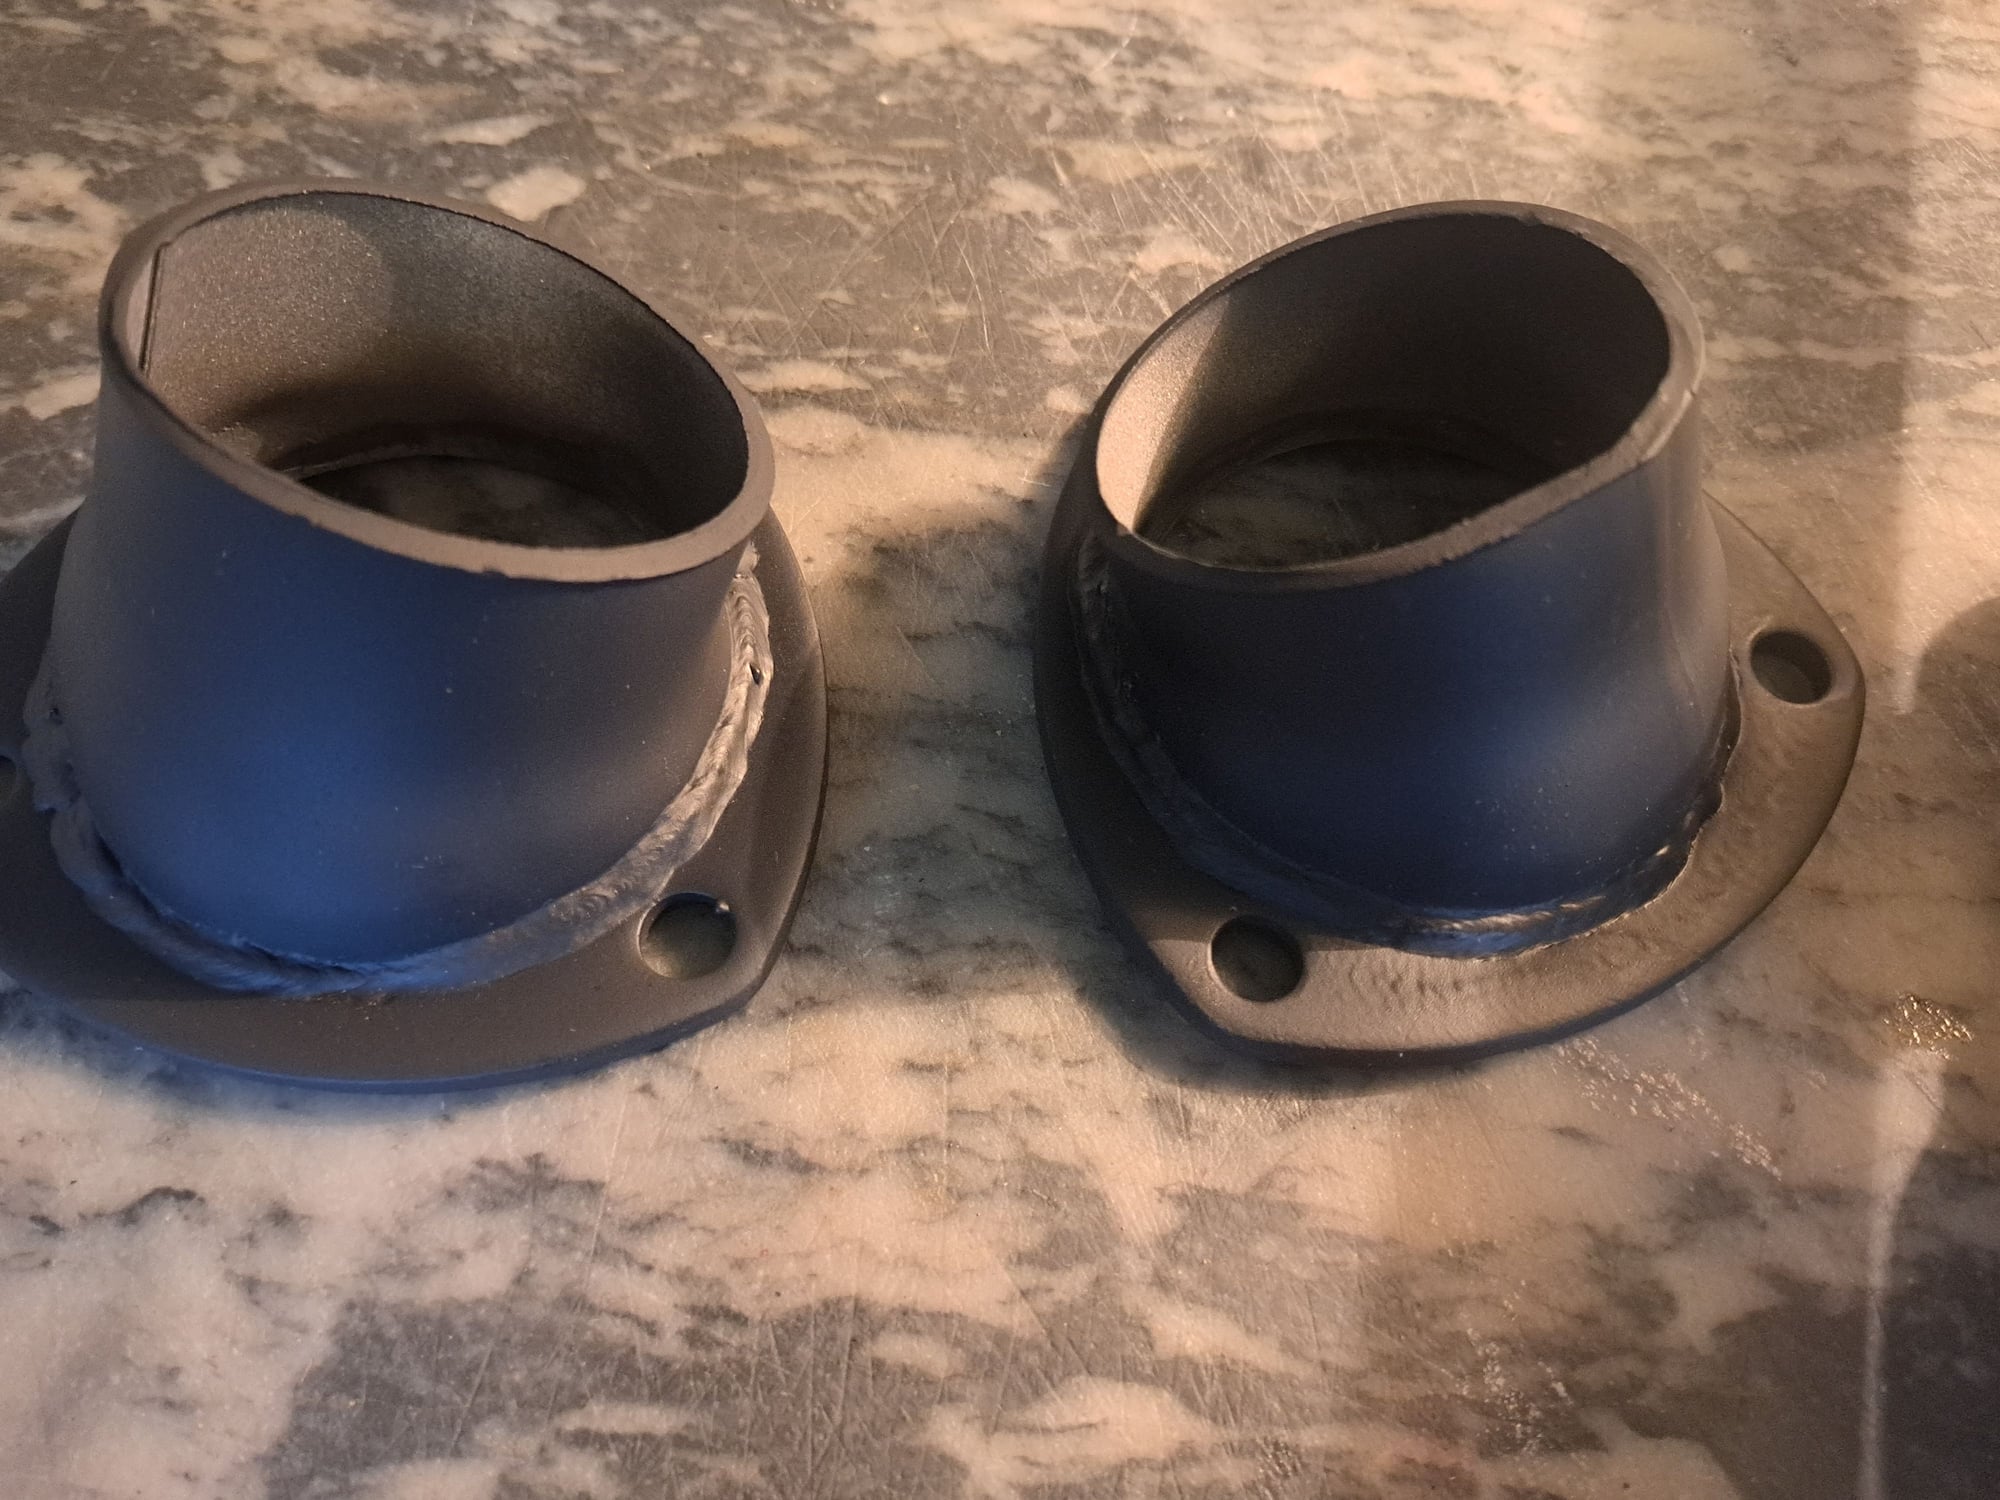
I was glad, I didn't put in the cross motor mount bolts to install the full length stainless headers. Tilting the motor back and forth helped. I was going use Cooper exhaust gaskets with Optimum Grey around the ports already set up. They didn't line up like I wanted them to. Instead I used the gaskets that came with the headers, metal clad paper gaskets. I will probably use my new Copper collector gaskets, already covered with Optimum Grey. The Drivers side was a real pain and just clears the motor mount. Good thing both new mounts have the factory tin shields in place. The passenger side only needed the oil filter adapter removed and it went right in. It looks the full size Baldwin B9 will fit on and clear with some space. The collectors look like they will line up nicely. It only took 3+ hours🫣.
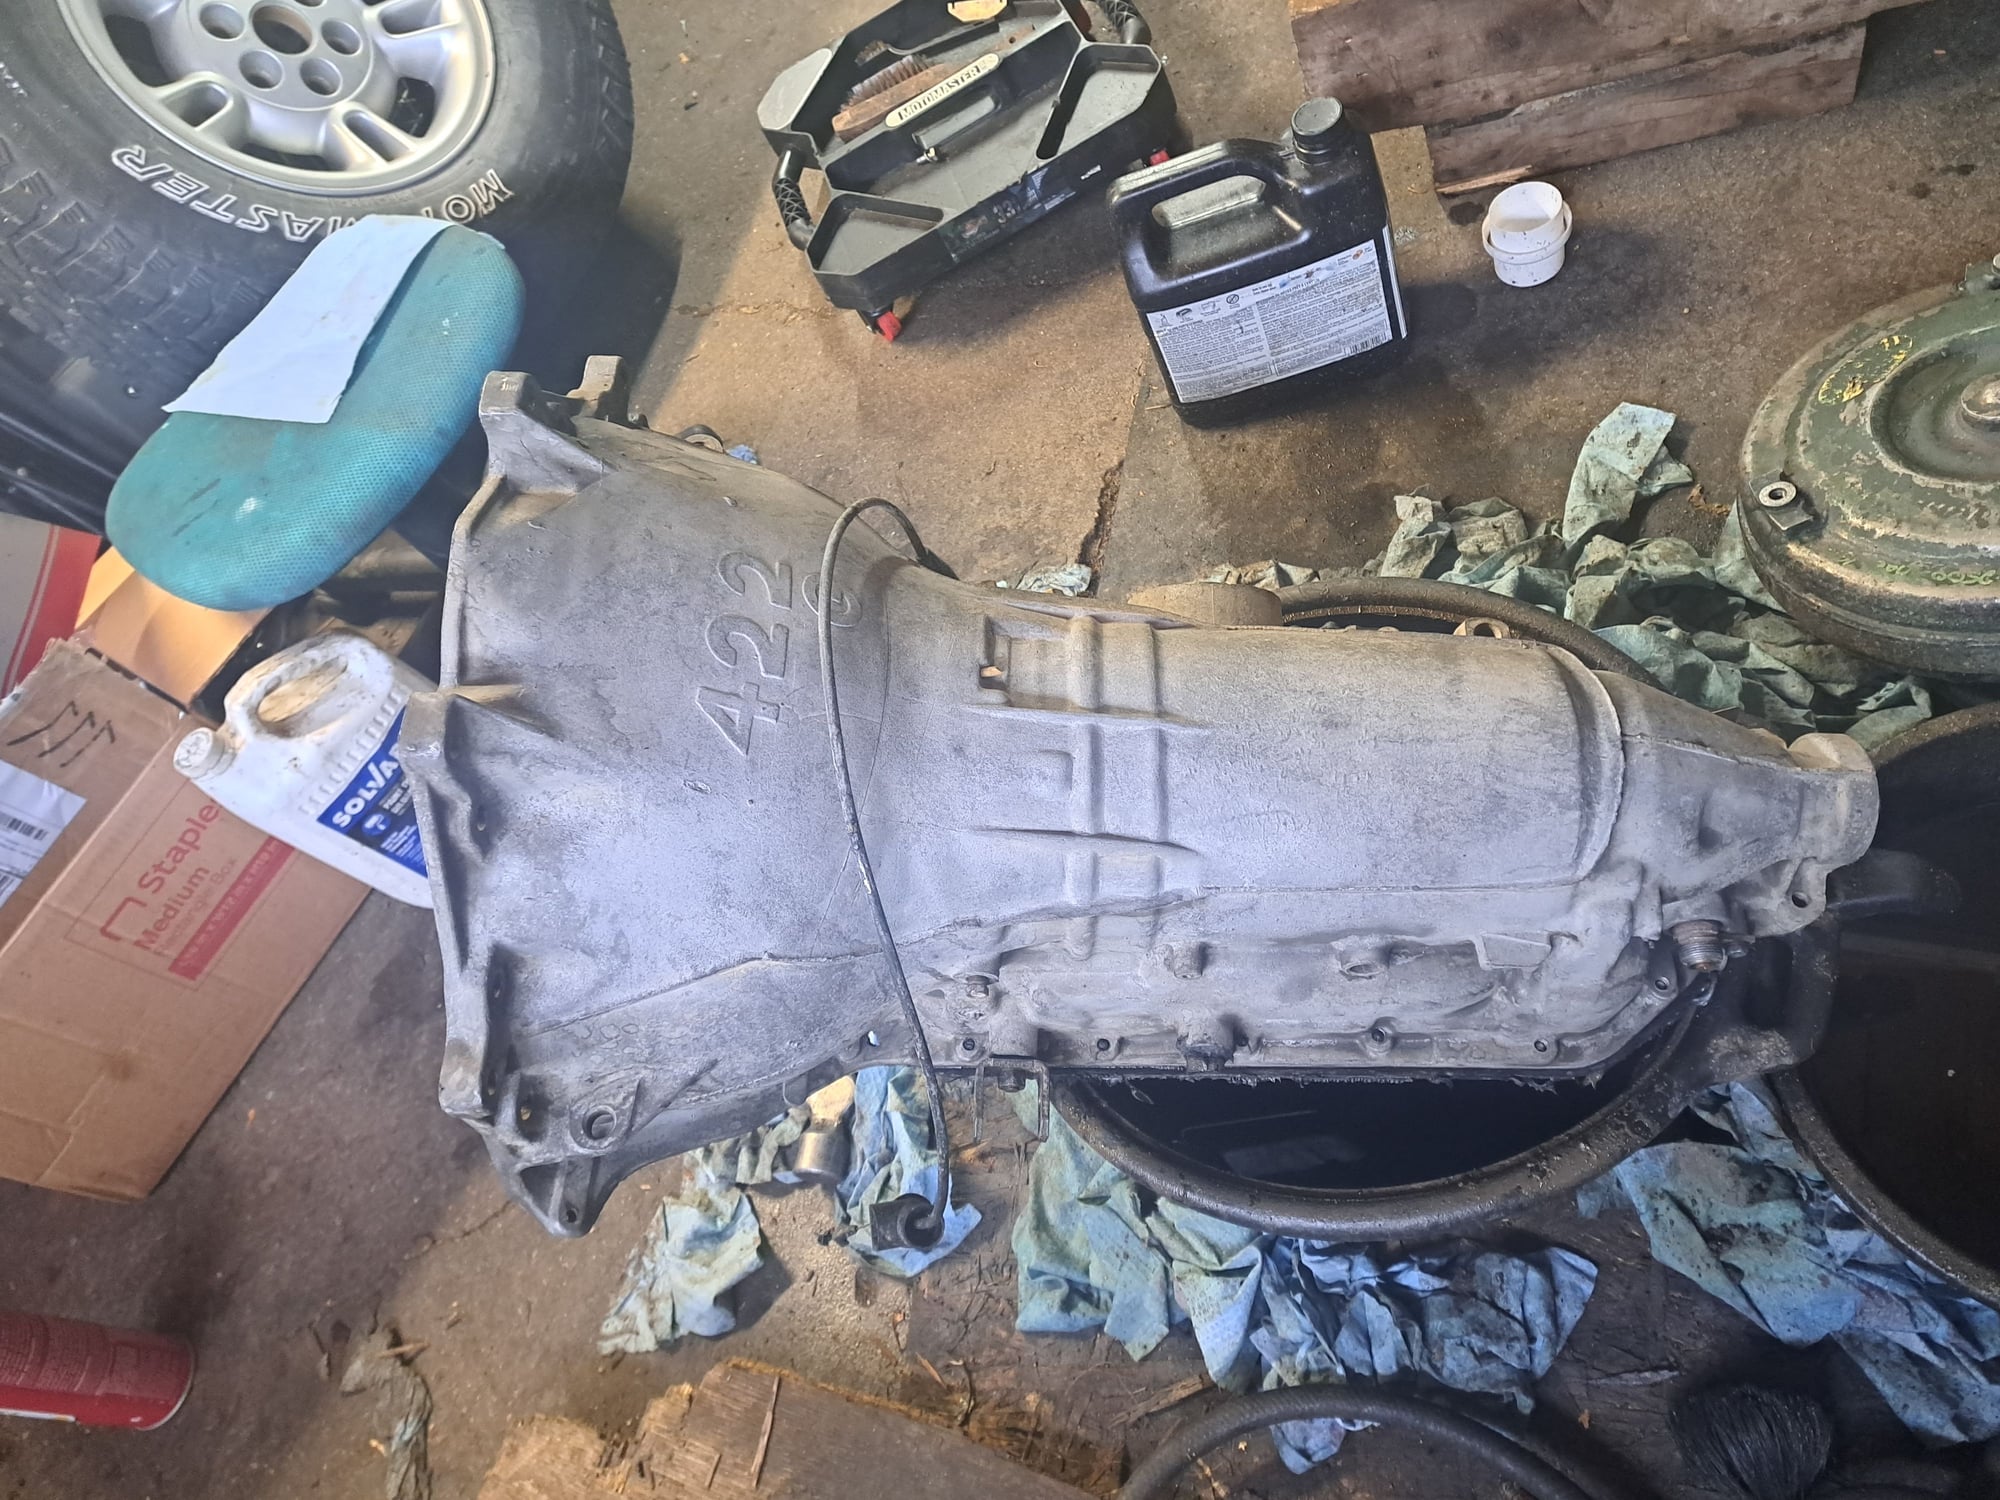
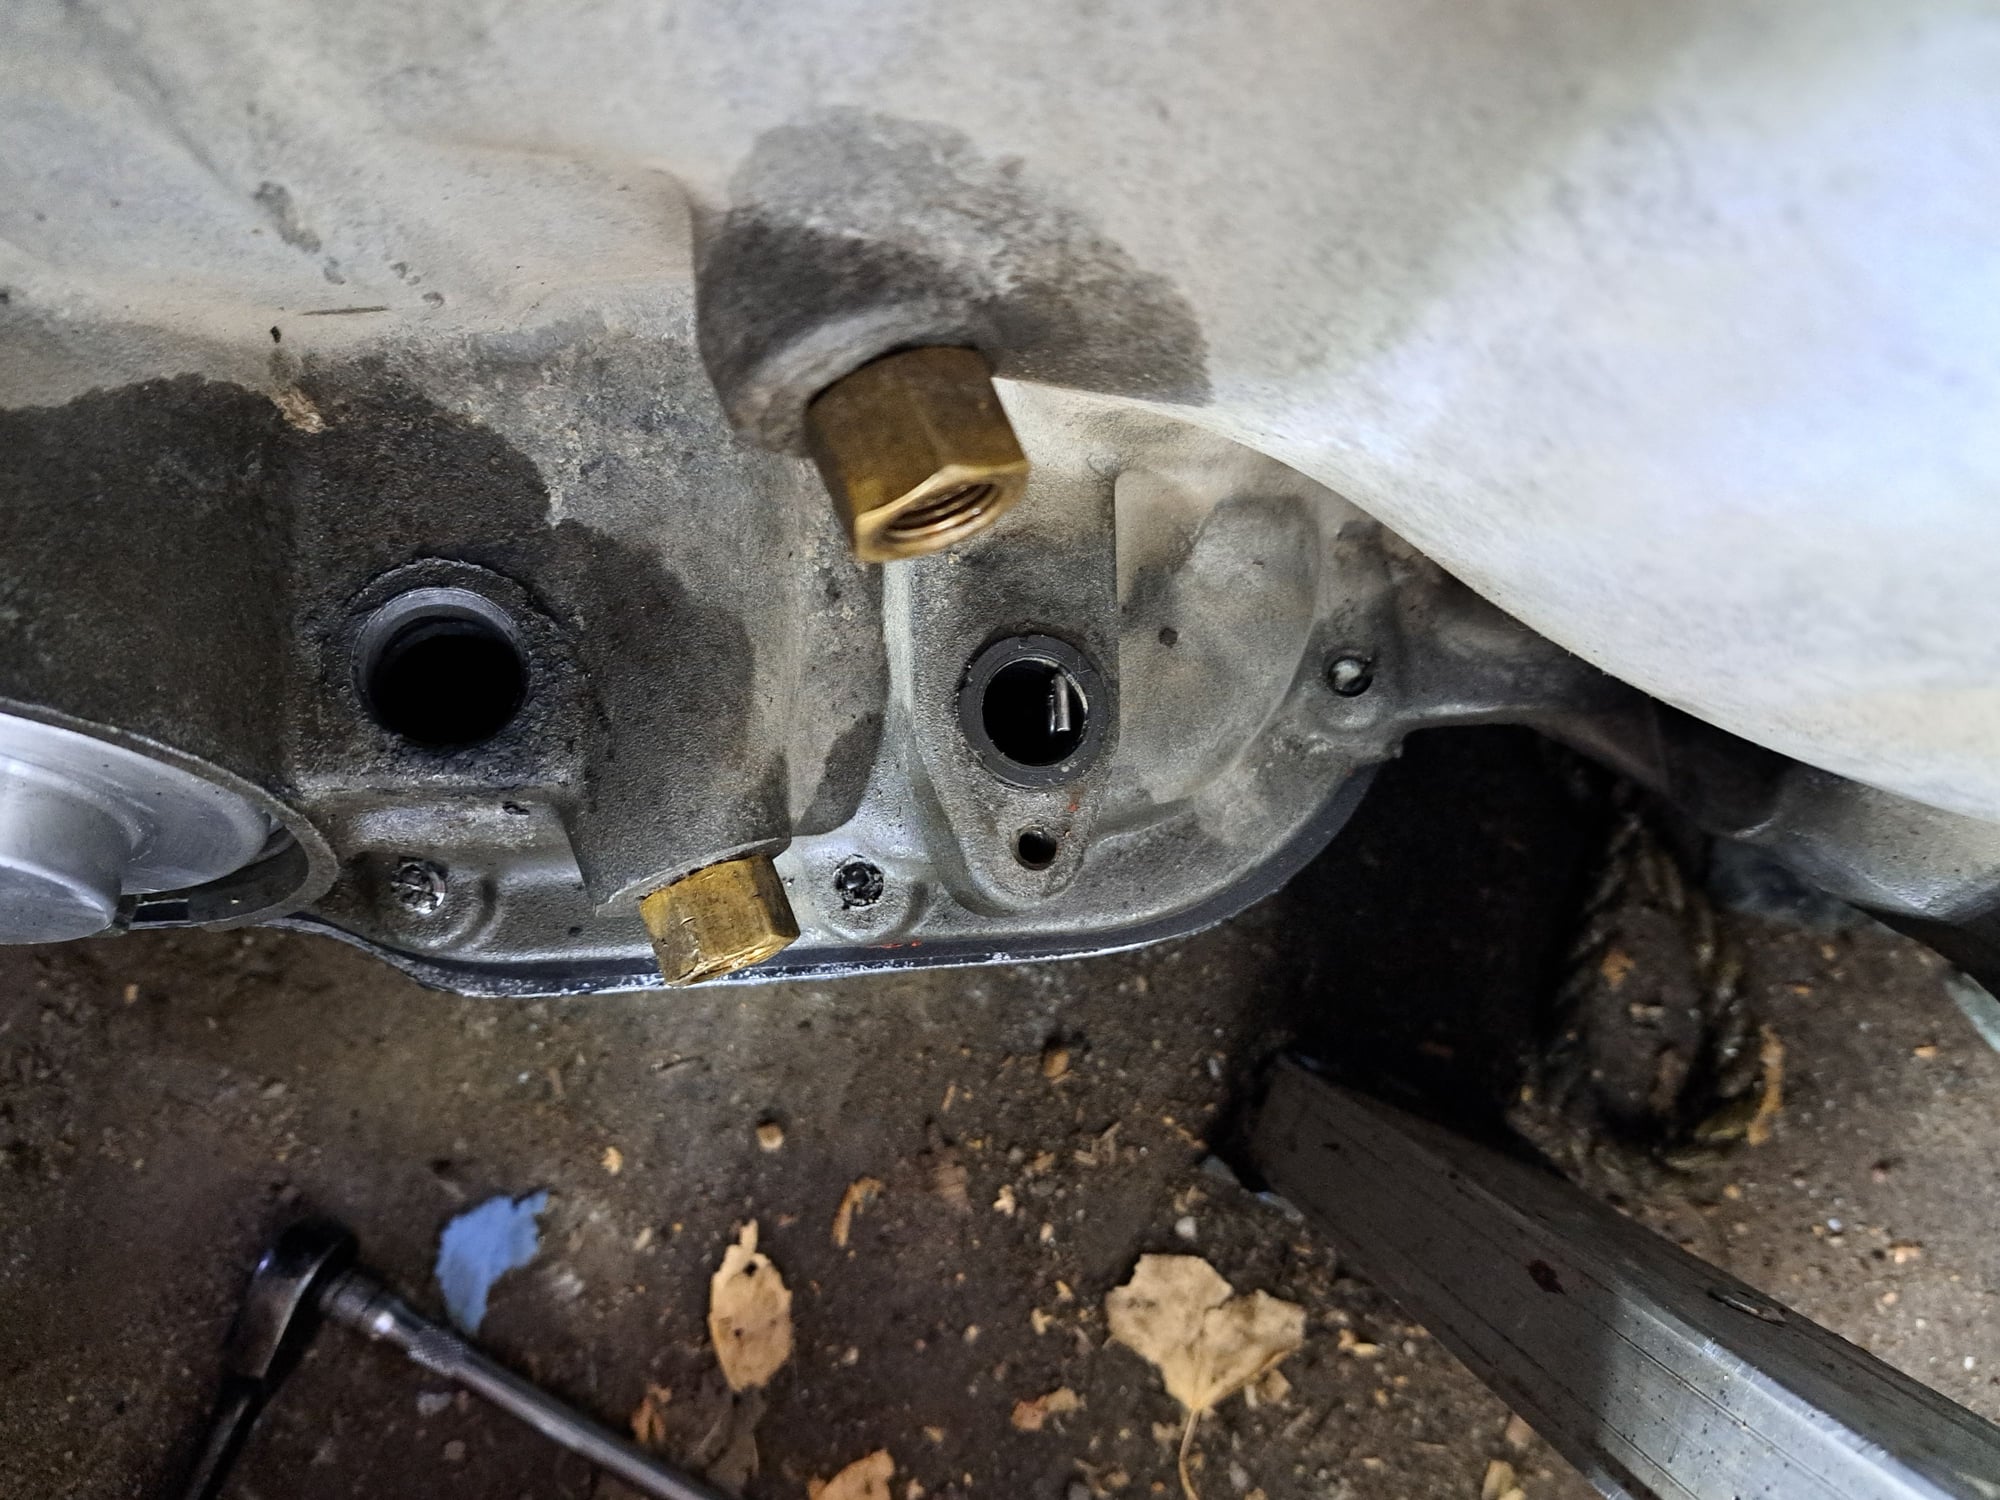
Well, I remembered the last two seals on the trans. The dipstick tube and TV cable seals.
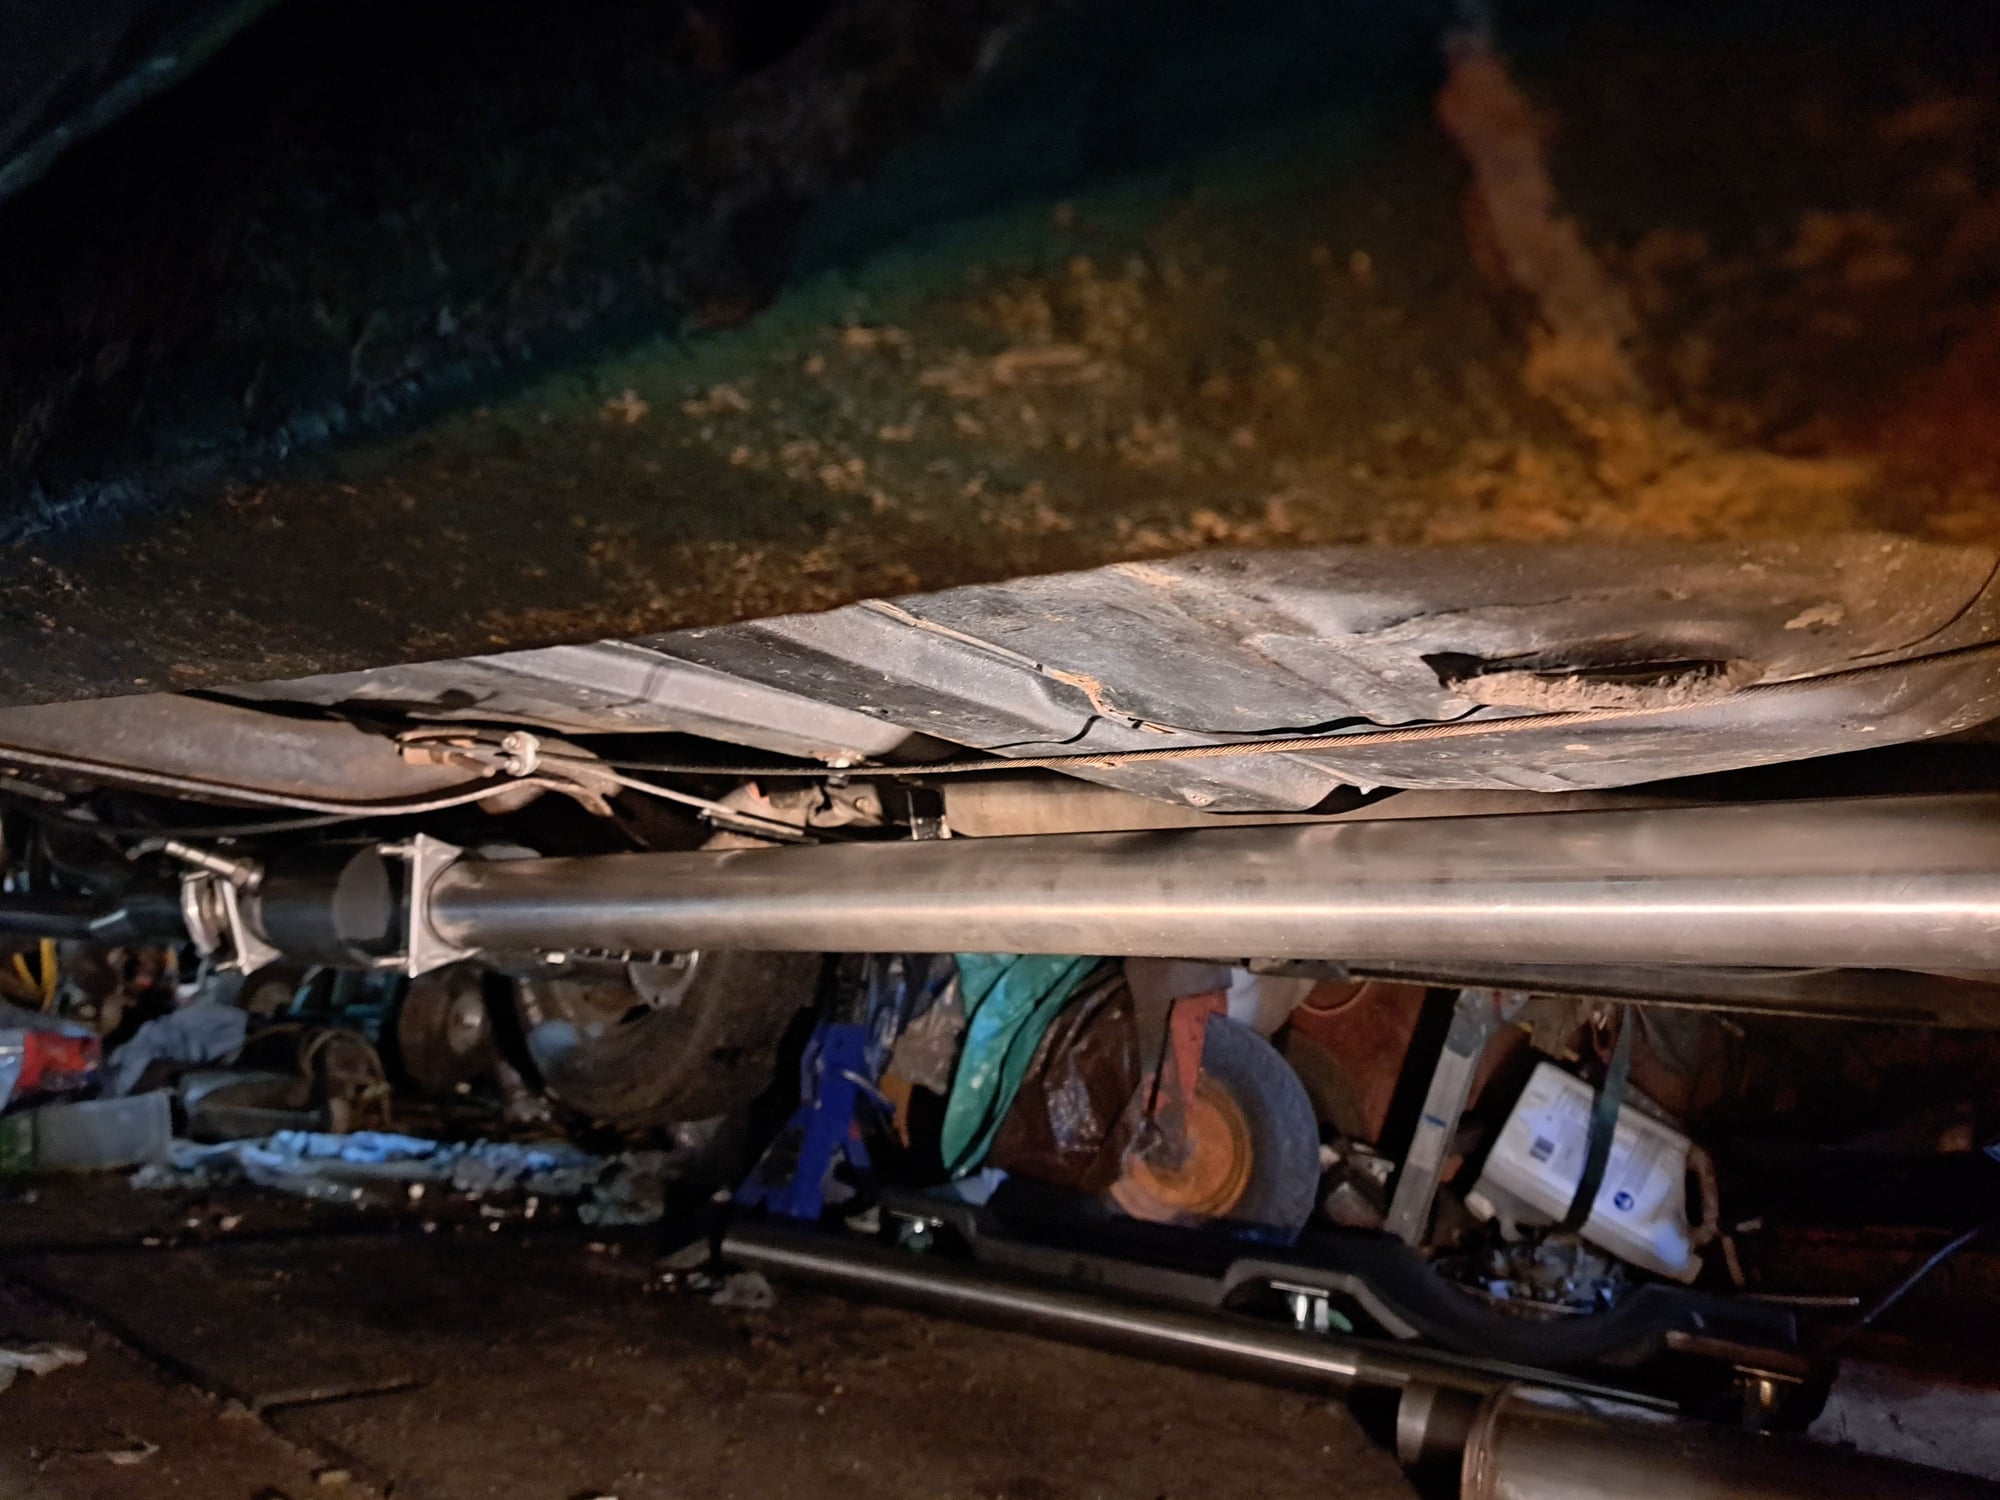
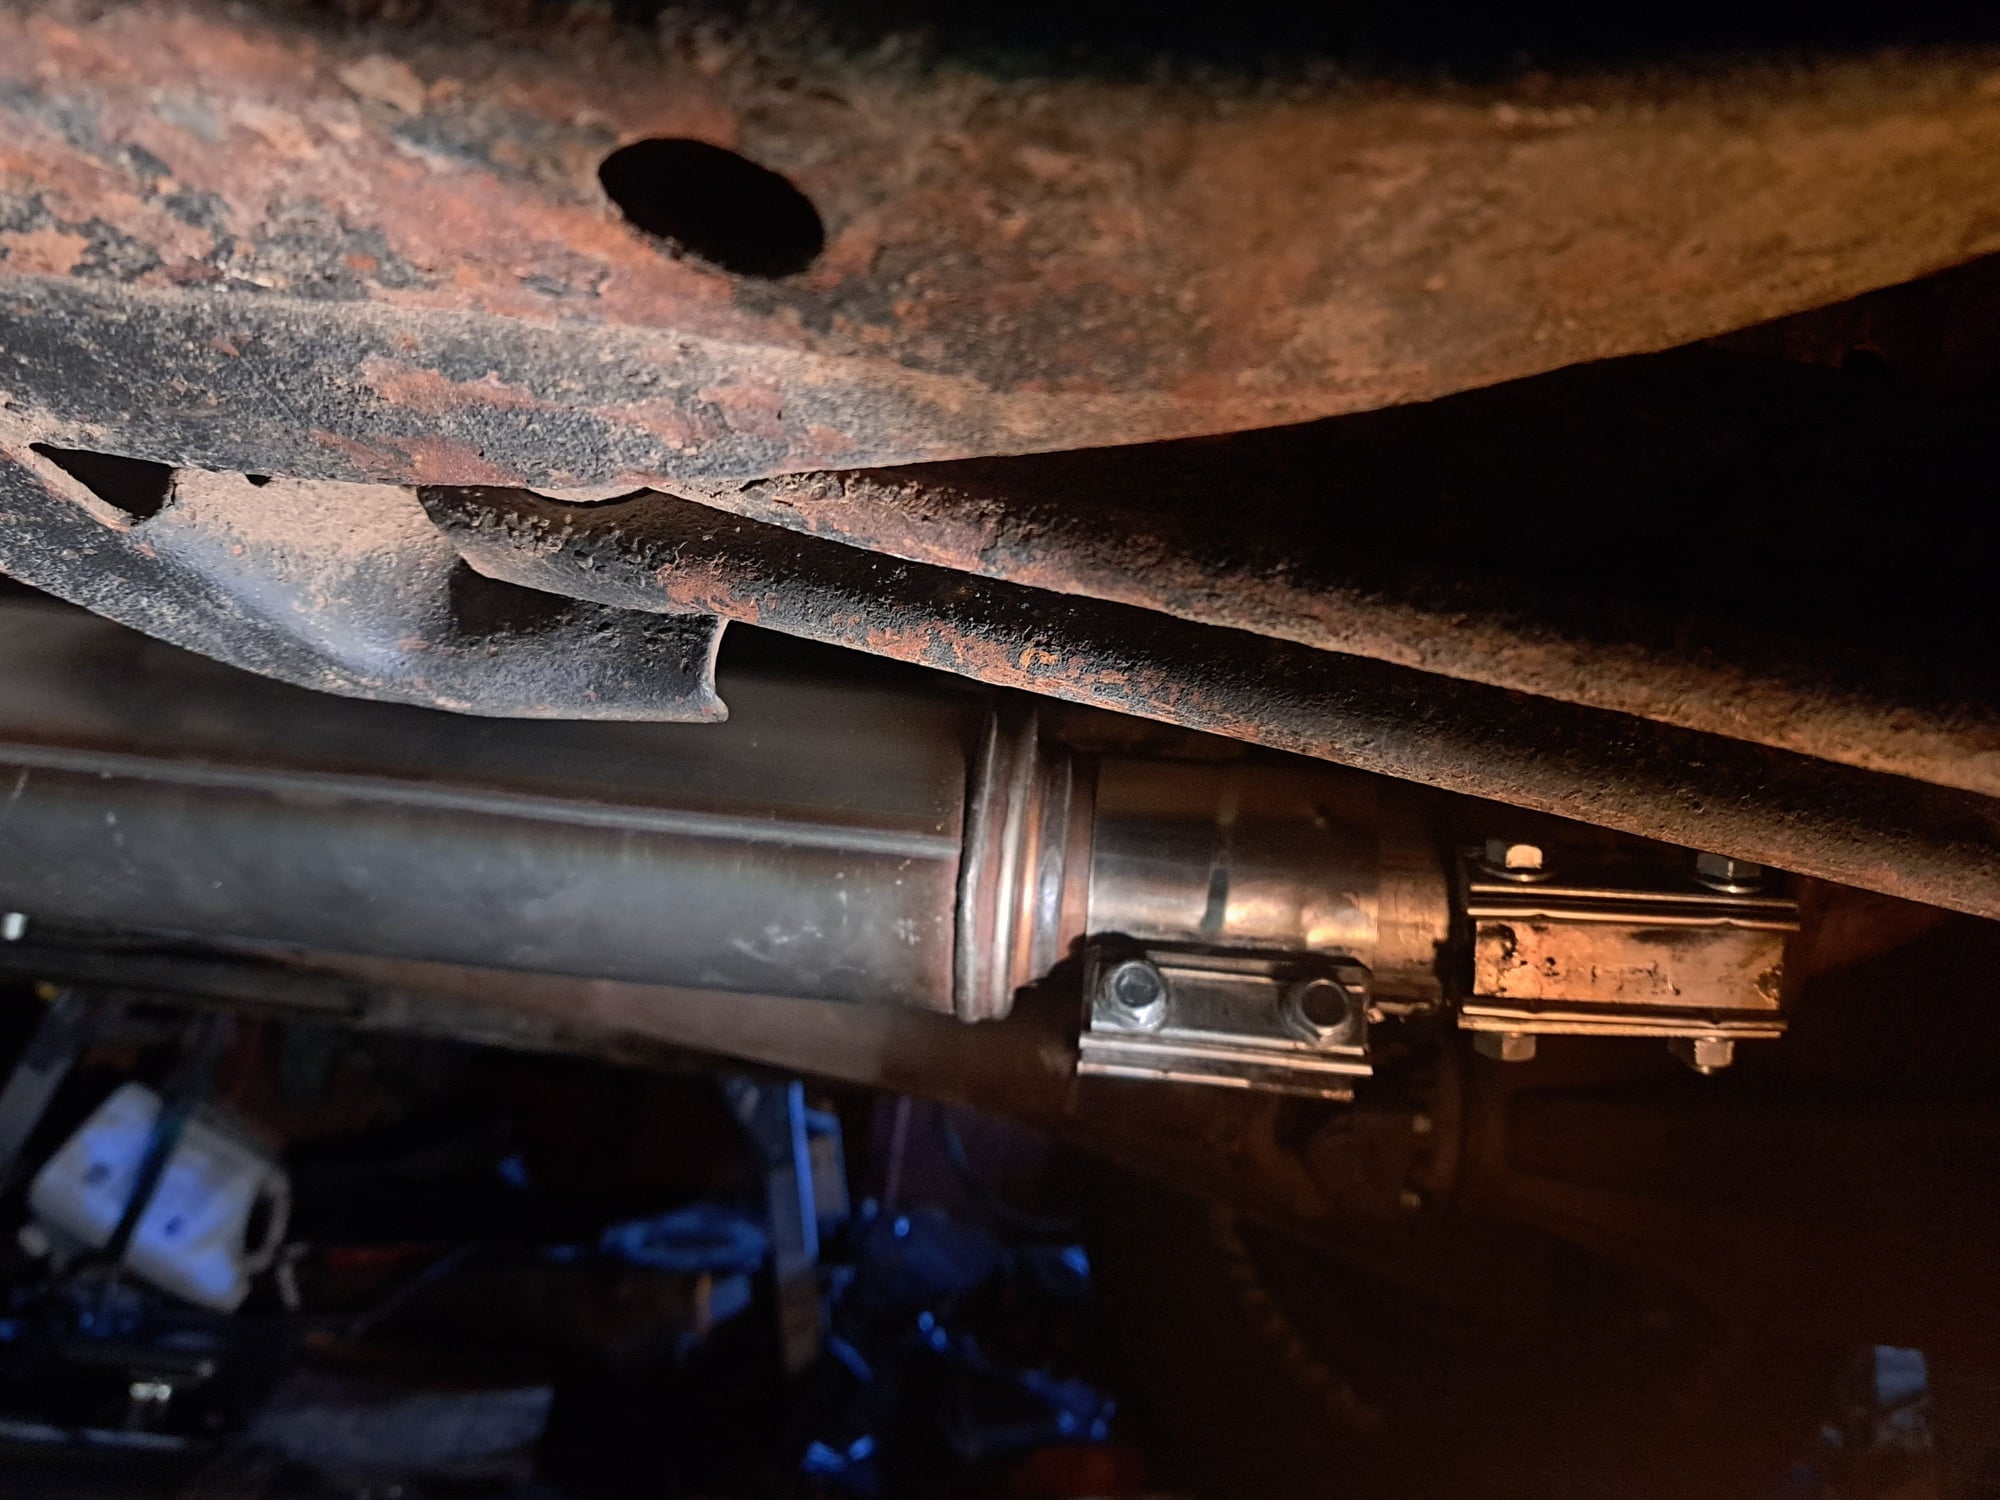
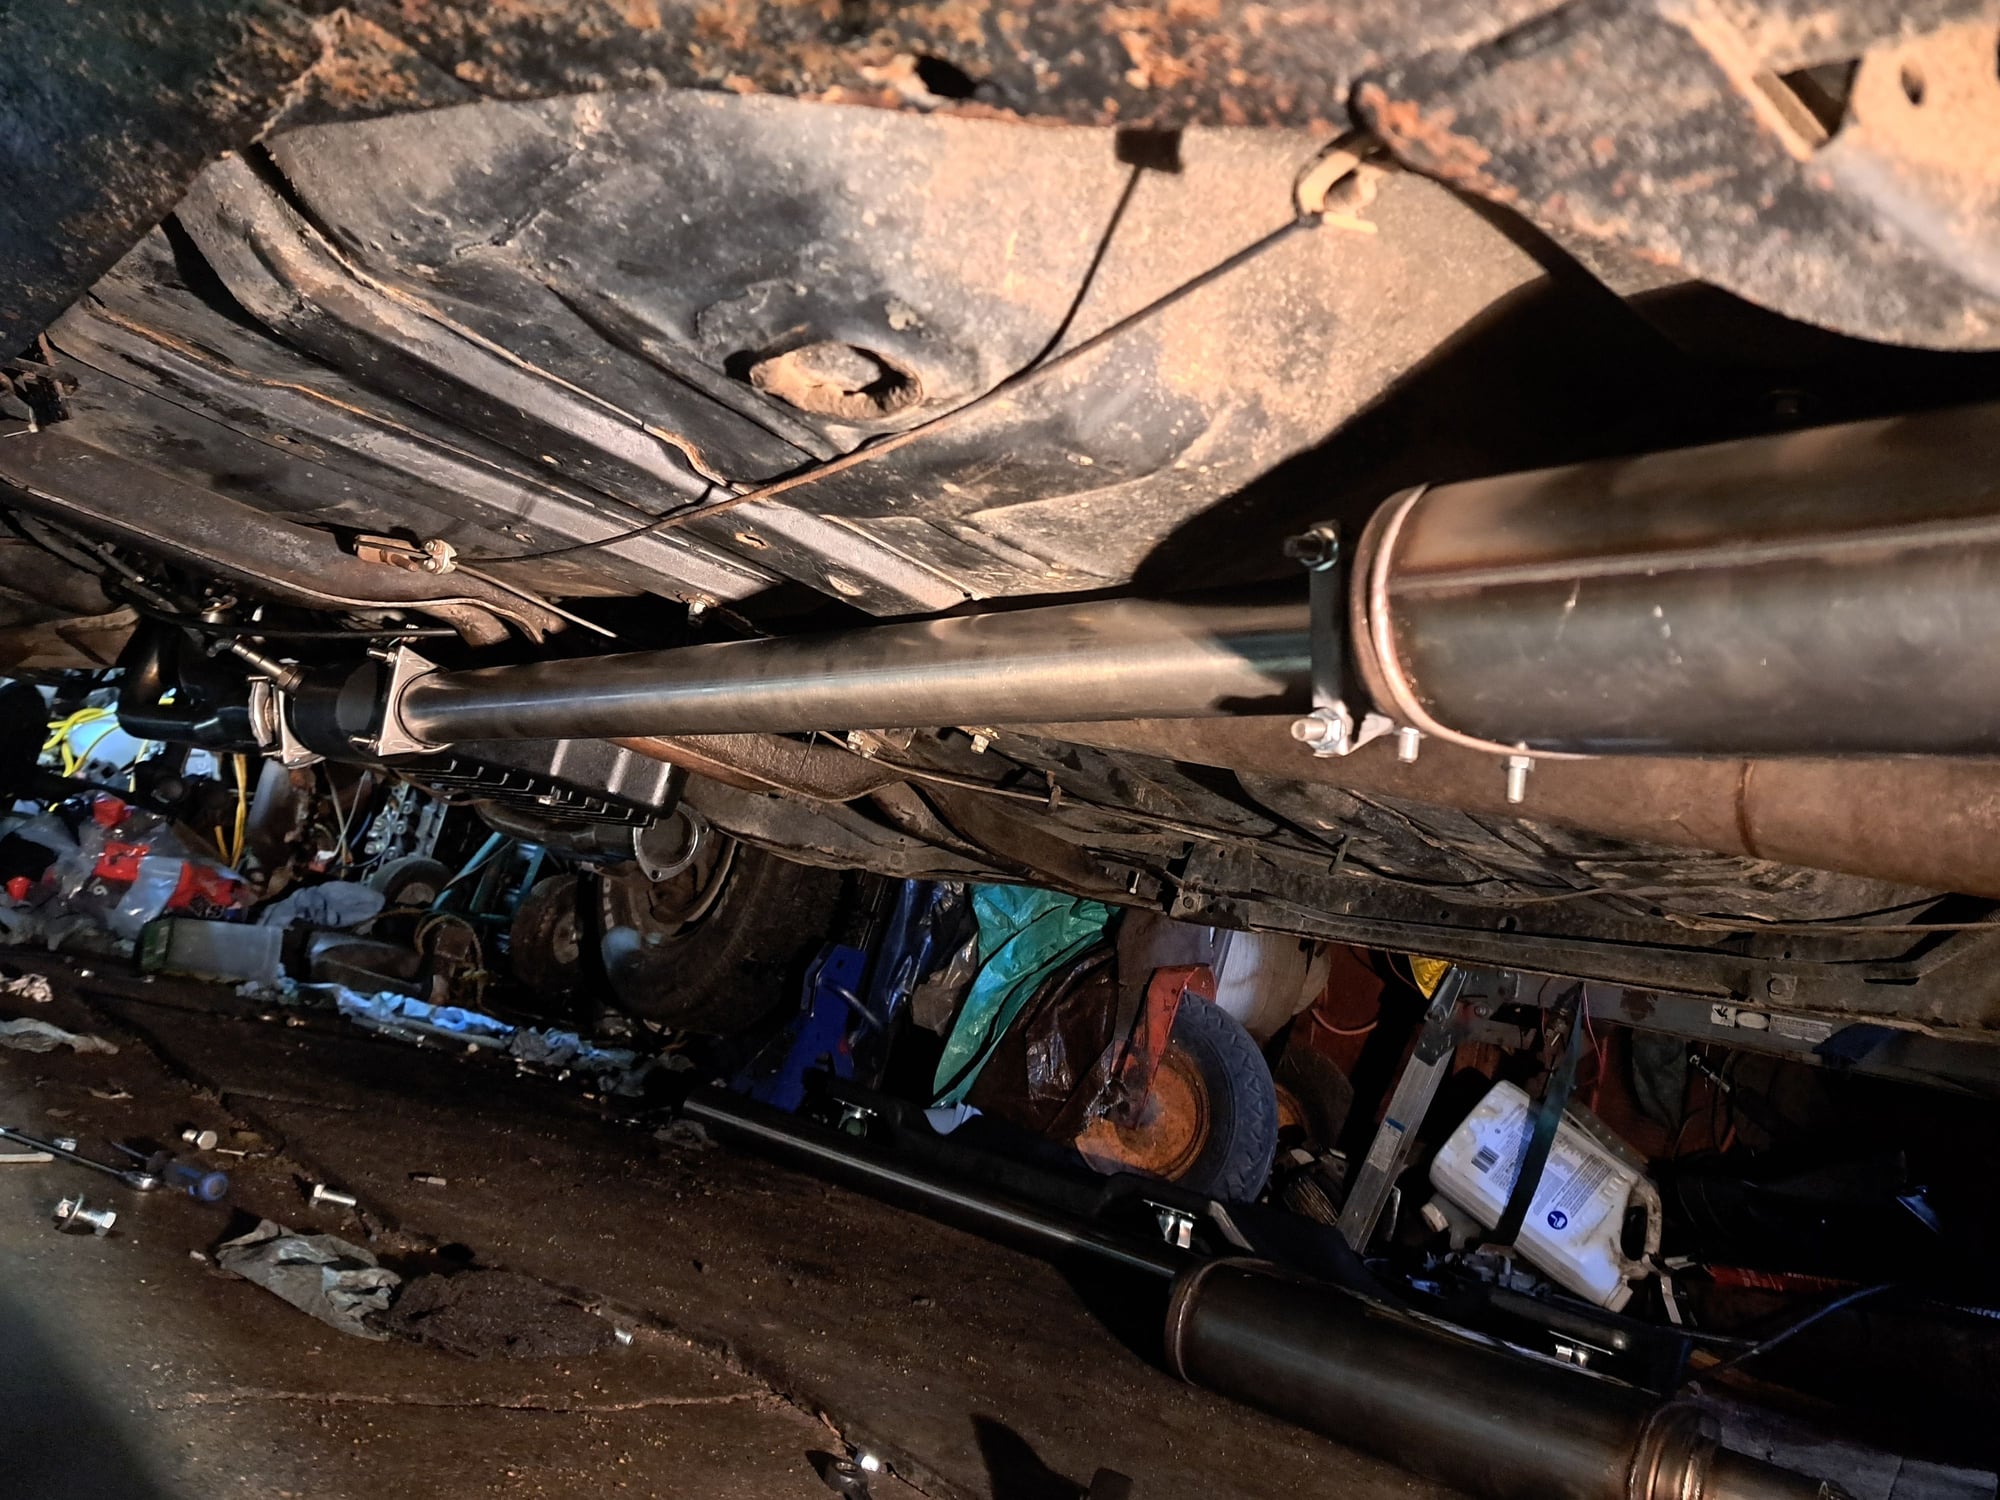
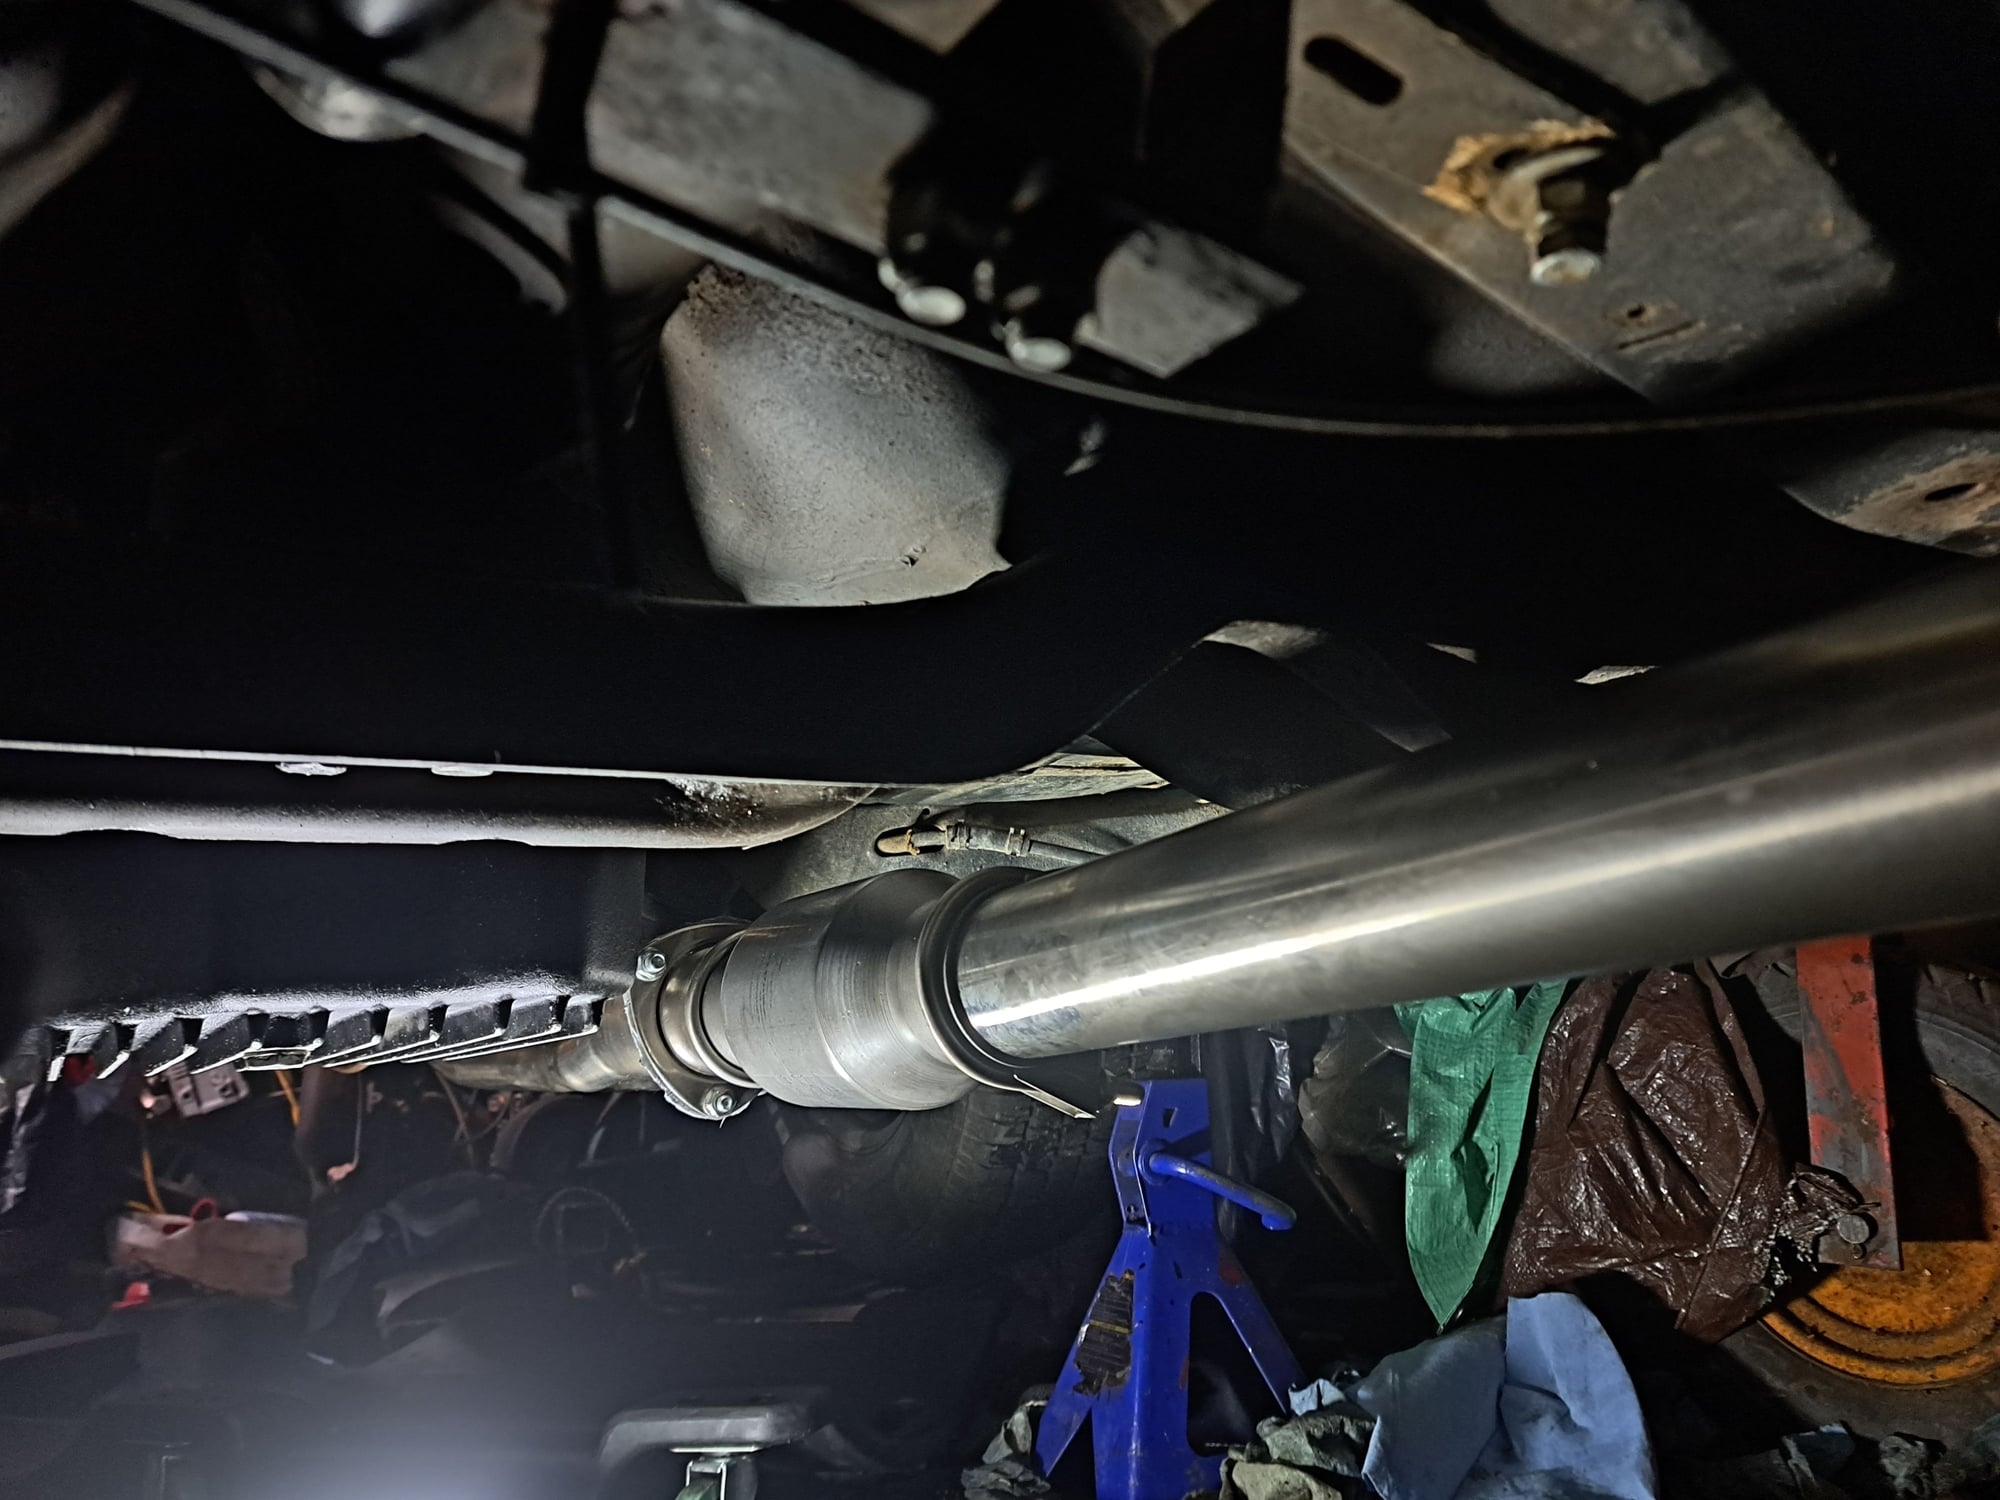
Oh yeah, after many hours, I remembered why full length headers suck! Good thing they are worth 30 HP/TQ over manifolds and dual exhaust. No way the taller Baldwin B9 would fit. Even the Napa 1258 just touched the pipe, the K+N was even worse. I used an exhaust clamp on the pipe, a tiny bit of space now. Now the starter, no way the Powermaster mini starter will fit, connections hit the pipe opposite is no good also. The no name fit but didn't have infinite adjustment, had multiple holes and needed to be half way in between. The solution was the infinite adjustment block off the Powermaster on the no name starter. I used double exhaust clamps to pull the two pipes together and moved the starter wire tube and attached to the back of the head. It is close on the main power connection, hopefully it will be fine.
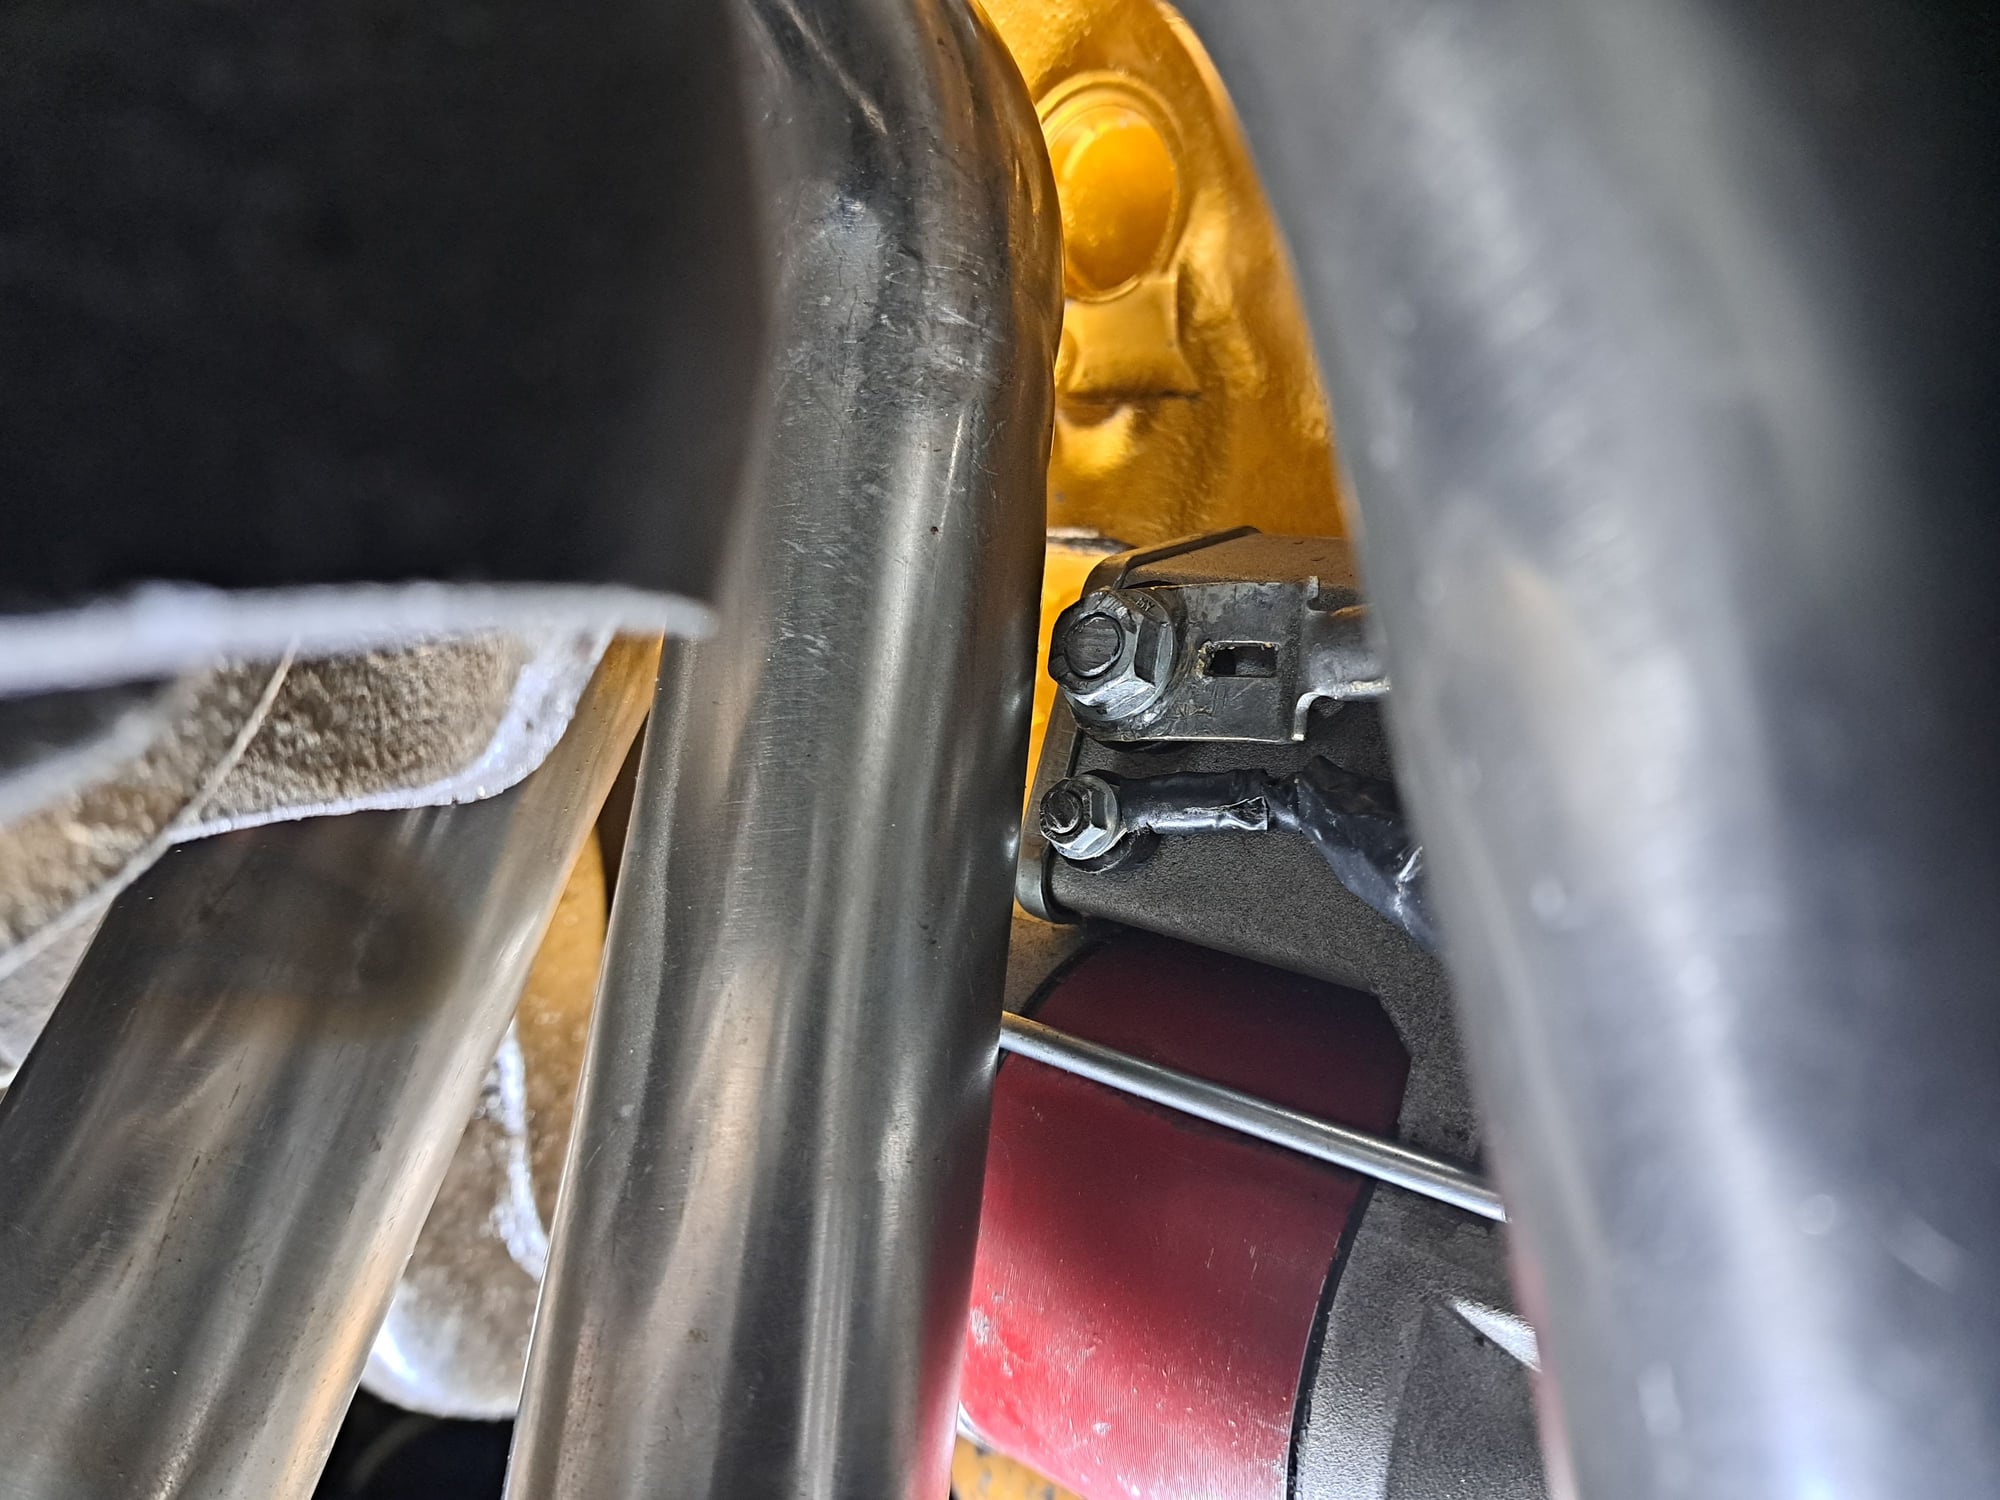
Oh yeah, after many hours, I remembered why full length headers suck! Good thing they are worth 30 HP/TQ over manifolds and dual exhaust. No way the taller Baldwin B9 would fit. Even the Napa 1258 just touched the pipe, the K+N was even worse. I used an exhaust clamp on the pipe, a tiny bit of space now. Now the starter, no way the Powermaster mini starter will fit, connections hit the pipe opposite is no good also. The no name fit but didn't have infinite adjustment, had multiple holes and needed to be half way in between. The solution was the infinite adjustment block off the Powermaster on the no name starter. I used double exhaust clamps to pull the two pipes together and moved the starter wire tube and attached to the back of the head. It is close on the main power connection, hopefully it will be fine.
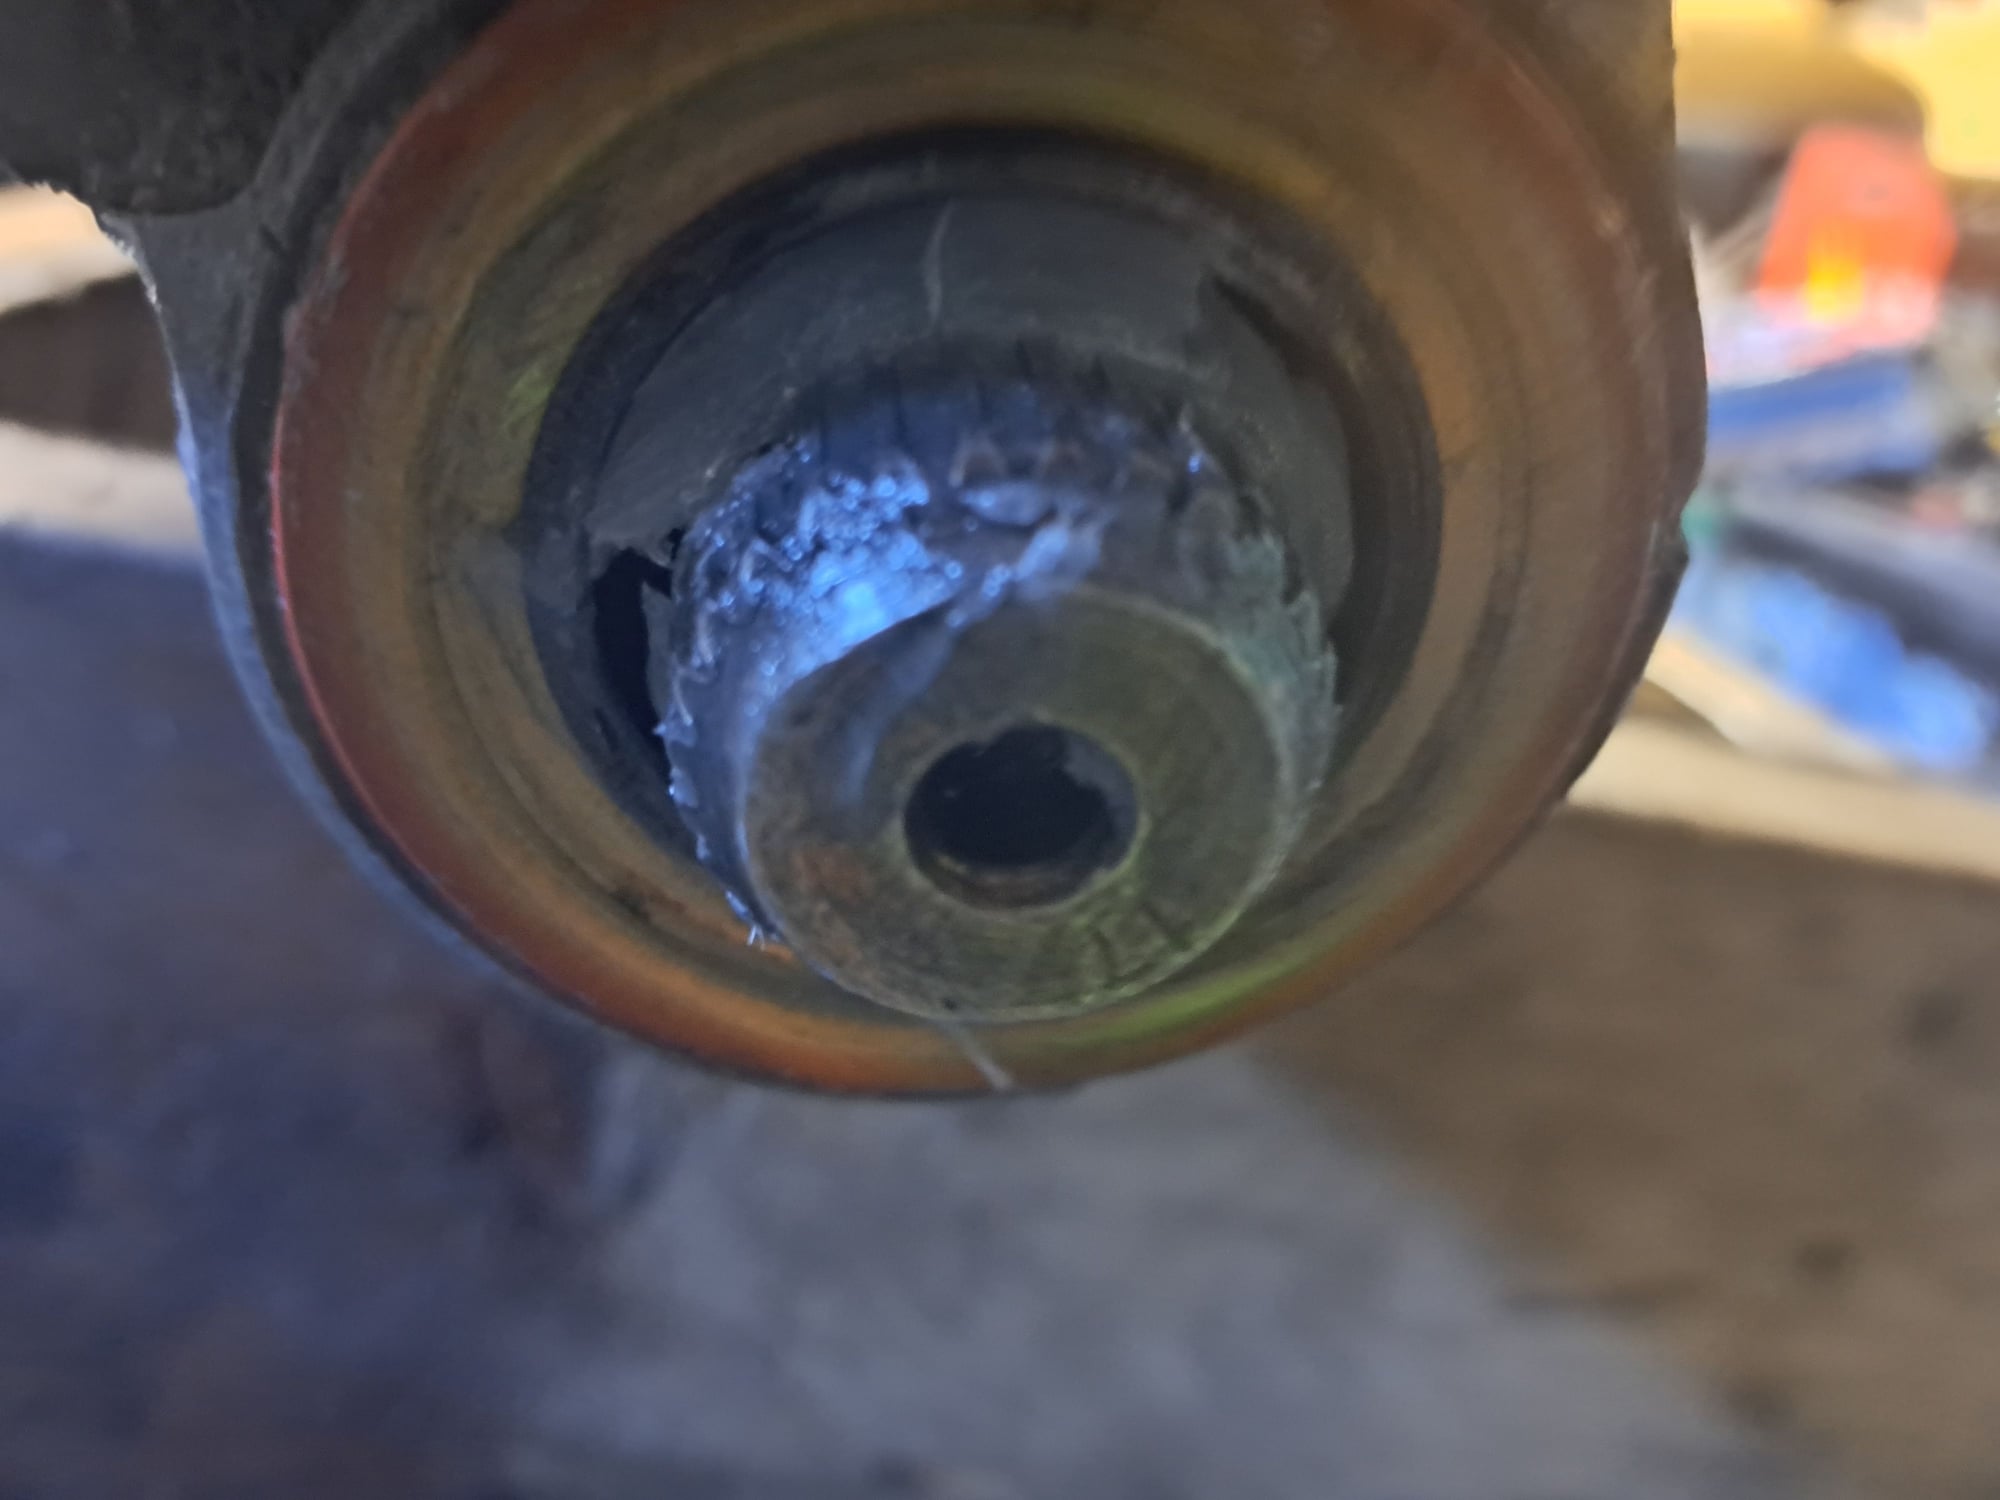
Filled the converter, seated right in. Once the transmission was on the dowels and partially tightened down , I spun the converter to make sure it was properly seated, it was. It pushed some fluid out the the cooler fittings, a good sign Trans in place with all the CK Performance upgrades. Easiest install have done, much better than the starter and oil filter yesterday. I love those easy to bend nickel copper lines for nearly everything, including trans cooler lines.
jamesgomez301
New member
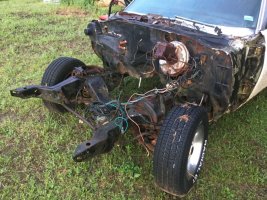
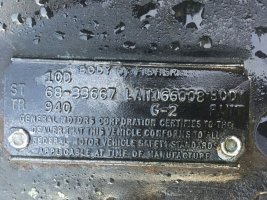
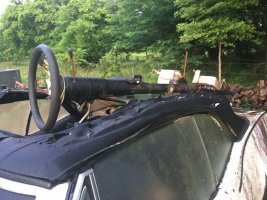
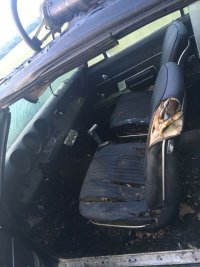
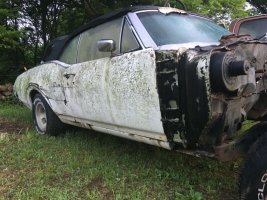
1968 Oldsmobile Convertible Cutlass Olds 4 speed For Parting. Any One Interested in Any Of The Parts Should Dm Me For more info. Contact me via email at ([email protected]) or Call/Text me at +1(719)789-3103 for more info
Attachments
-
 1968 Oldsmobile Convertible Cutlass Olds 4 speed For Parting. Any One Interested in Any Of The...jpg226.8 KB · Views: 374
 -
 1968 Oldsmobile Coup.jpg226.8 KB · Views: 414
 -
 1968 Oldsmobile Coup1.jpg238.8 KB · Views: 411
 -
 1968 Oldsmobile Coup2.jpg176 KB · Views: 353
 -
 1968 Oldsmobile Coup3.jpg141.4 KB · Views: 376
 -
 1968 Oldsmobile Coup4.jpg197.4 KB · Views: 417
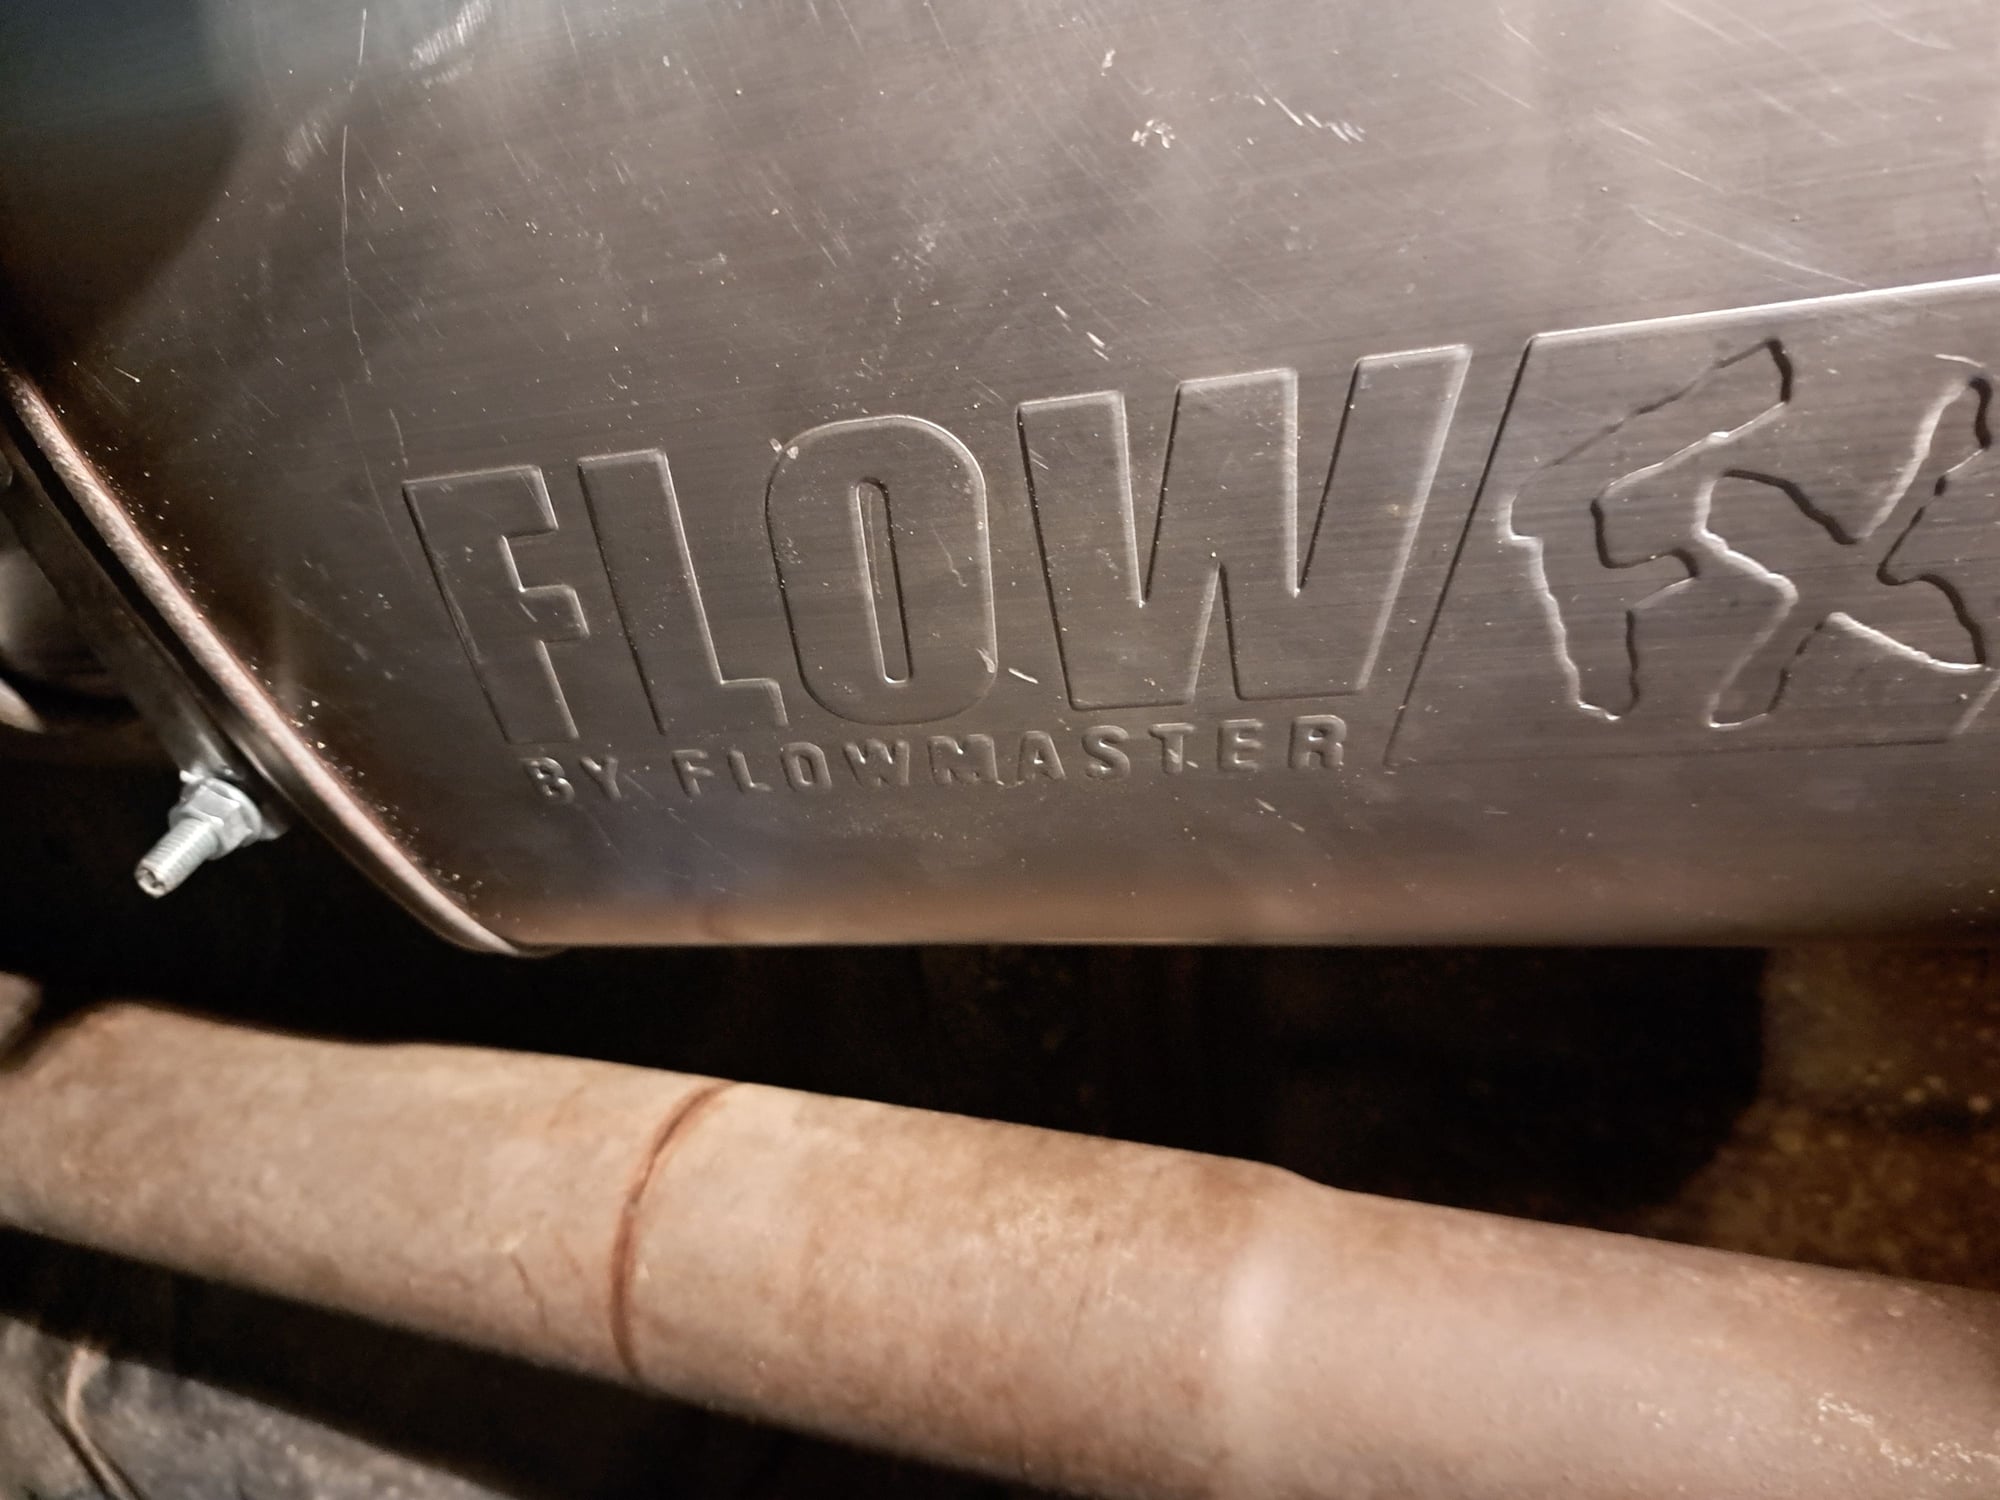
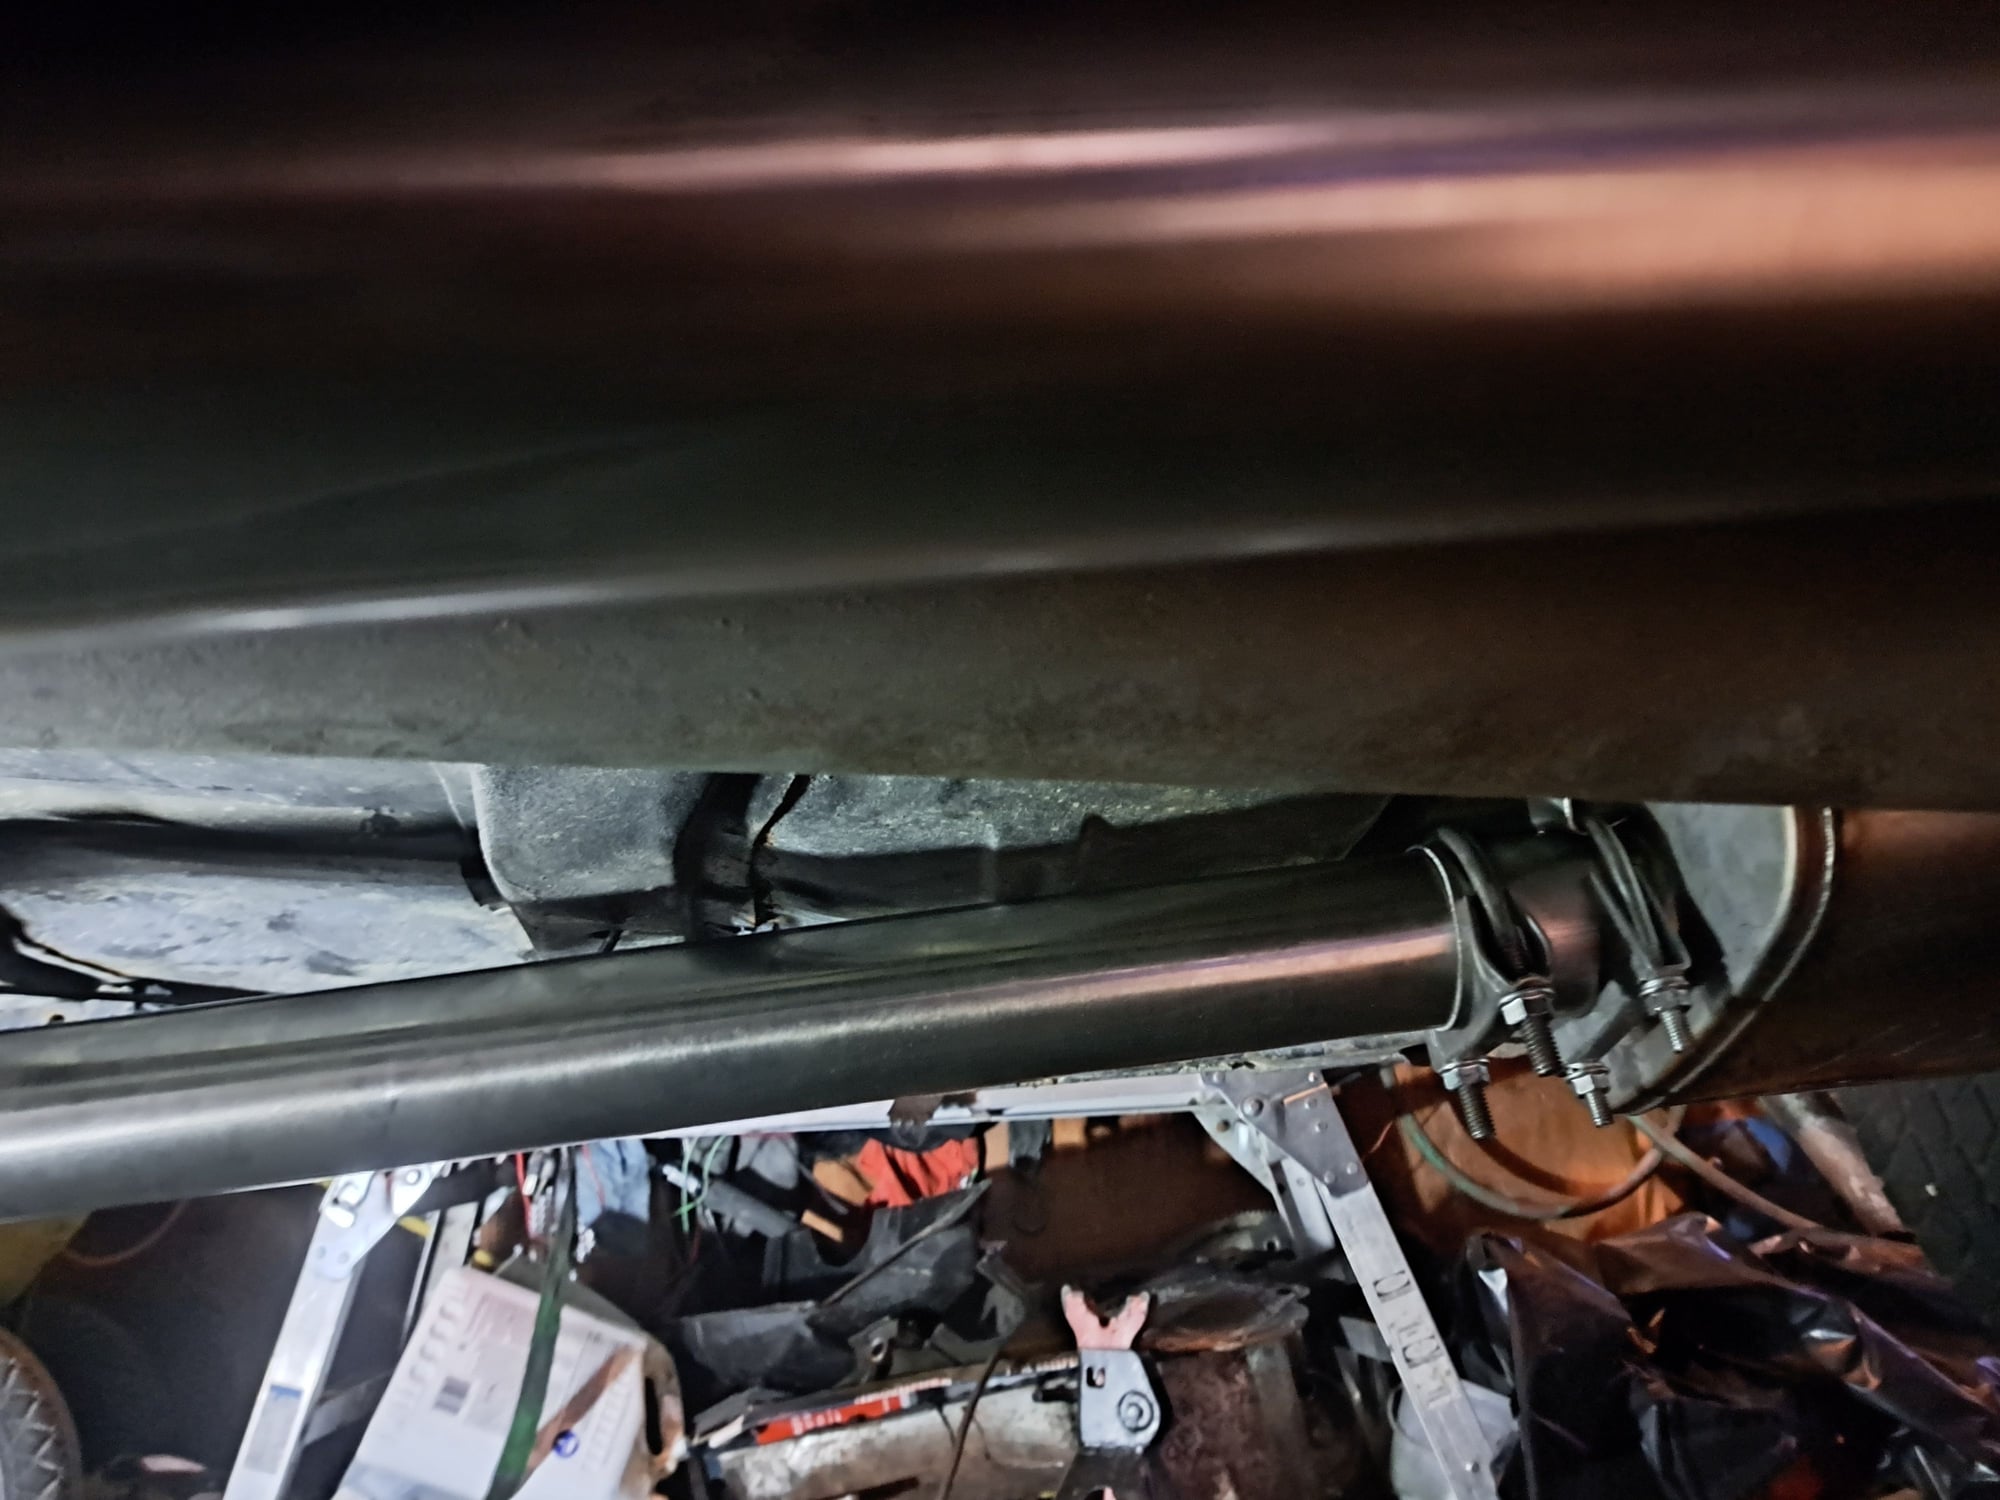
So I went to install the shift linkage, I couldn't get past neutral no matter what. I pulled the pan and apparently I installed the shift plunger in the wrong position, only two ways it can go in, it was the other way. Rather than dropping the valve body in car, I carefully bent the pawil so I could sneak out the S link. Put it in the proper position, bent back and made sure it shifted through the gears, installed the pan. Then tightened the motor mounts, installed the torque converter bolts with one washer between the converter and flex plate. Installed the TCI vacuum lockup switch back in place. Drive shaft installed as well. Then started on the exhaust. I thought I was going to be way short. After taking all the pipes installed just enraged enough, I had two stainless adapters, exactly what I needed. I installed the O2 in the new cat on the drivers side. It fit like a glove, the headers are the lowest but not too bad. All Stainless up to the tail pipes and these Flowmasters are straight through.
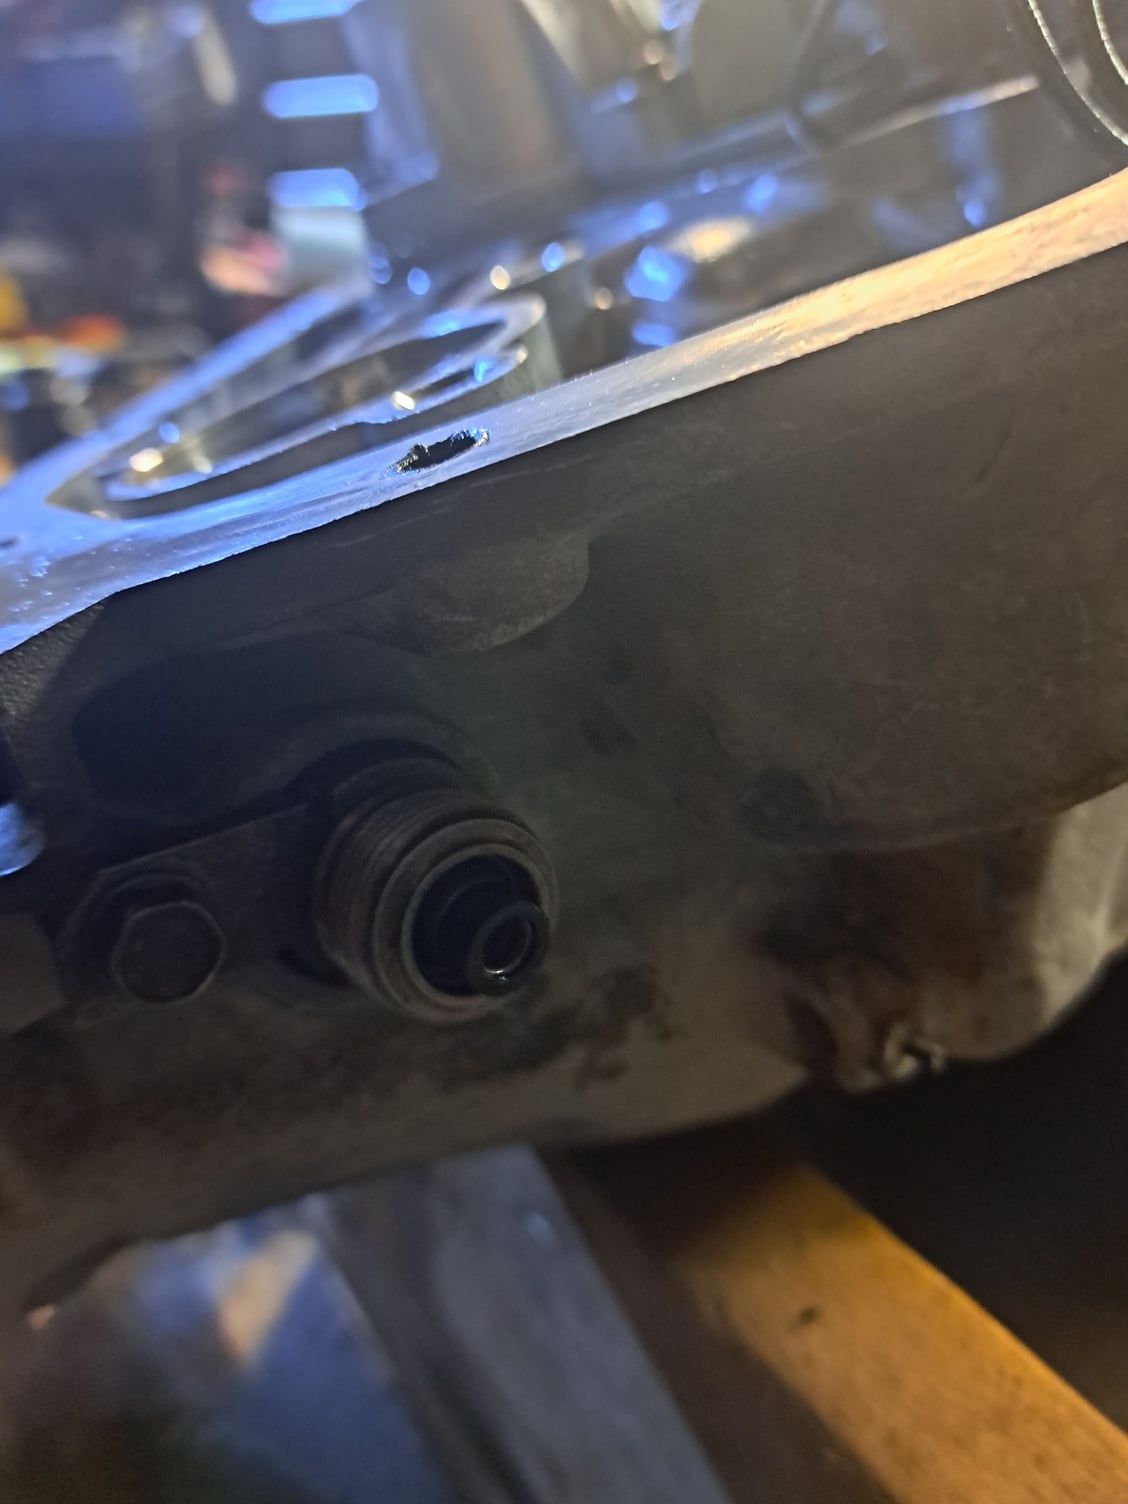
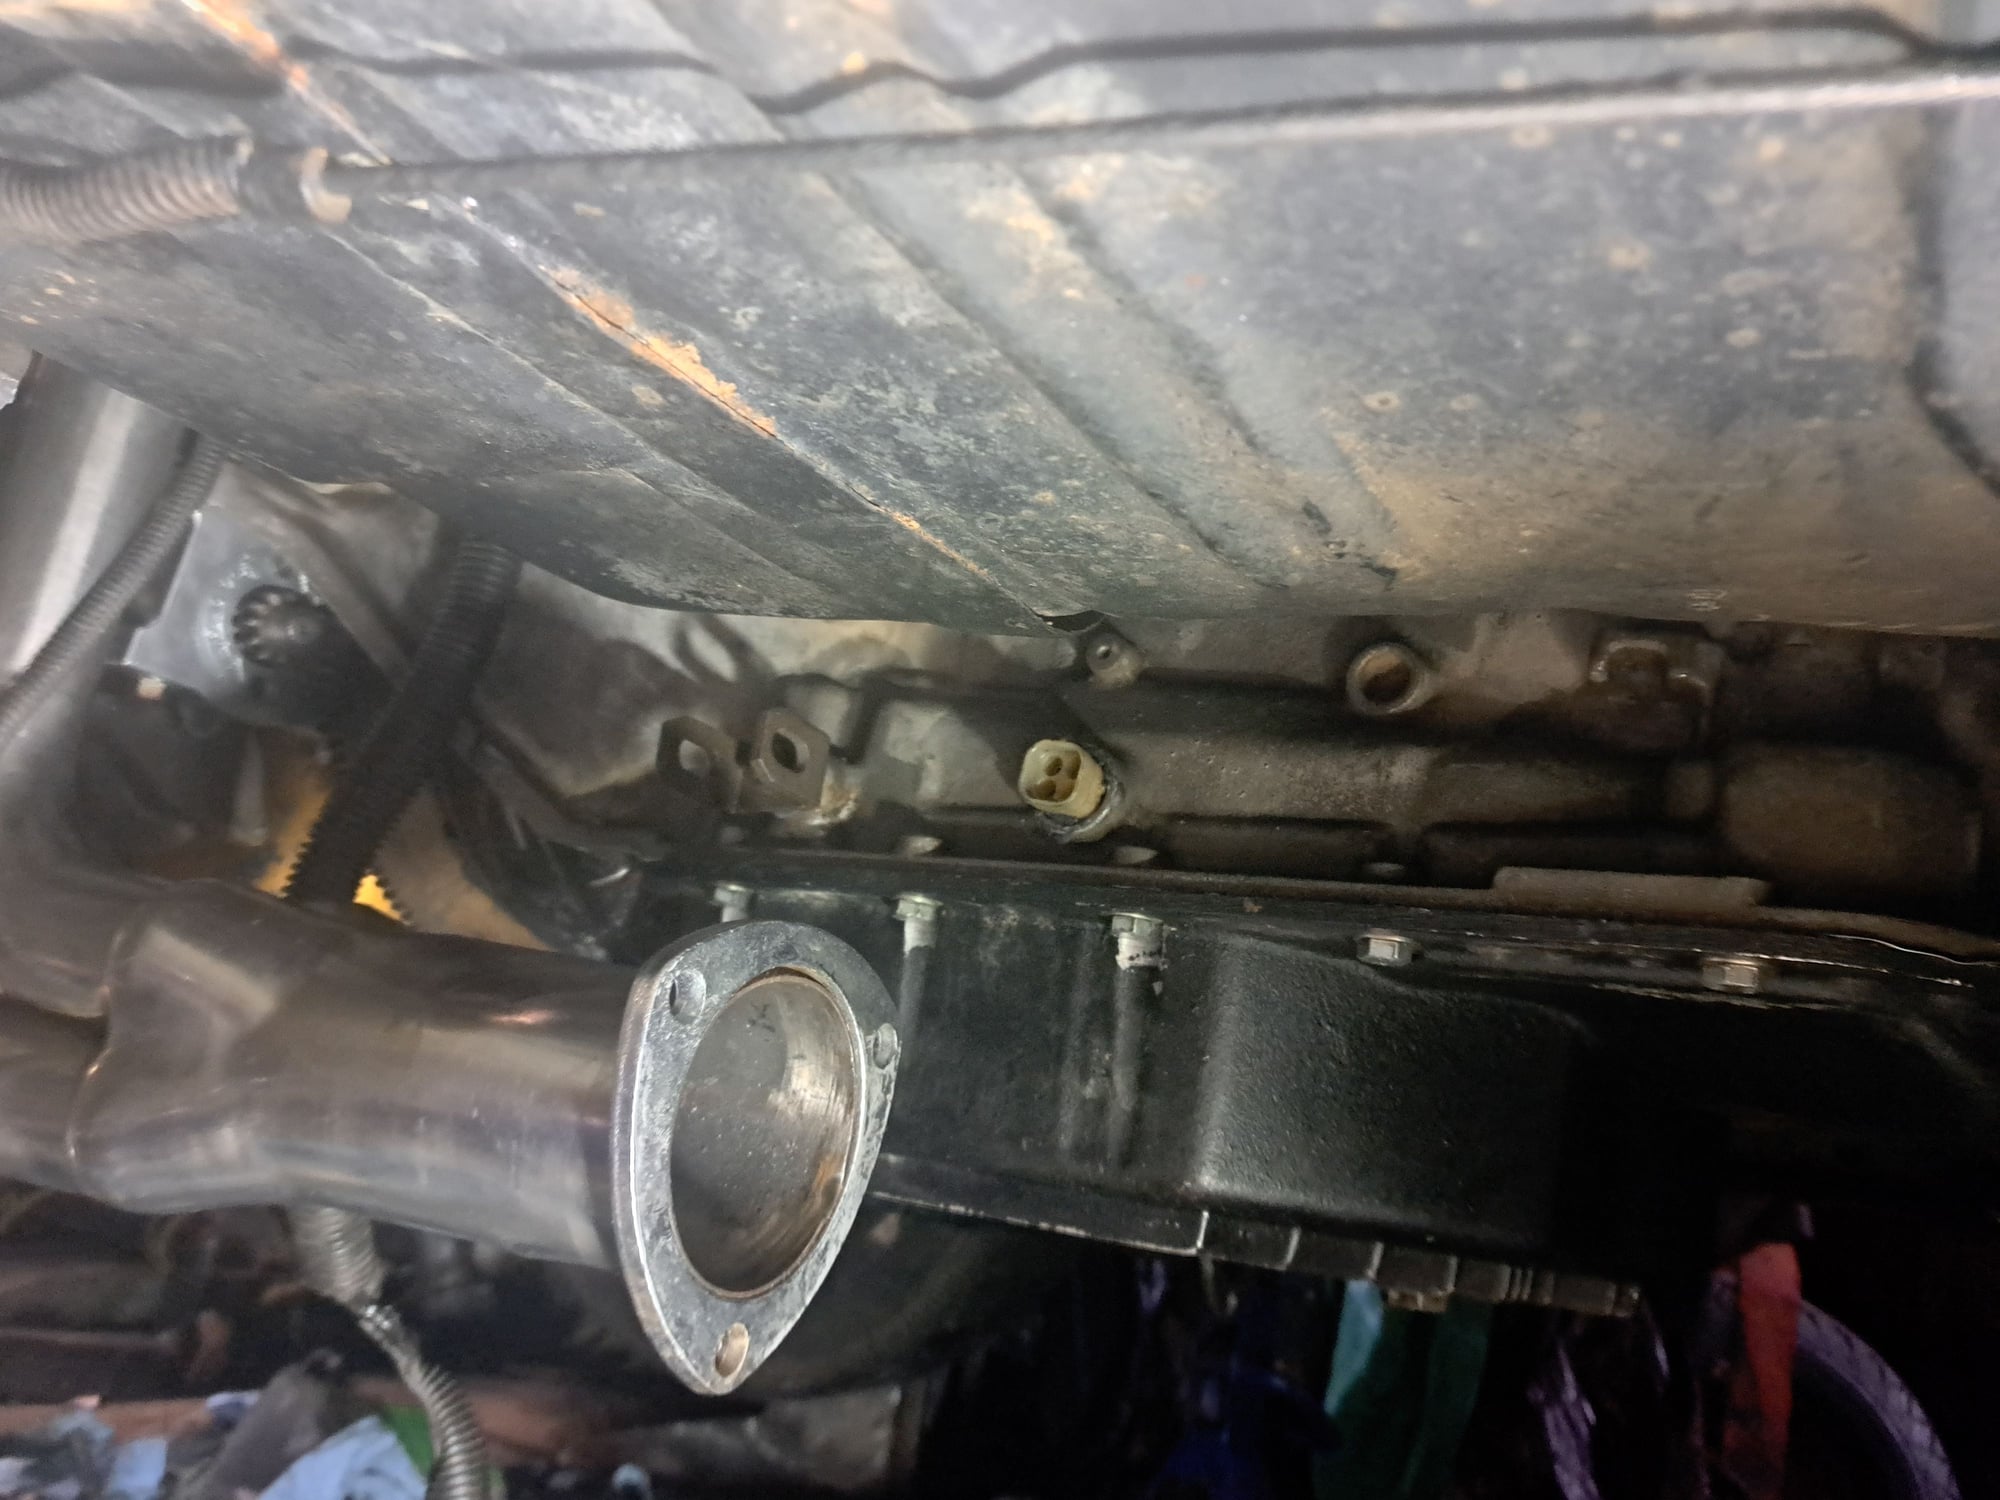
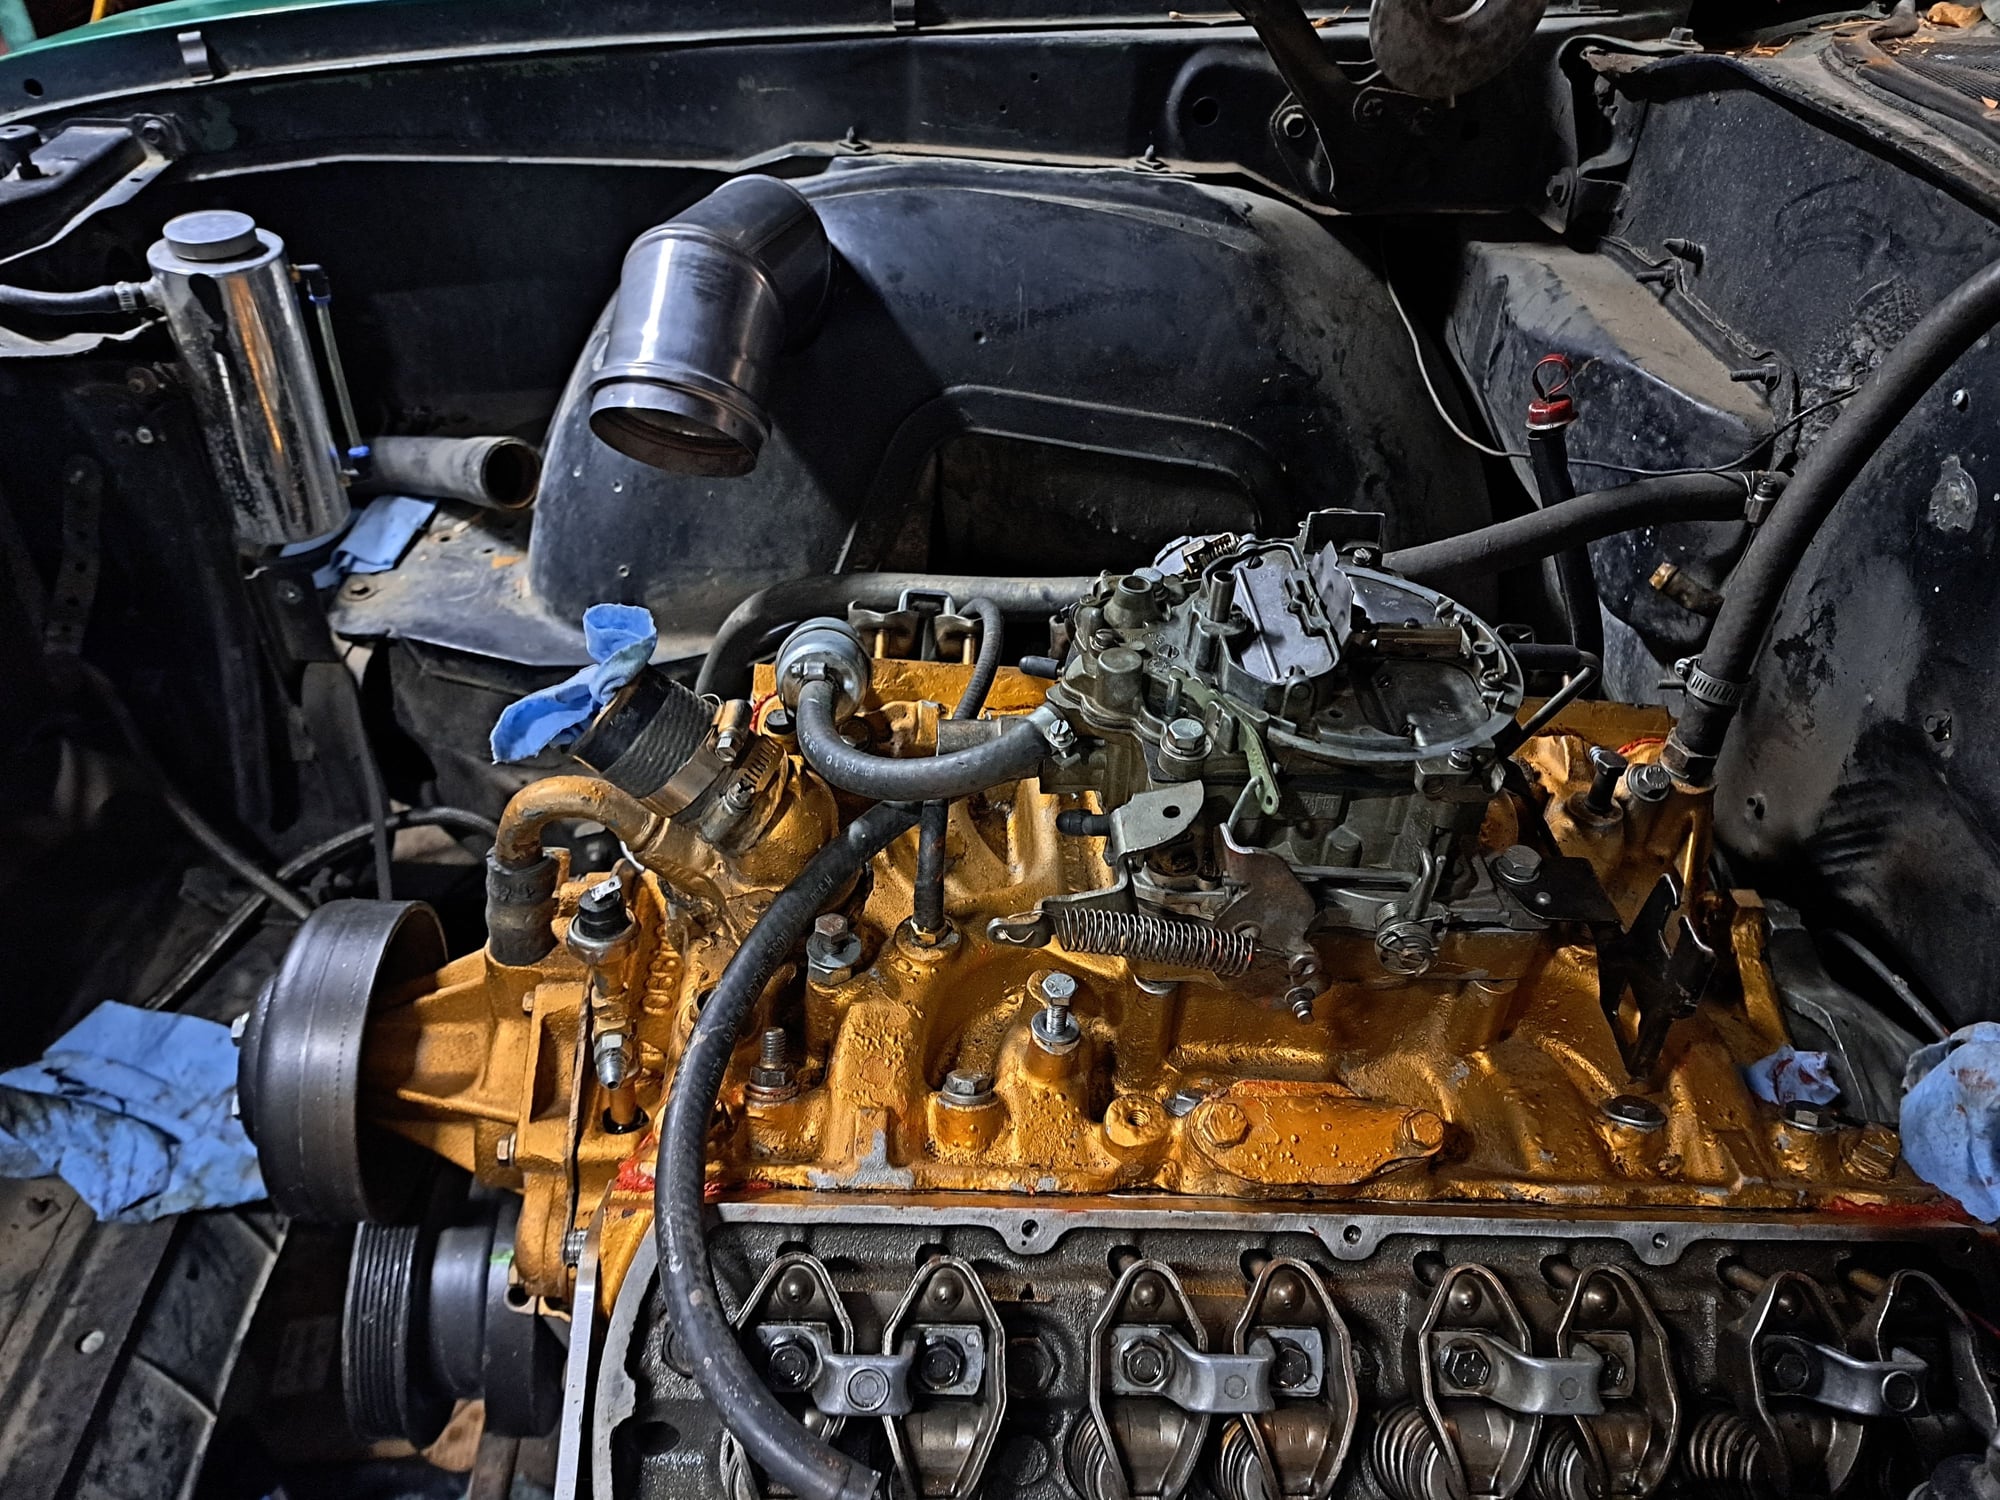
Intake is on, of course the drivers side gasket moved, PIA. Used Permatex Aviation sealant around the intake and crossover on both sides of thr gasket. I had the Black Right Stuff 1 minute gasket, no way I would an intake on quick enough for it. So I tried Optimum Red around the water ports and end rails. It has superior oil rresistant and 750 degree temperature resistance. Ok around the water ports, stacking talk, thin beads on the end rails, not so good. I put on the intake torqued then put a bit of the Right Stuff 1 minute Red in the caulking gun on the end rails, to make sure it seals.
Rocketman269V
Member
When I do an intake, I use studs to line up the gaskets. I put the studs in one side, glue the gasket to the head, set the intake on for some weight; then remove the intake, put the studs in the other side, glue the gasket, set the intake back on and while it's drying I put the intake bolts in and tighten them down. Works like a champ. ")
Yeah, studs sound like a not bad idea. I know guys do the same with headers. I usually use the one piece turkey tray but went with the cheaper 2 piece shim gaskets.
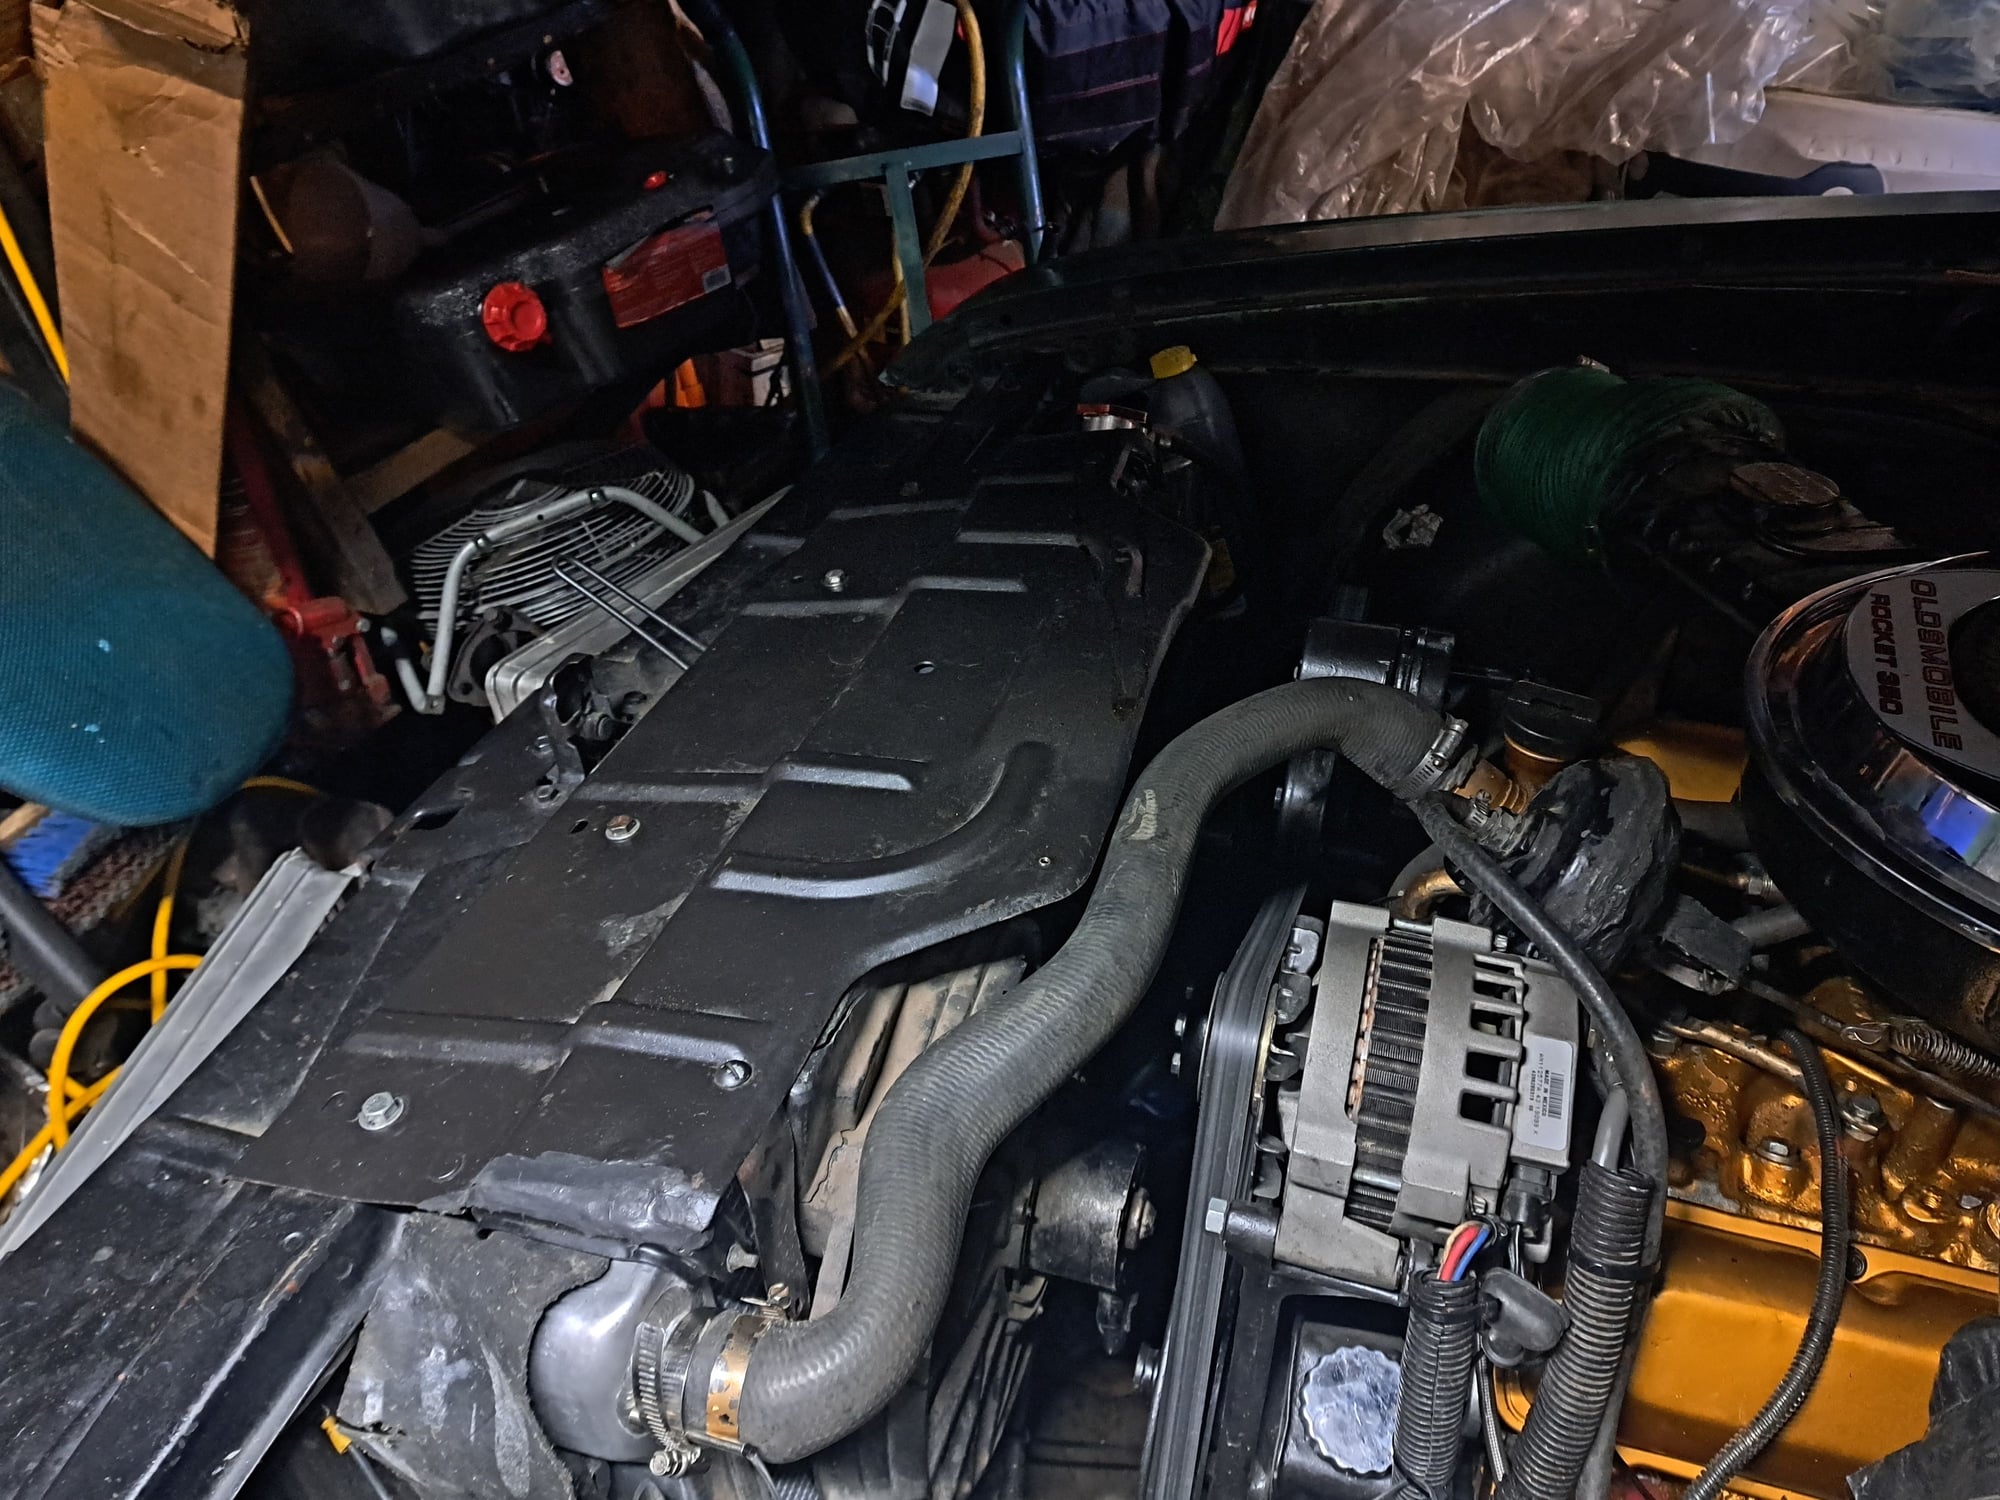
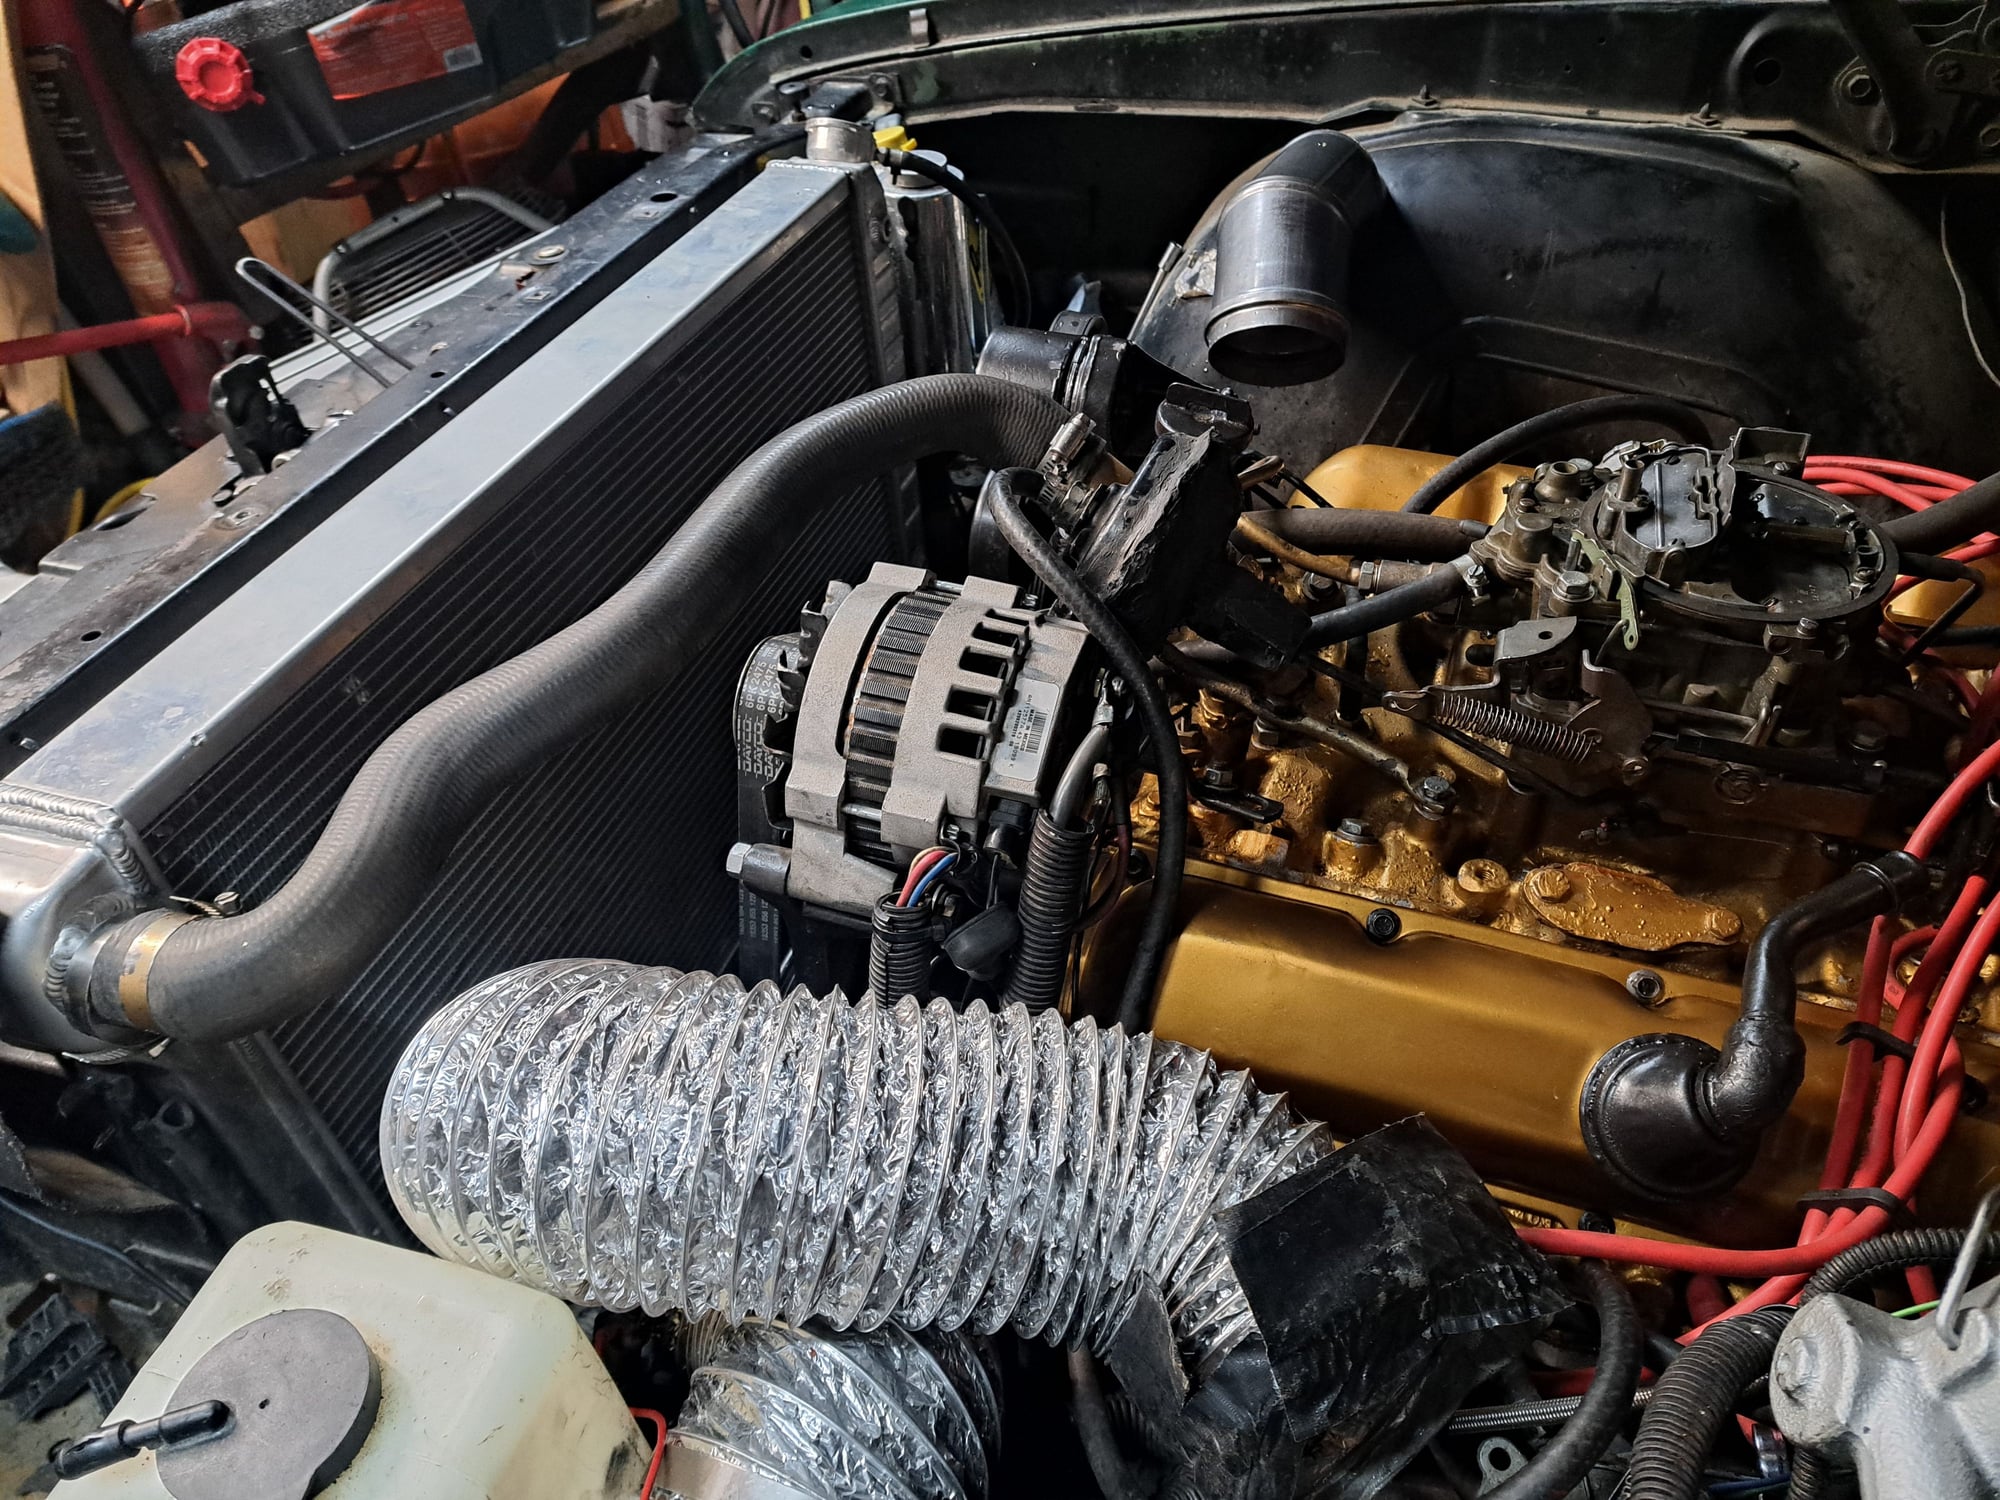
Front serpentine brackets and belt in place. Fuel lines, new Wix 3/8" inline fuel filter. Cruise servo and TV cable installed. All hoses except the rad hoses tightened. I also mostly filled the transmission with fluid that was in it for only a couple of miles. A combination of Trans Hydraulic fluid and ATF, conventional and synthetic. I had one quart of Lucas Hot Rod high ZDDP 10W30. I threw it in with the STP left from coating the cam and lifters. I also had 4L of SM 10W40 that went in. I plan on priming the oil system with my Dewalt corded drill tomorrow.
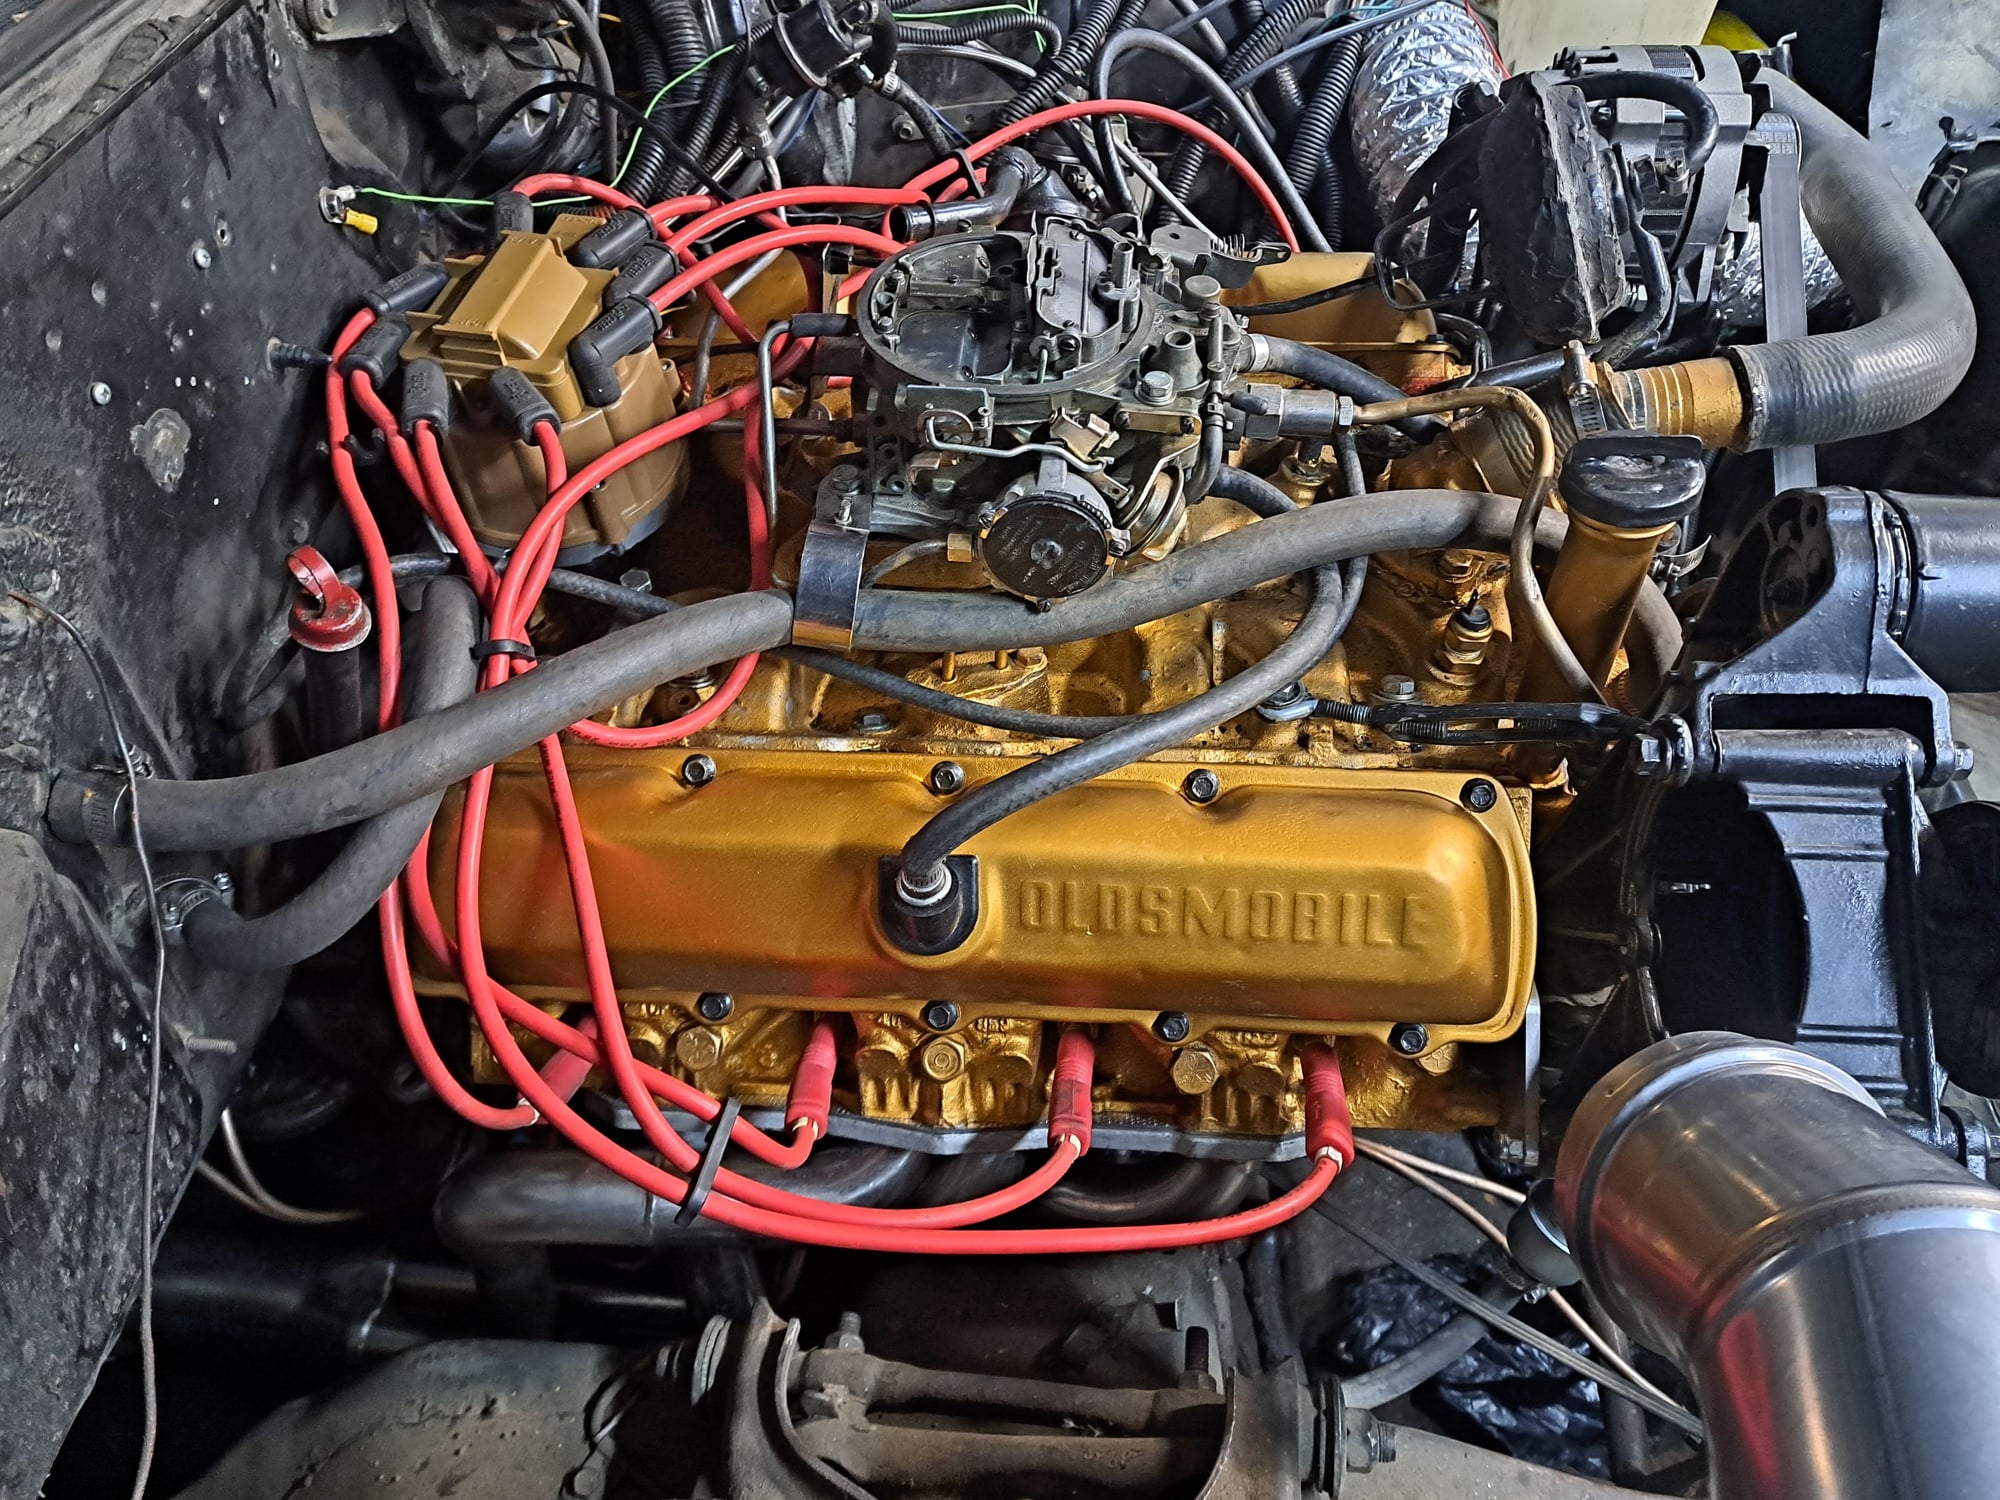
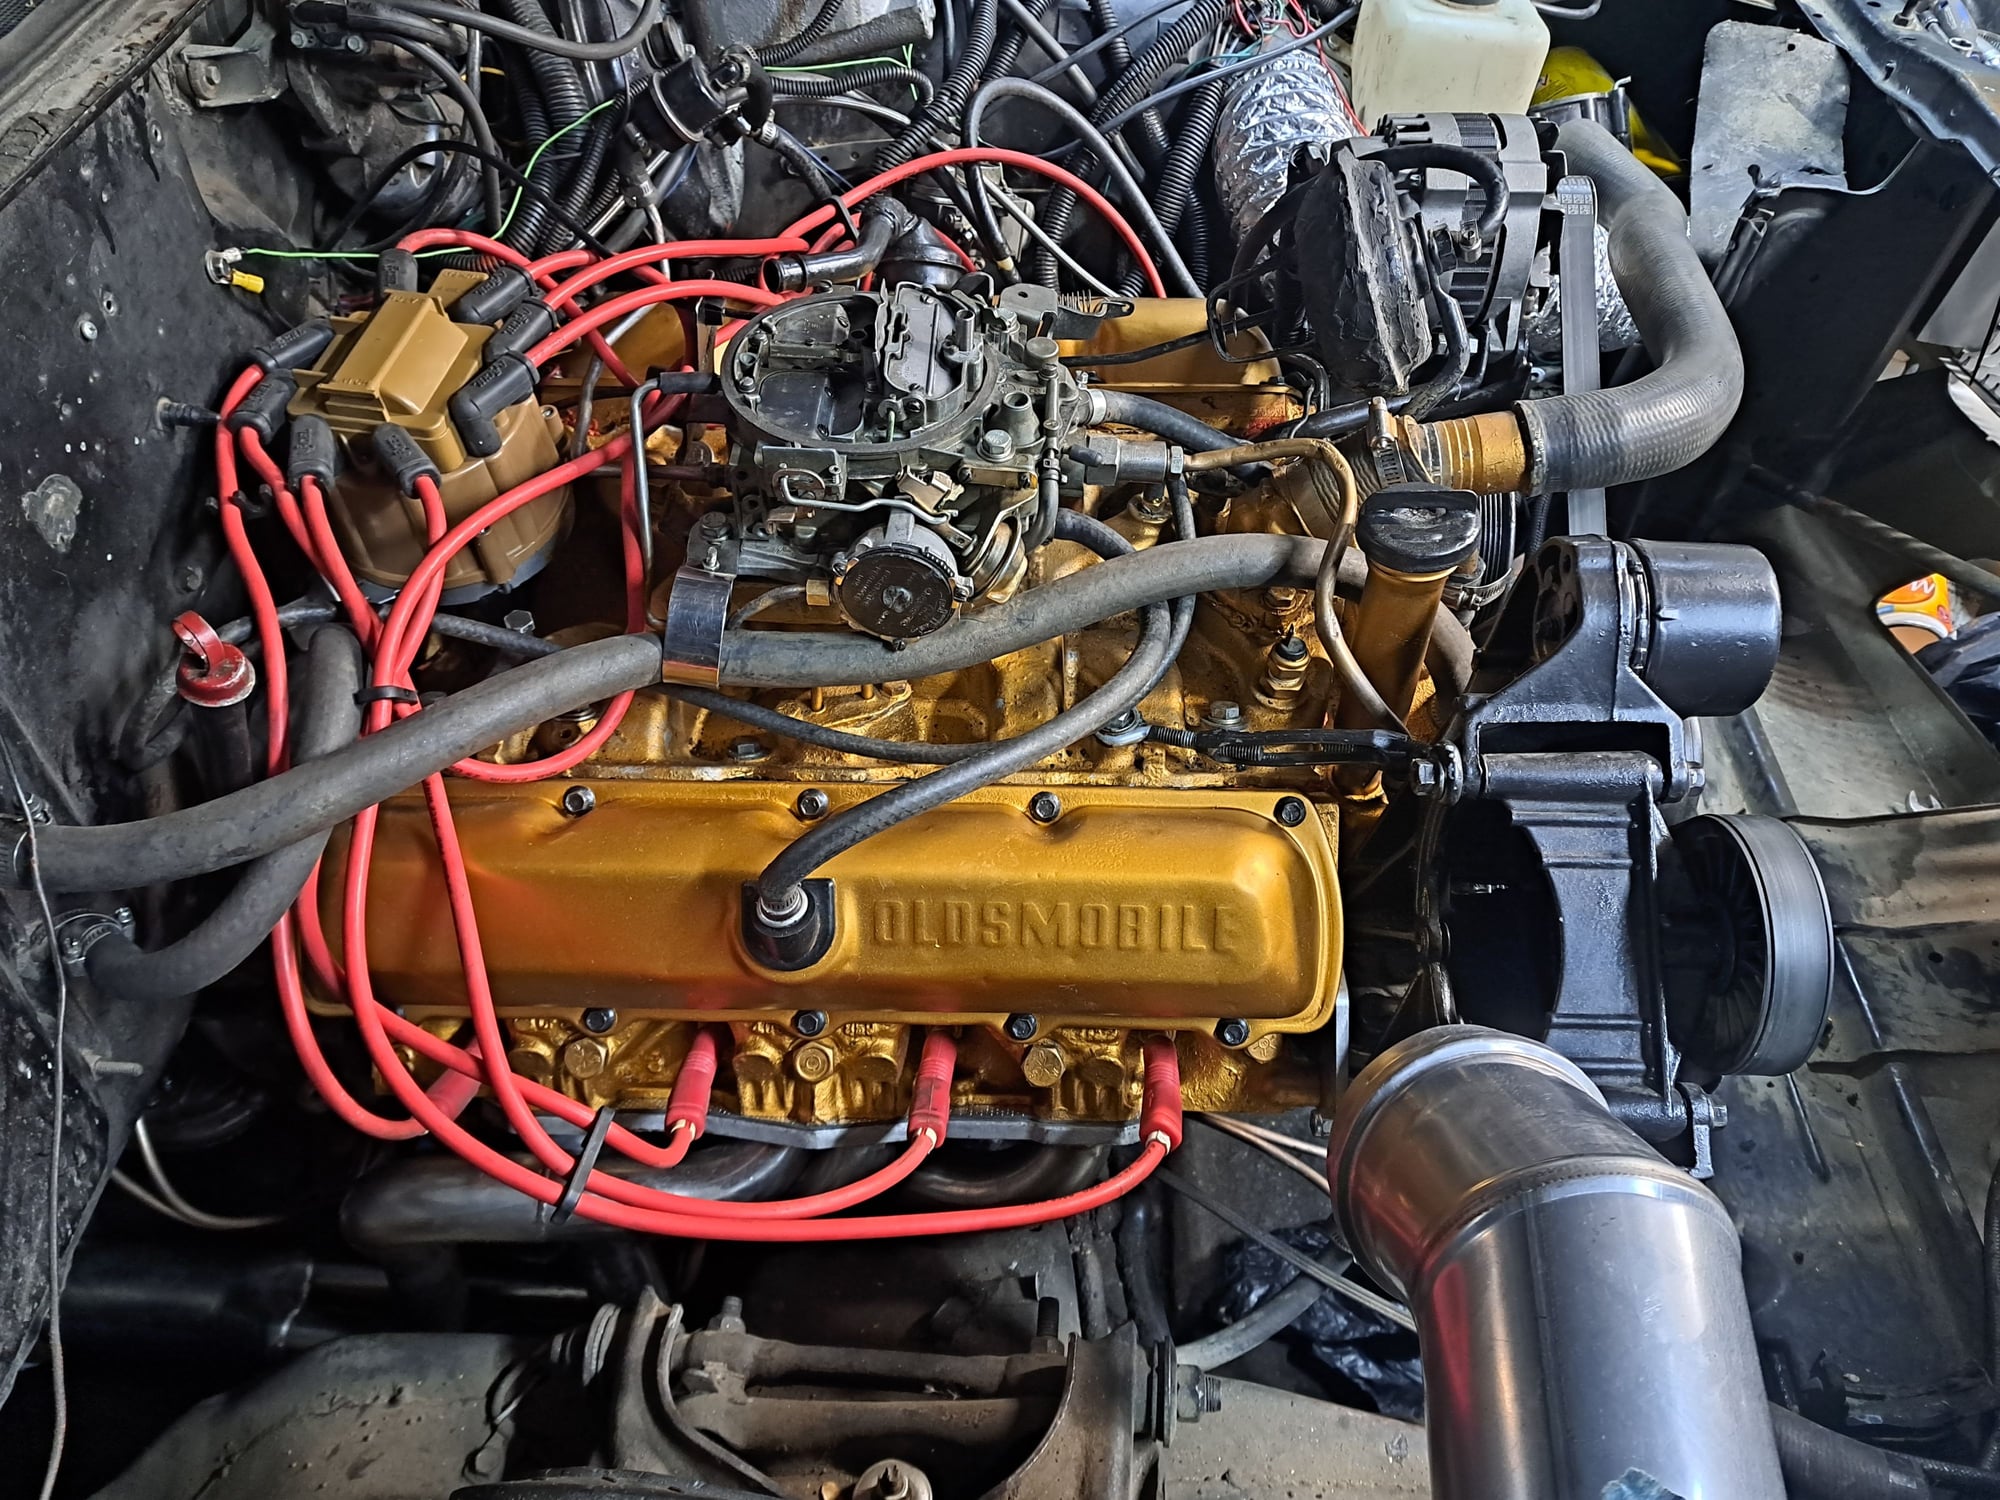
Ok, so I primed the oil system with my drill. I spun it till the 1/4 to drill adapter got hot. No oil to the top end. Let it cool, double checked shaft engagement, was good, did it a bunch more, could hear oil moving, till finally started coming out of a couple of pushrods. I did it more till coming out of many pushrods. Put everything back together including the Oldsmobile script valve covers. Filled the bowl and some in the carb, no start. I move the distributor, saw the pick up wasn't plugged in right. This HEI has the last red and white lead available for sale, Accel Brute Thunder in cap coil came with a low ohm center contact. I used a Proform module and added a mechanical limiter, medium springs and set the adjustable vacuum advance to around 10 degrees. I pull plugs, dry. I crank the distributor to the firewall, tries to start. Give it some gas while cranking, chugs to life. I set the base around 20 degrees, around 10 to 12 vacuum advance. Without the fans, got it up to 180 degrees, opened the thermostat, had 20 psi of oil pressure. It justs as soon as I hit the gas. Moved it foward and back a few times and topped up the trans a few more times, along with the coolant, Prestone 10 year, in a 55/45 mix. No ticks or bad sounds, only issue was someone put bolts but didn't tightened down the driver's side valve cover and released smoke. I thought the dipstick pushed out. I reused the Rocket Racing rubber with metal core valve cover gaskets. The exhaust sounds awesome, noticeable and mean but not super loud.
So, I noticed the brake pedal felt soft, it felt good when we pushed it in. Front reservoir was low, no obvious wet spots but assumed the one spot was from the untightened valve cover. New wheel cylinders on all 4 corners, new master cylinder and new Nickel Cooper lines from the rear hose and maybe one front hose. I will have to investigate, maybe a hose or a line not completely tightened.
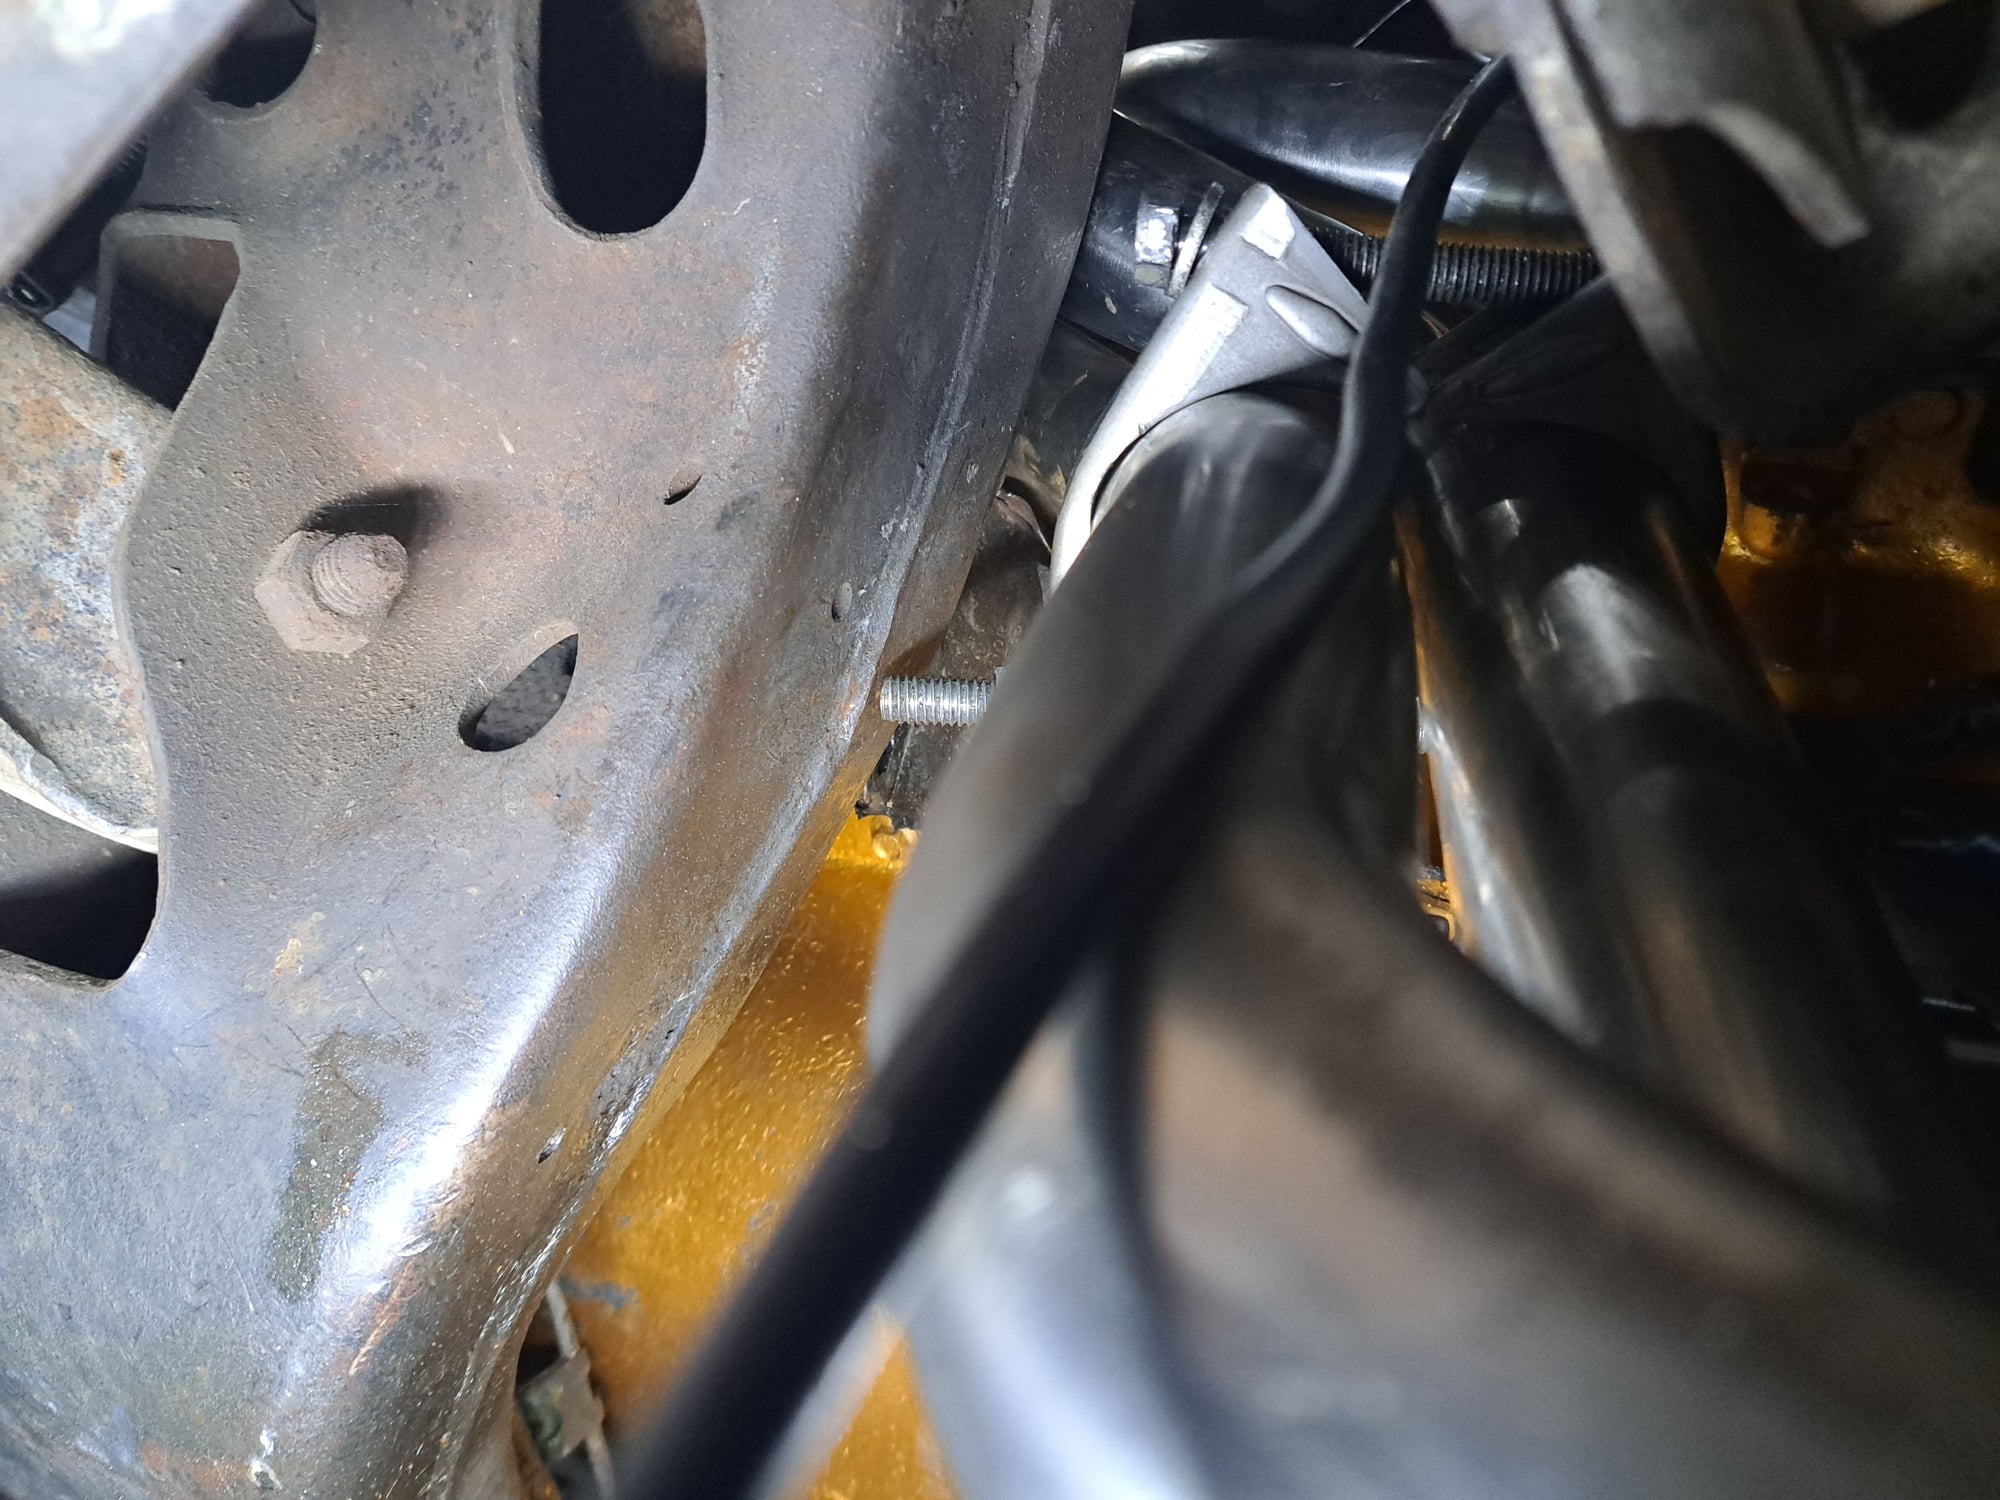
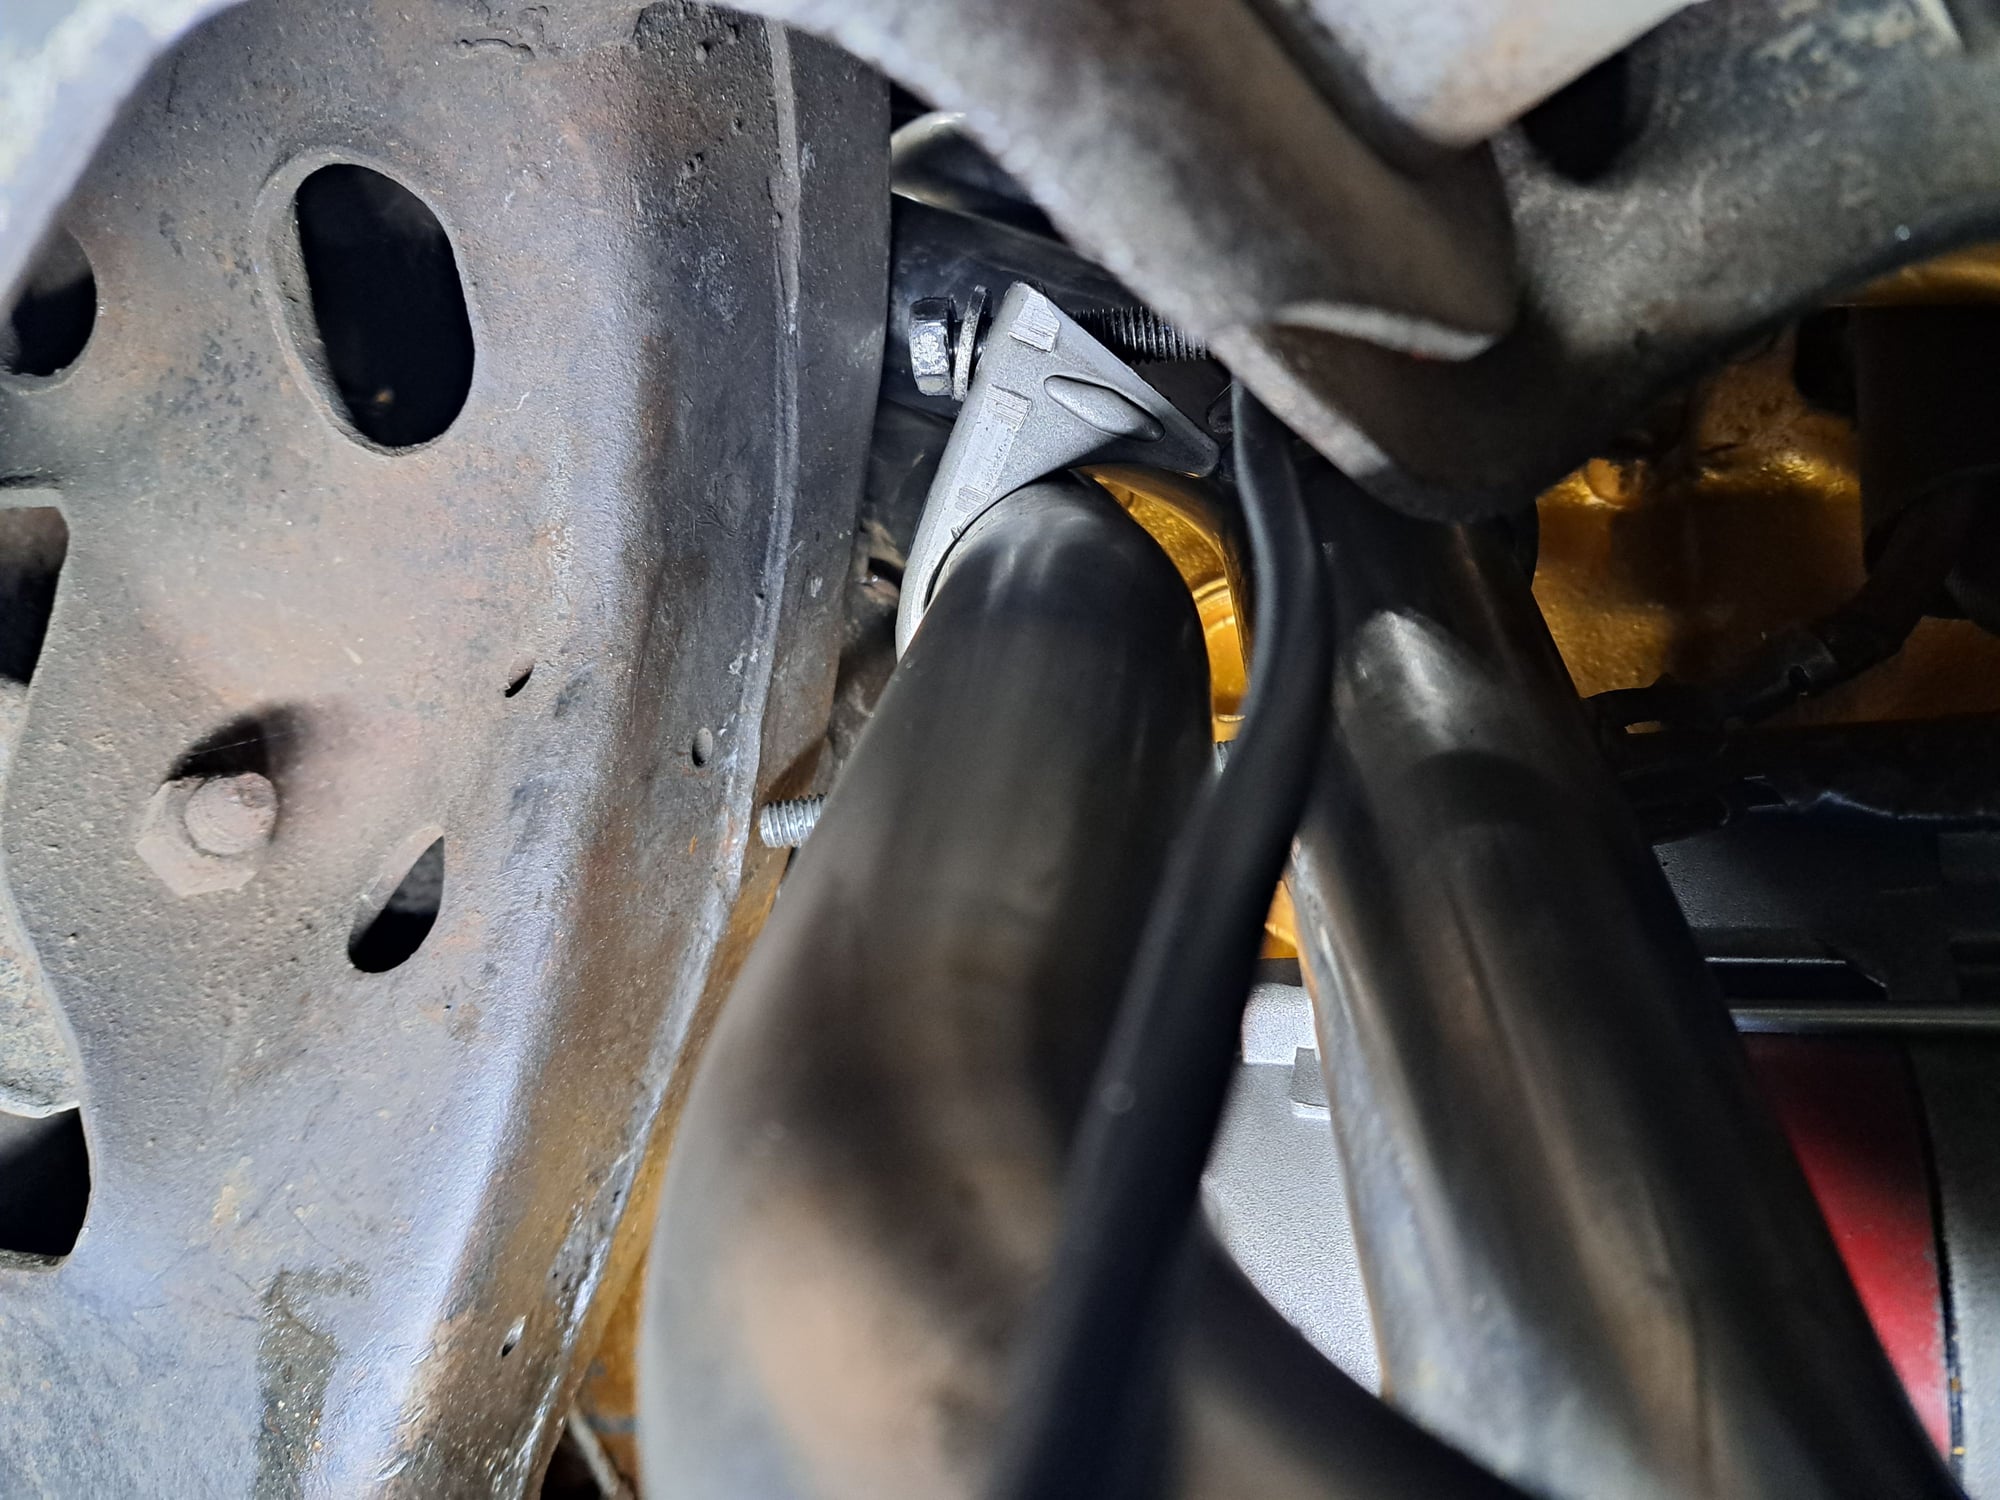
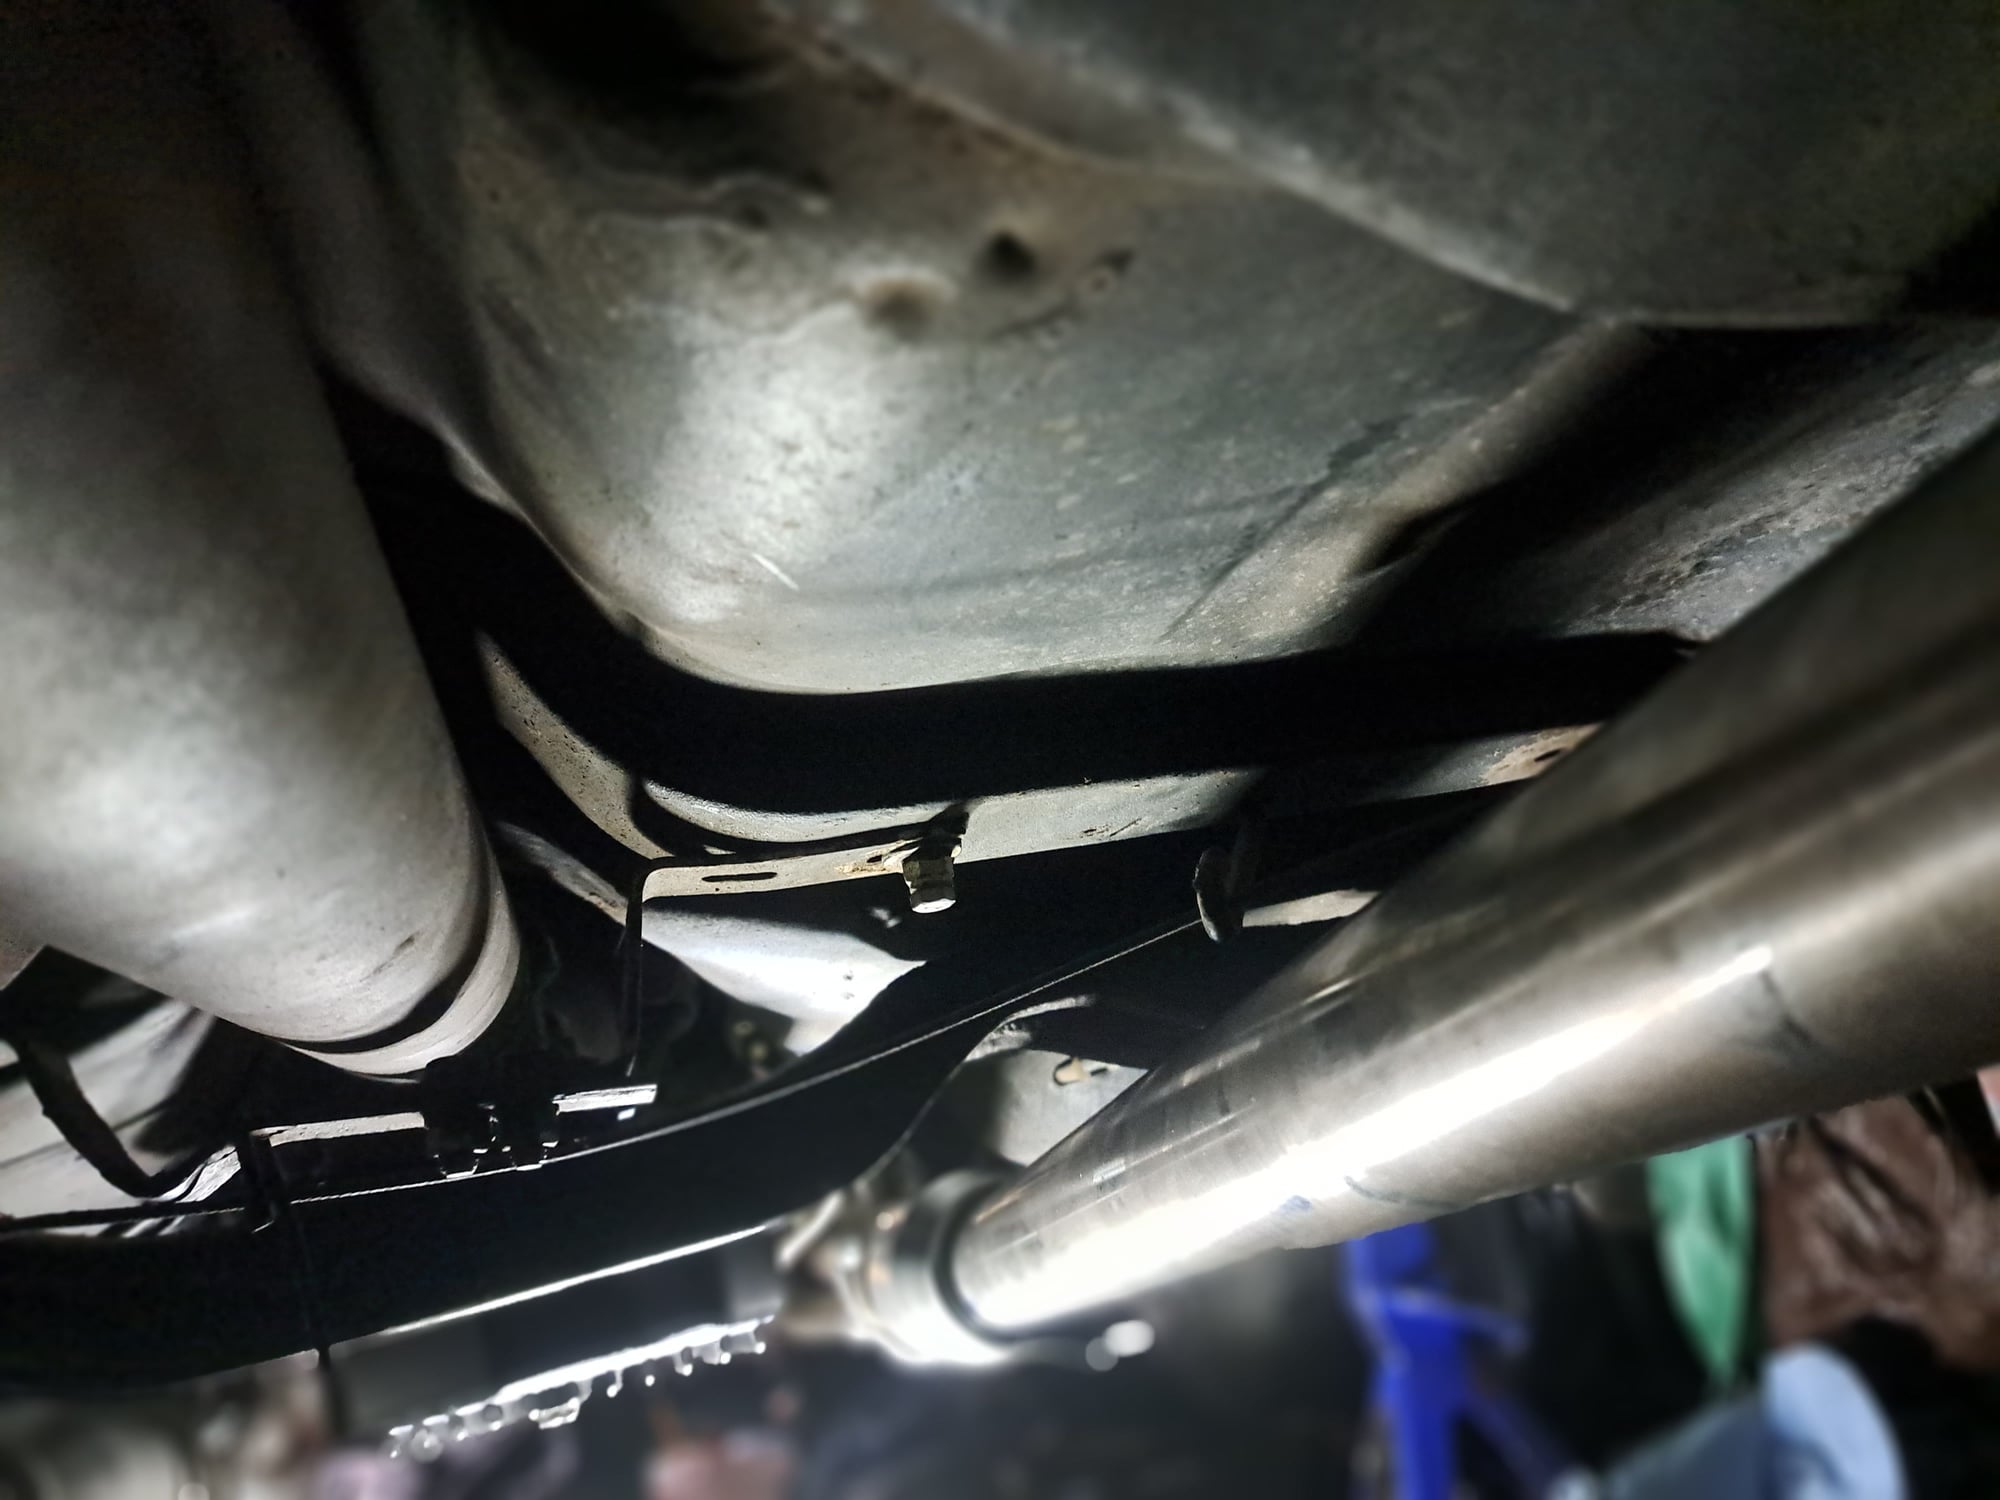
It looks like, according to Joe P, it is somewhere in the front brakes, front to front, back to back. The Chassis Service manual wasn't clear. I did move around the proportioning valve and the one front line but that was a while back for the line. I moved the valve a bit more for header clearance. It is supposed to warm up more this weekend, so I will check it out.
I found the issue. Moving around the the 50 year old brake line to clear the headers broke the small line from the proportioning valve to the drivers front drum, right near the connection. New 12" 3/16" line with a 3/8"-24 to 1/2-20 adapter and good to go.
I made it up the hill after a few runs. Well, the good, better oil pressure with 10W40 vs 20W50 and definitely less noise and exhaust is only slightly loud and sounds amazing. The bad, no burnouts. I set the fan temp at 90C. It is a push in rad style. Davies Craig has a screw in style for the intake, I will upgrade. My point it was idling after a drive, I was adding Transmission fluid, more on that in a minute. I notice the fan isn't on, the temp 250! I turn it off and adjust down the temp till the fan comes on. The oil light didn't come on for low pressure but it was down to the bottom mark on the gauge for oil pressure. The trans, no shifts at all, going up to 3000 rpm. I am slightly overfull and even removed the zip ties off the TV cable. I will check line pressure before pulling it. I have a TH350 that can go in and take my time and double check everything in the 2004R.
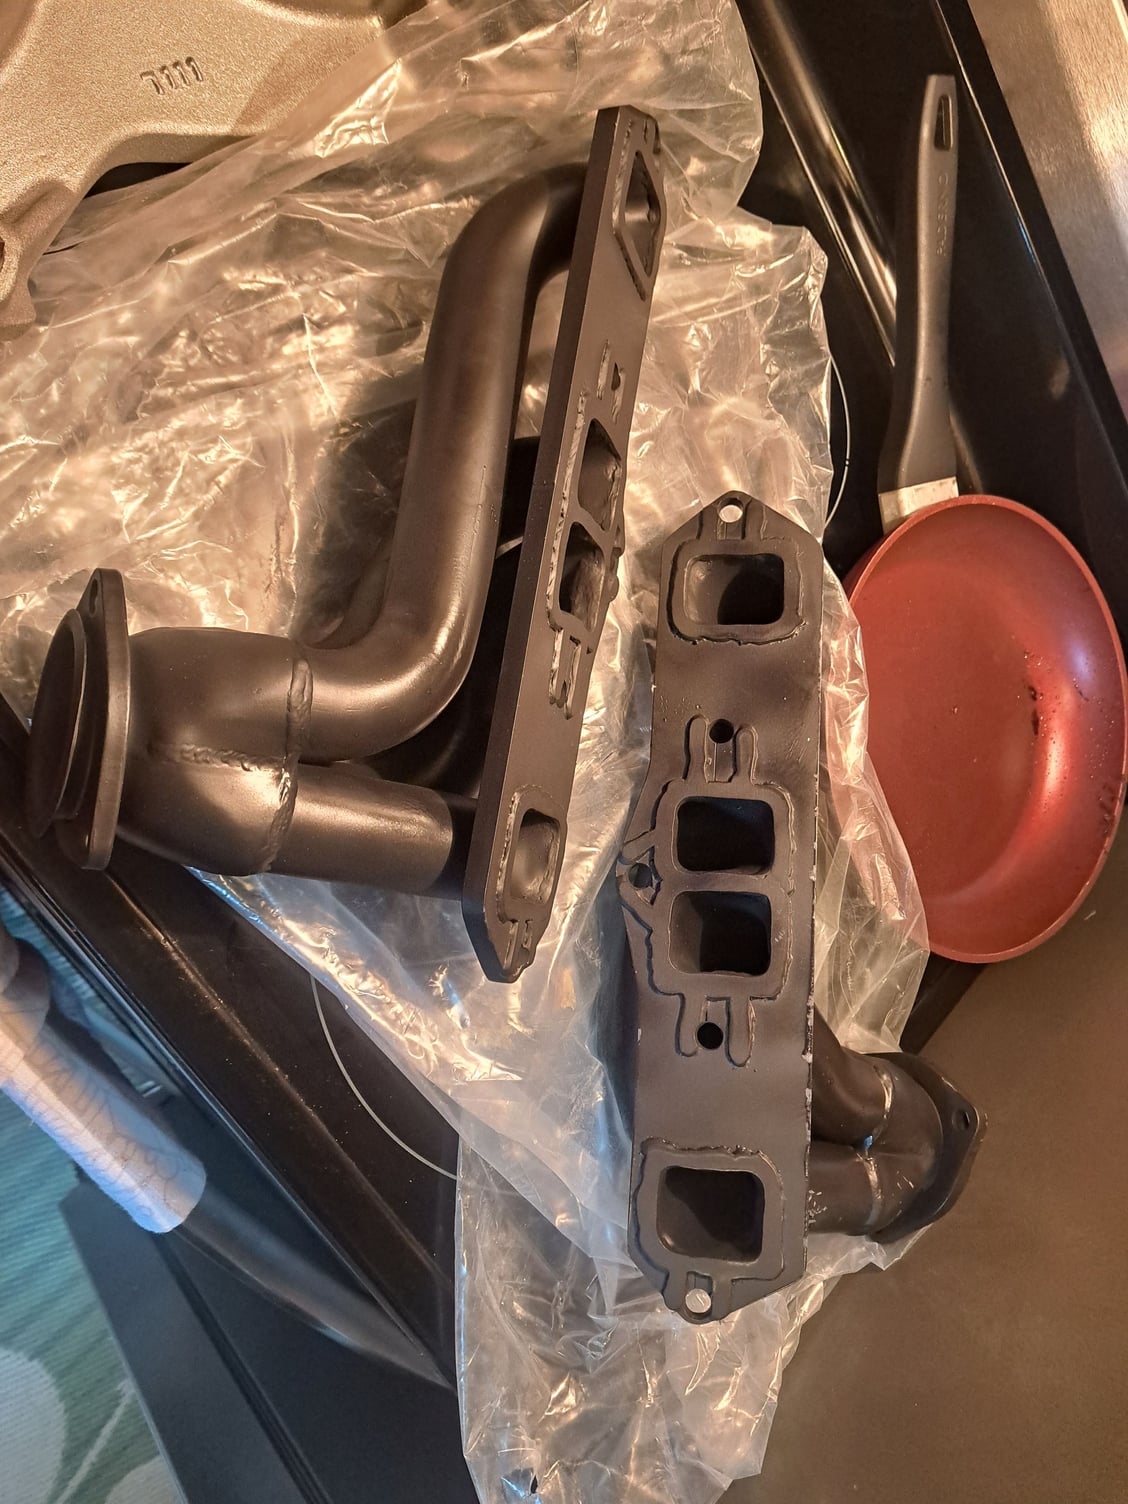
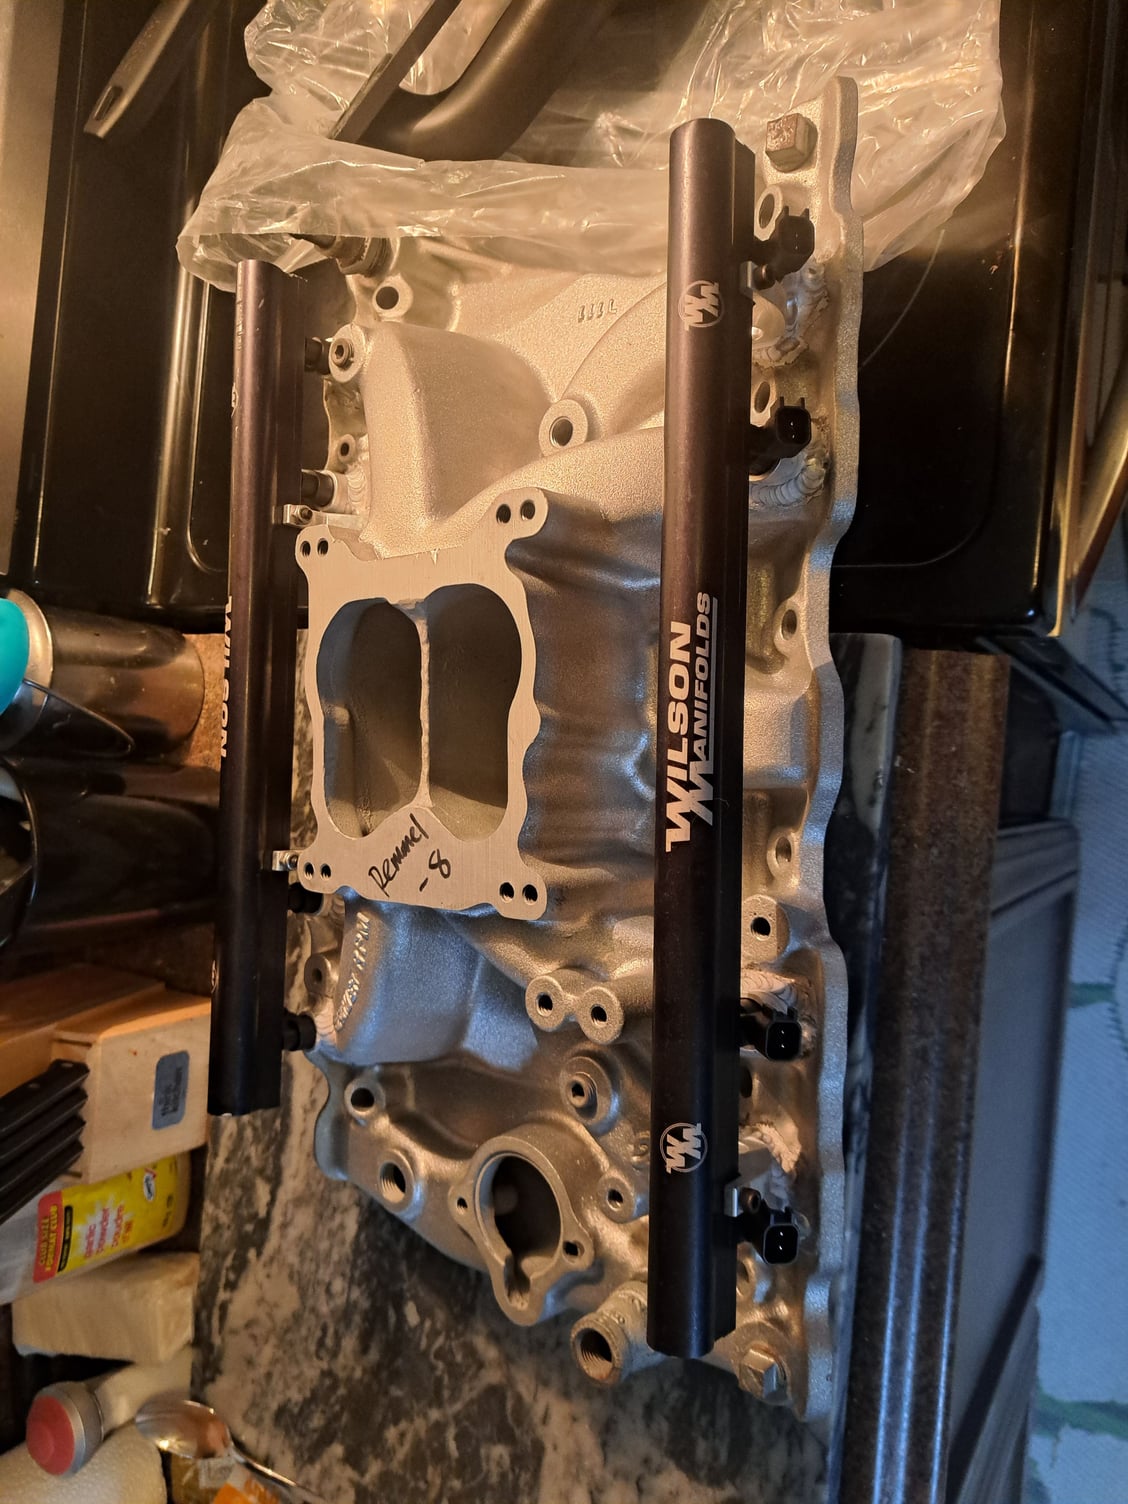
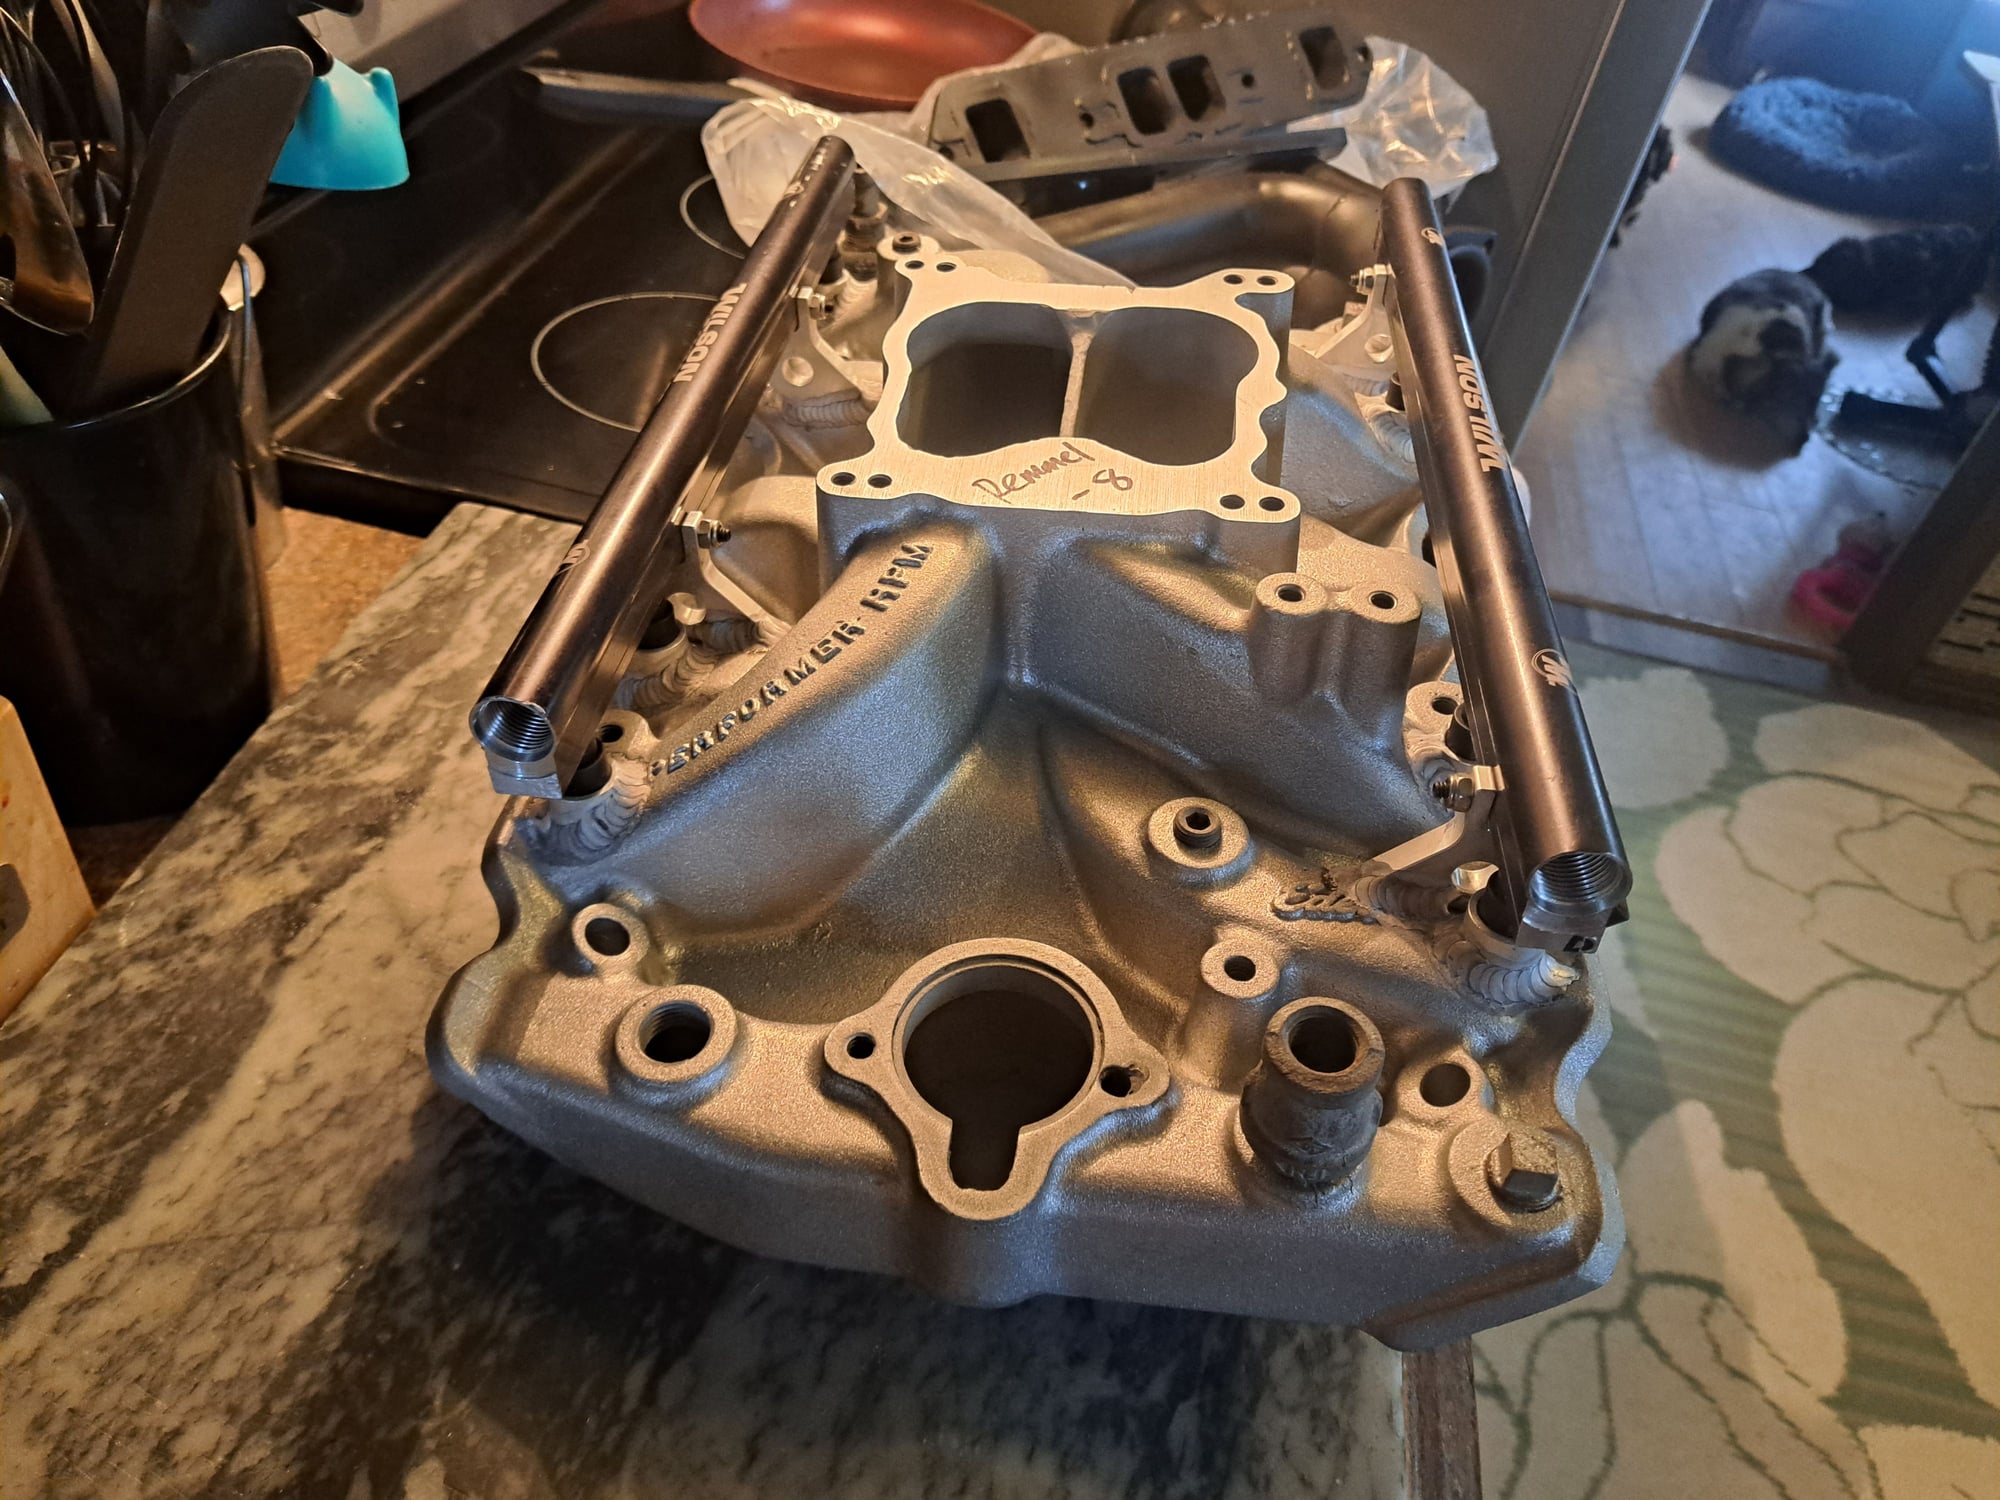
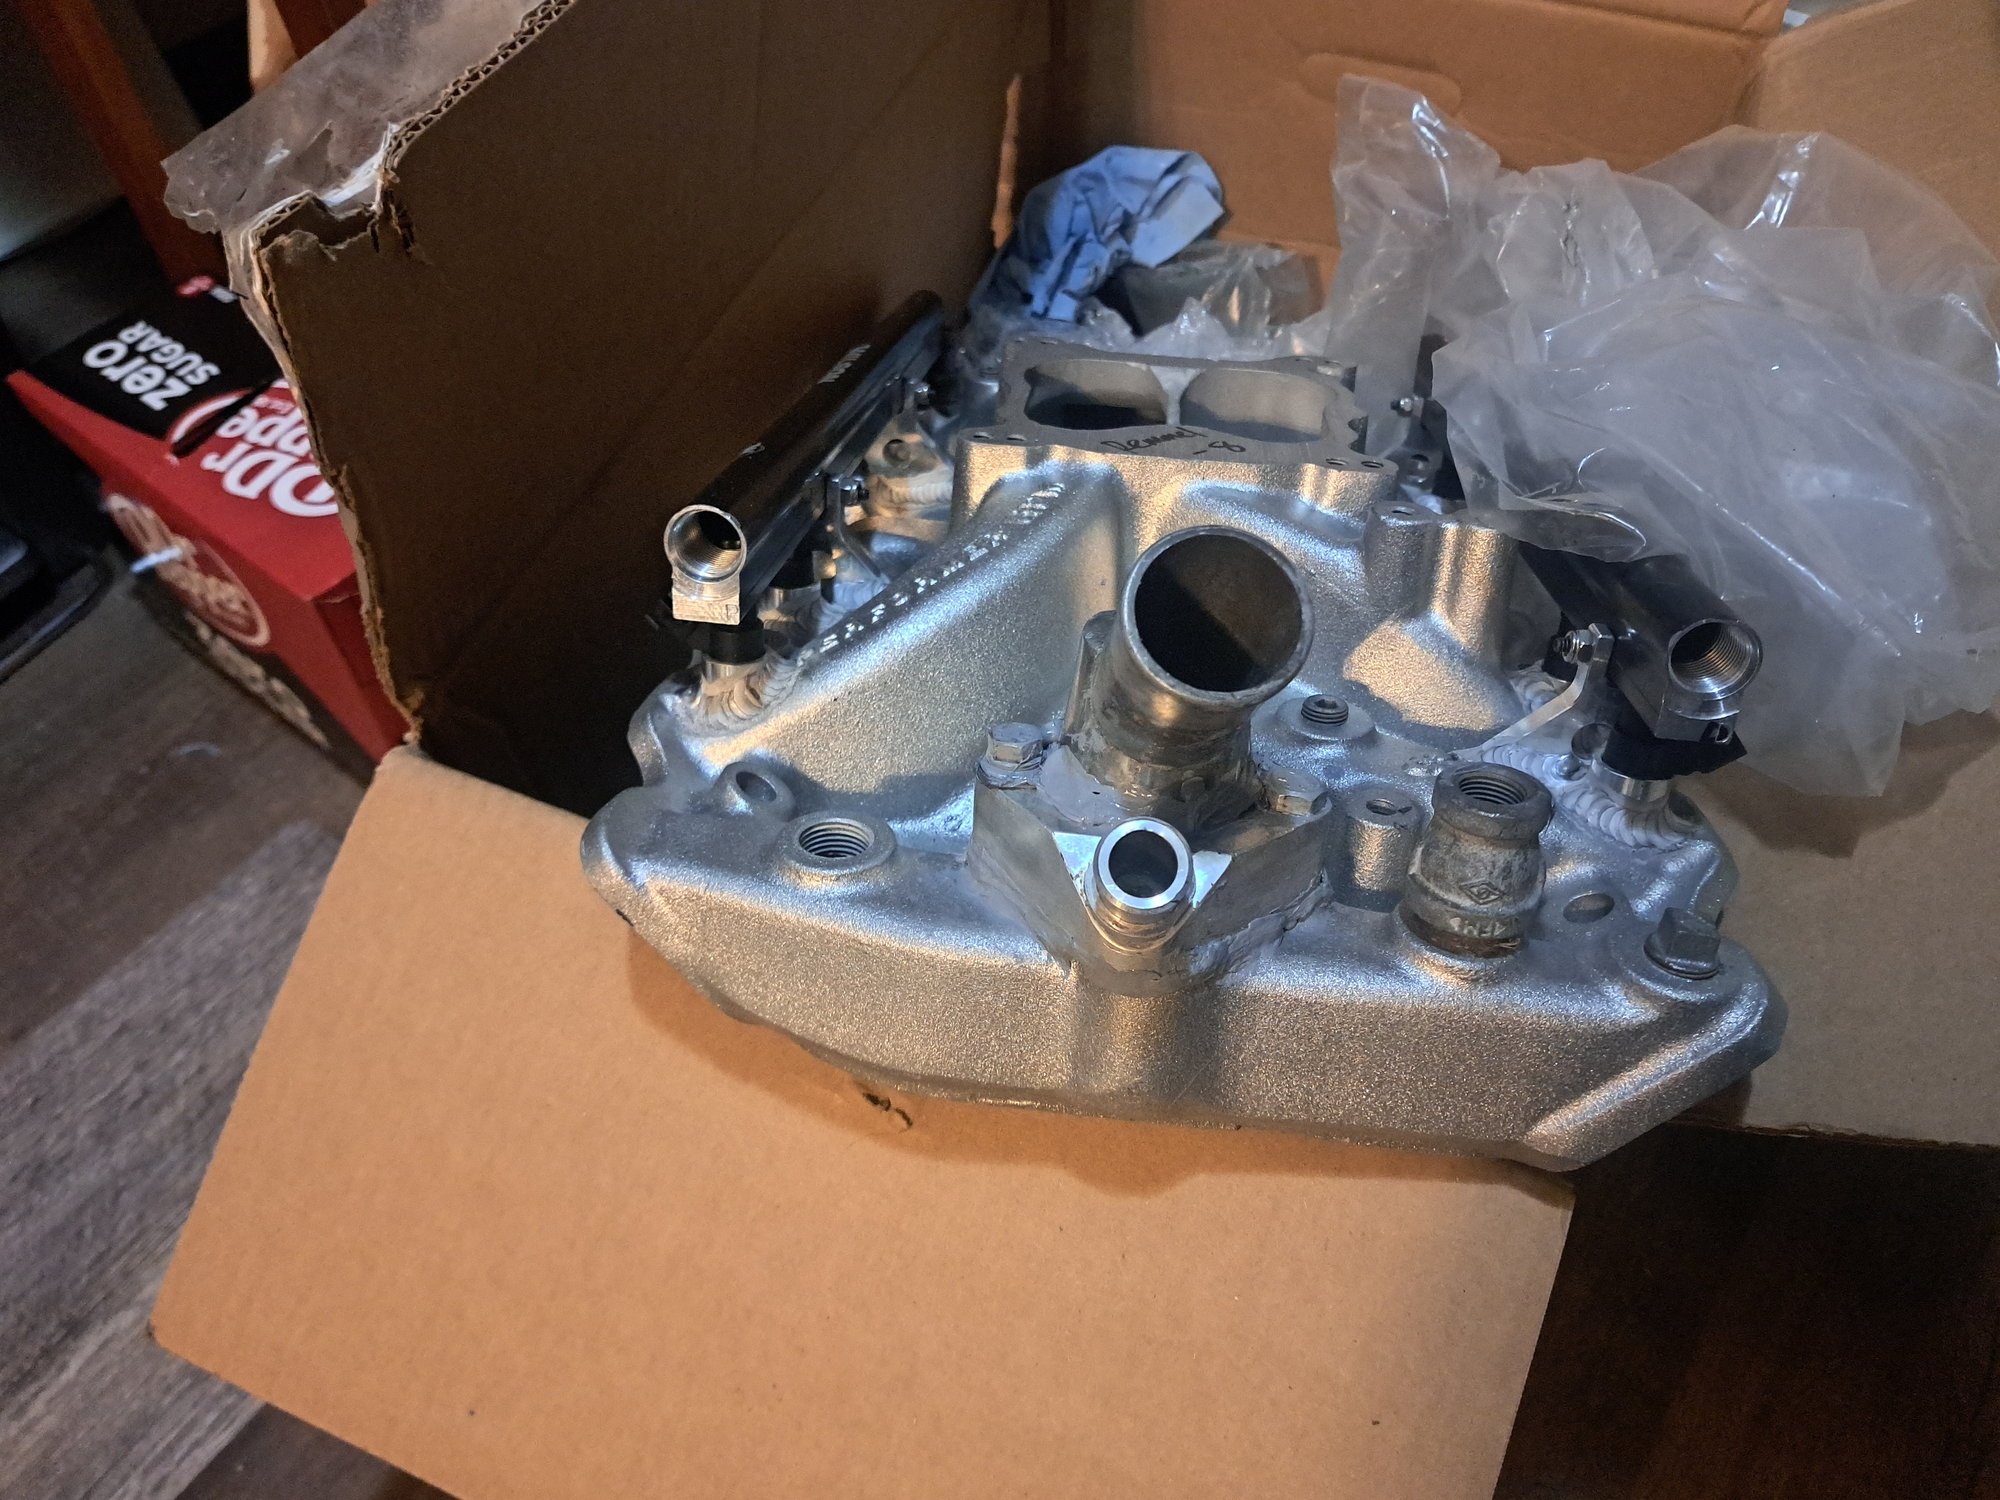
Just driving it around, the 1600 stall sucks. I ordered a cheap 2000 to 2200 stall converter. The 403 sounds a lot better with acceptable oil pressure. I just got a box from Cutlassefi. Black ceramic coated headers and my RPM intake converted to SEFI.

p
p
Similar threads
- Replies
- 1
- Views
- 3K
- Replies
- 0
- Views
- 3K